West Privacy Fence

About the Photo Sequence
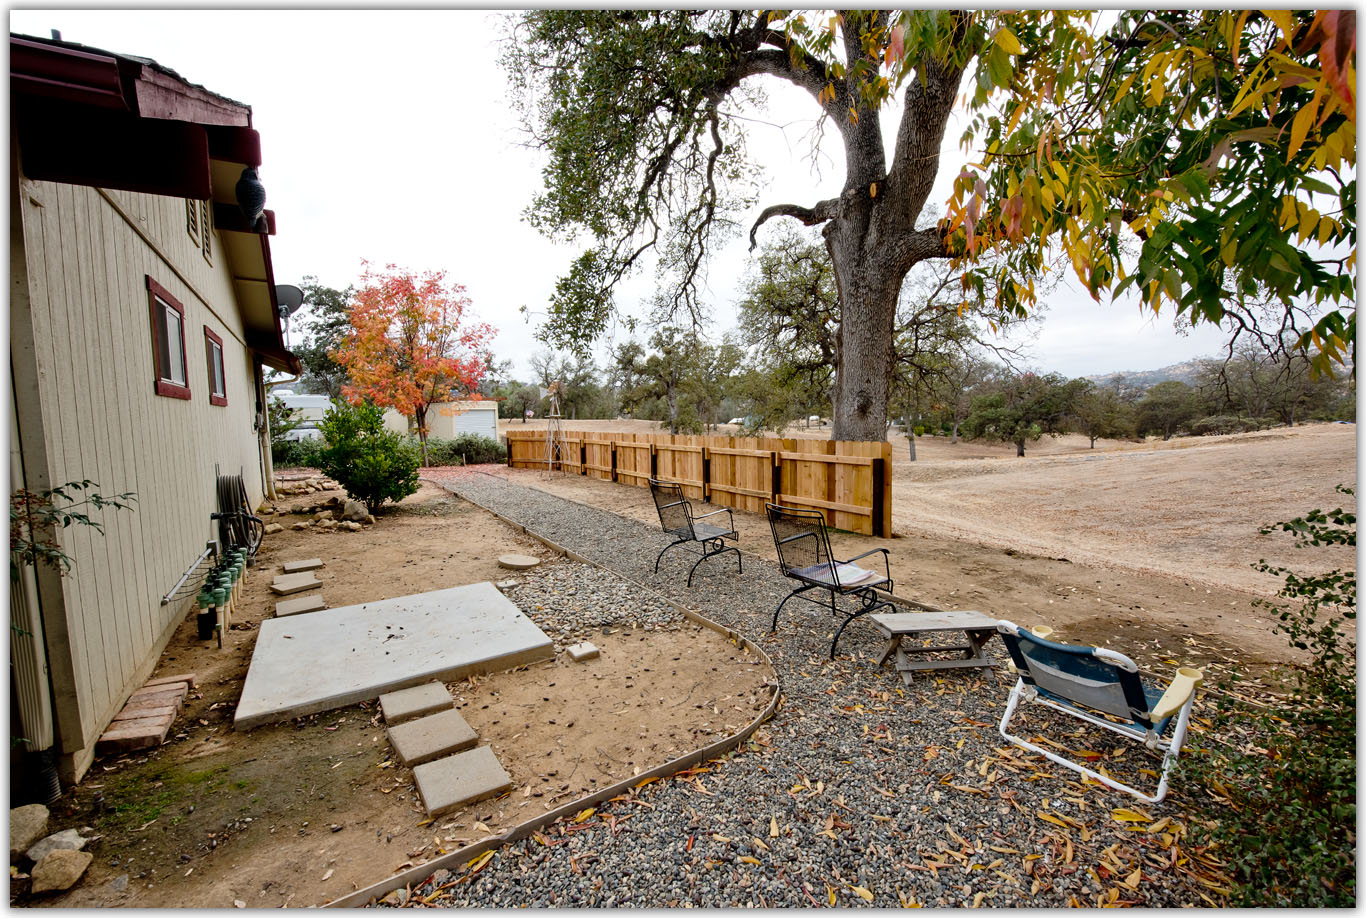
After placement of the outside shower pad, privacy with the neighbor next door became an issue. My shower timing might not be best, so a fence was in order. Besides, I needed to beautify the west side of the house. Maybe some day, I'll add a patio cover and pave the ground. This documents the build.

 
Photo Details
This photo sequence contains 22 frames. Each frame is a finite 1366 pixels wide but height was left to its own based on the crop. I based the picture size on an email program's display window asuming that the picture would not be automatically resized to fit. This technique kept the file size down, the largest being just less than 703k making it easy to send and receive through email. All photos were taken with a Nikon D810.

Download Photo Project


2017-09-WestPrivacyFence.zip - 12532437 bytes.


West Privacy Fence

This area of the house needed improvement. Still does, but with the outside shower I needed a privacy fence.
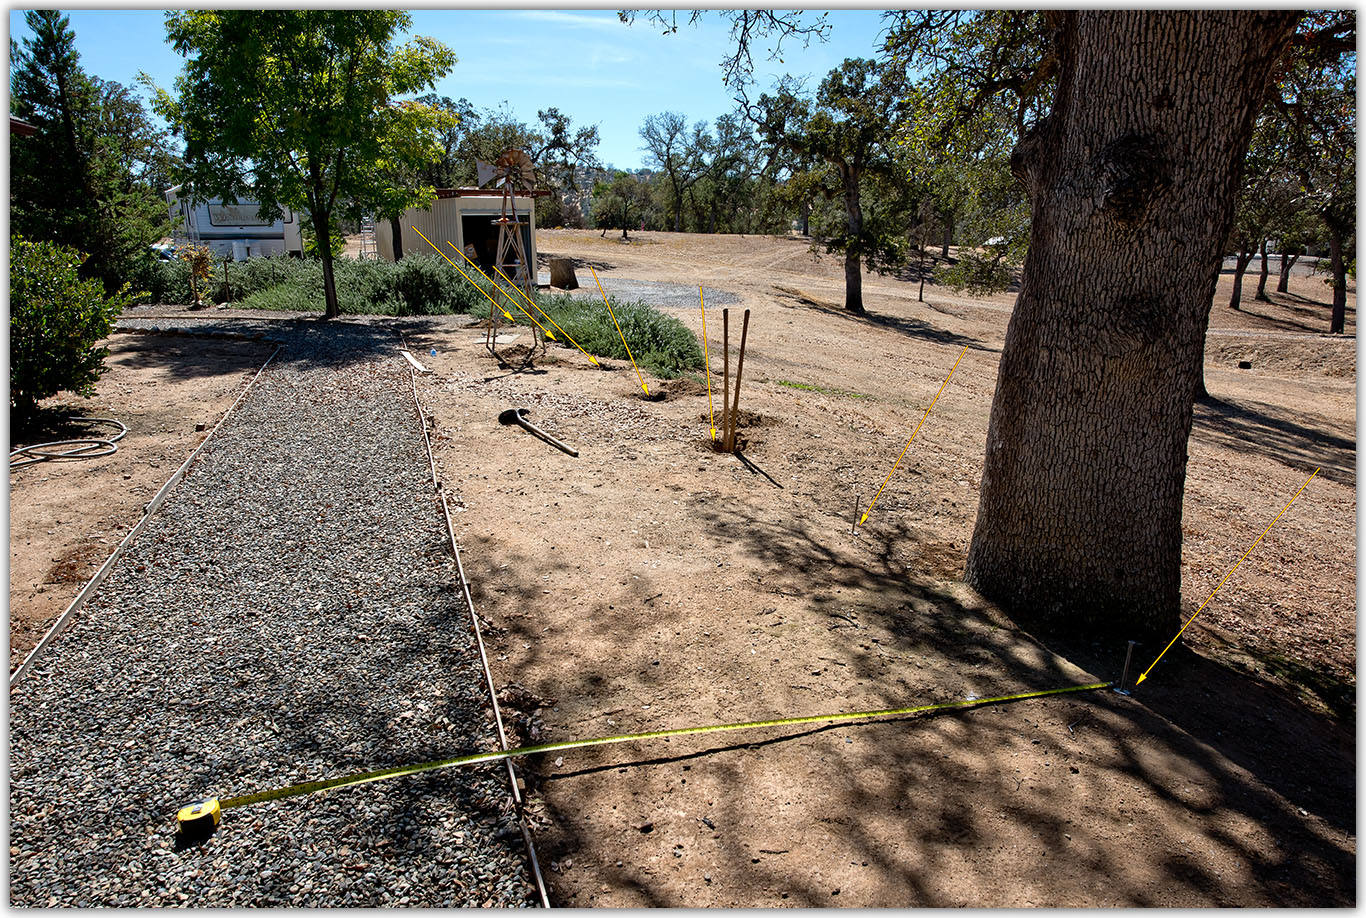
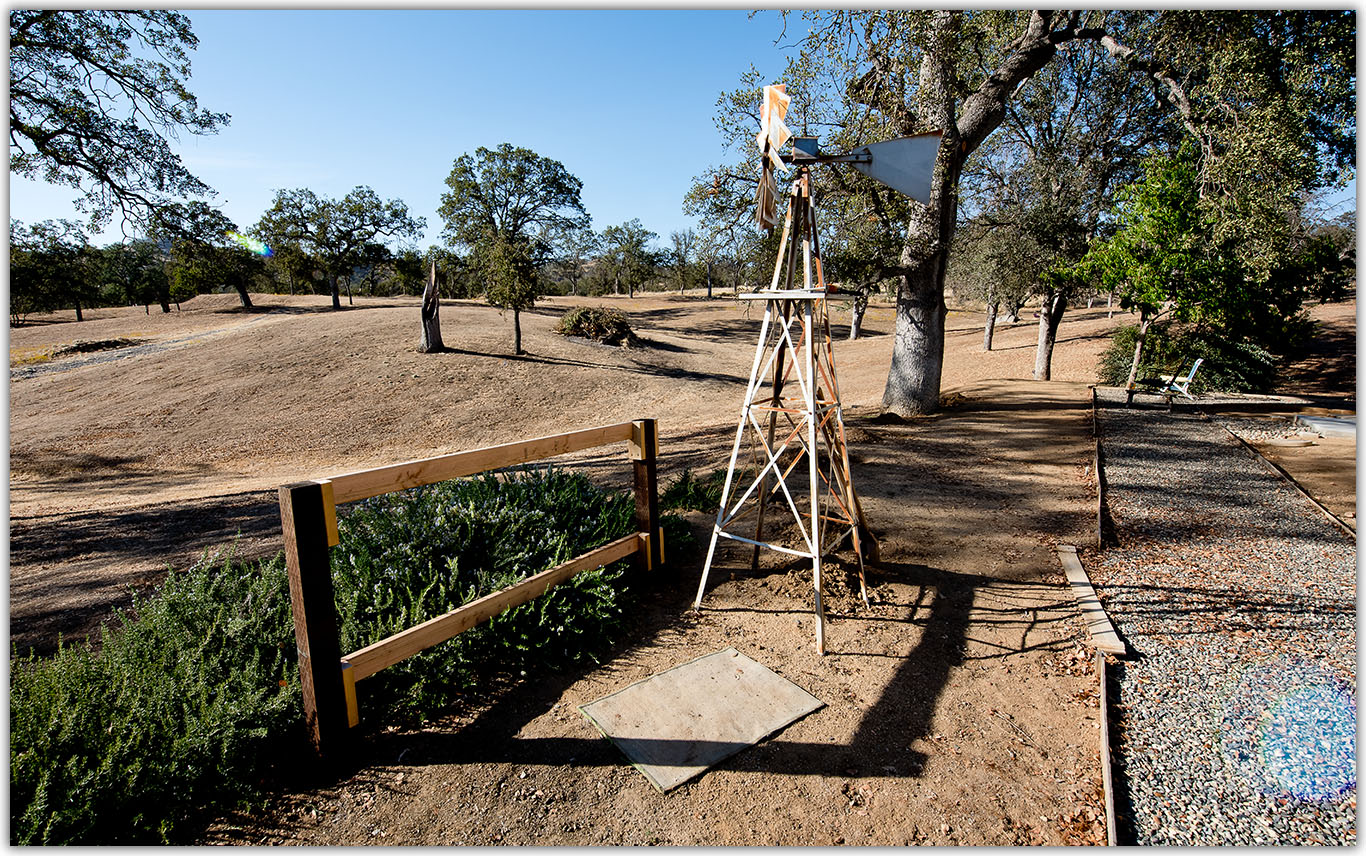
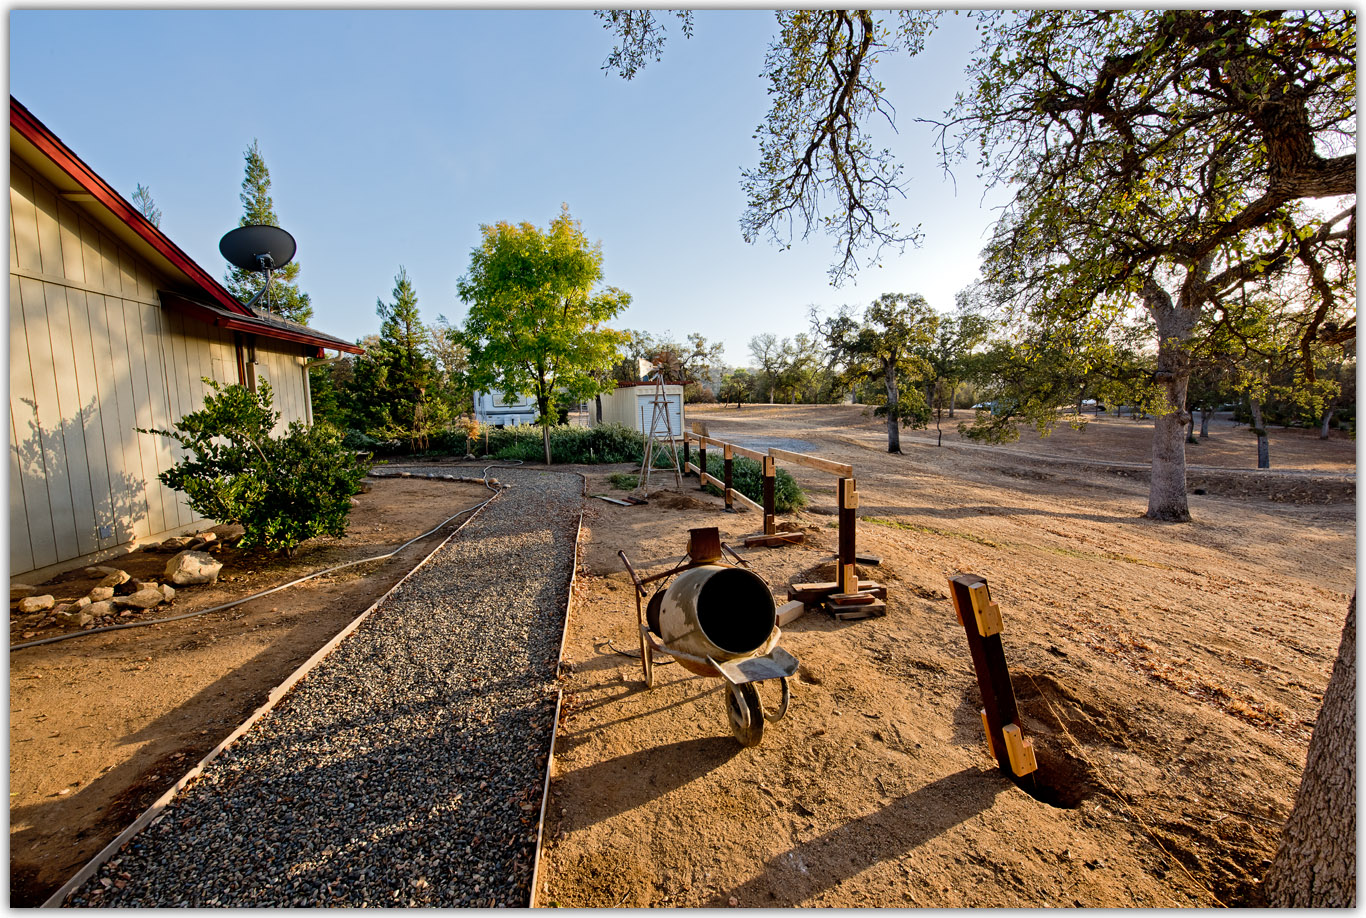
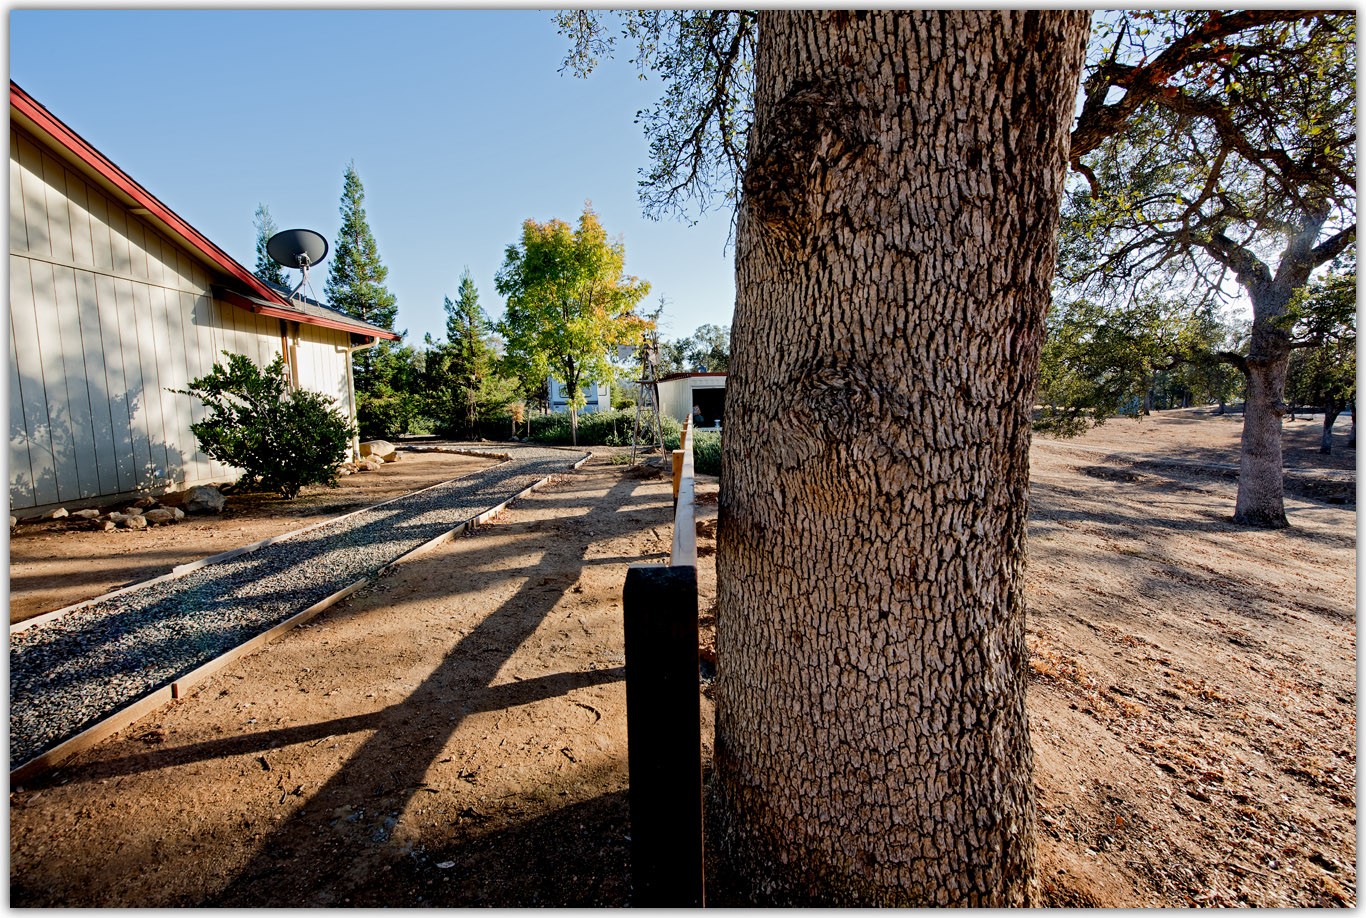
I measured from the house foundation to get it parallel. I placed 12" nails as markers, then dug the post holes.
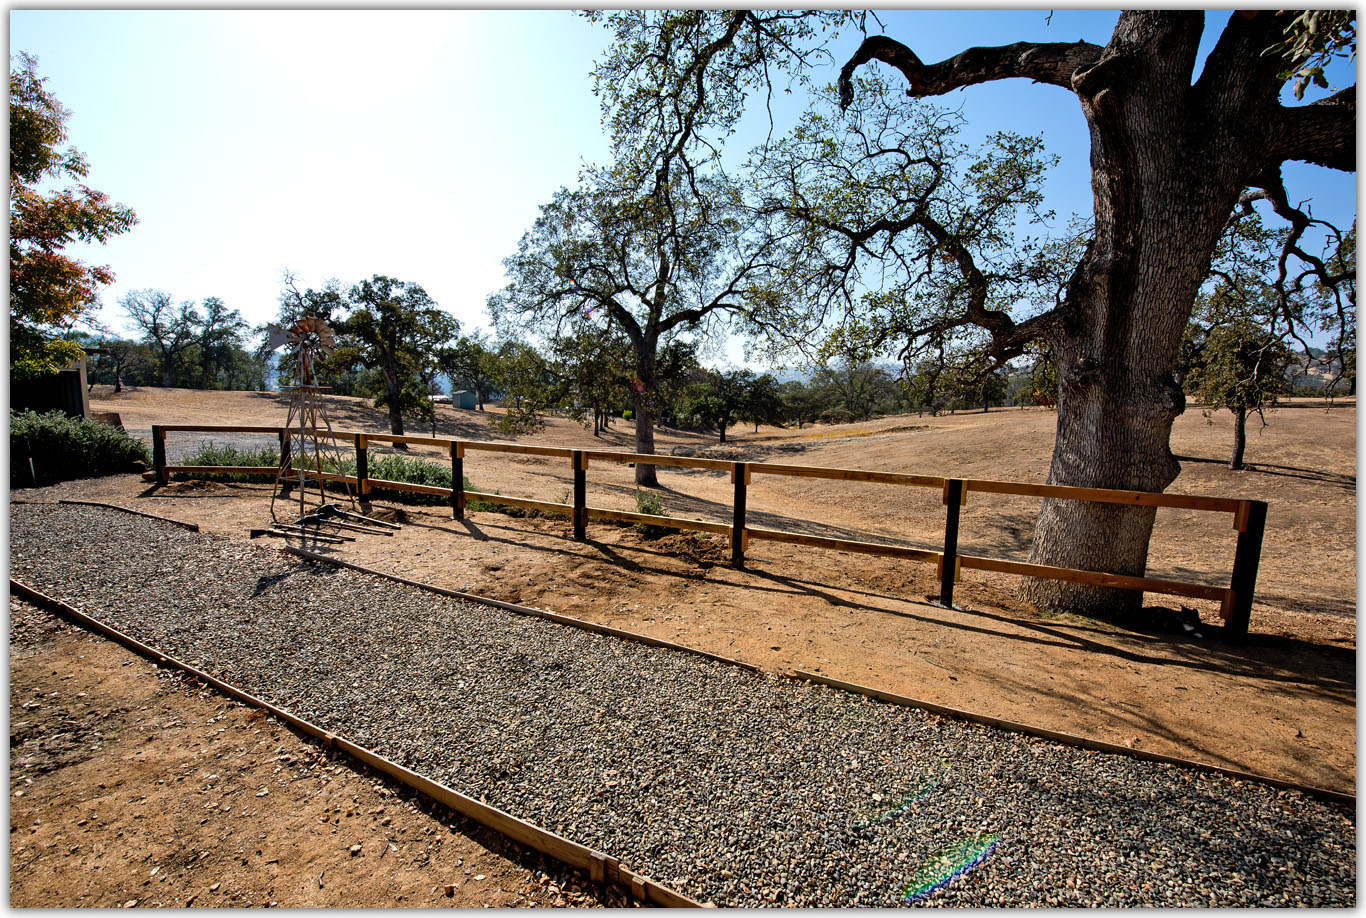
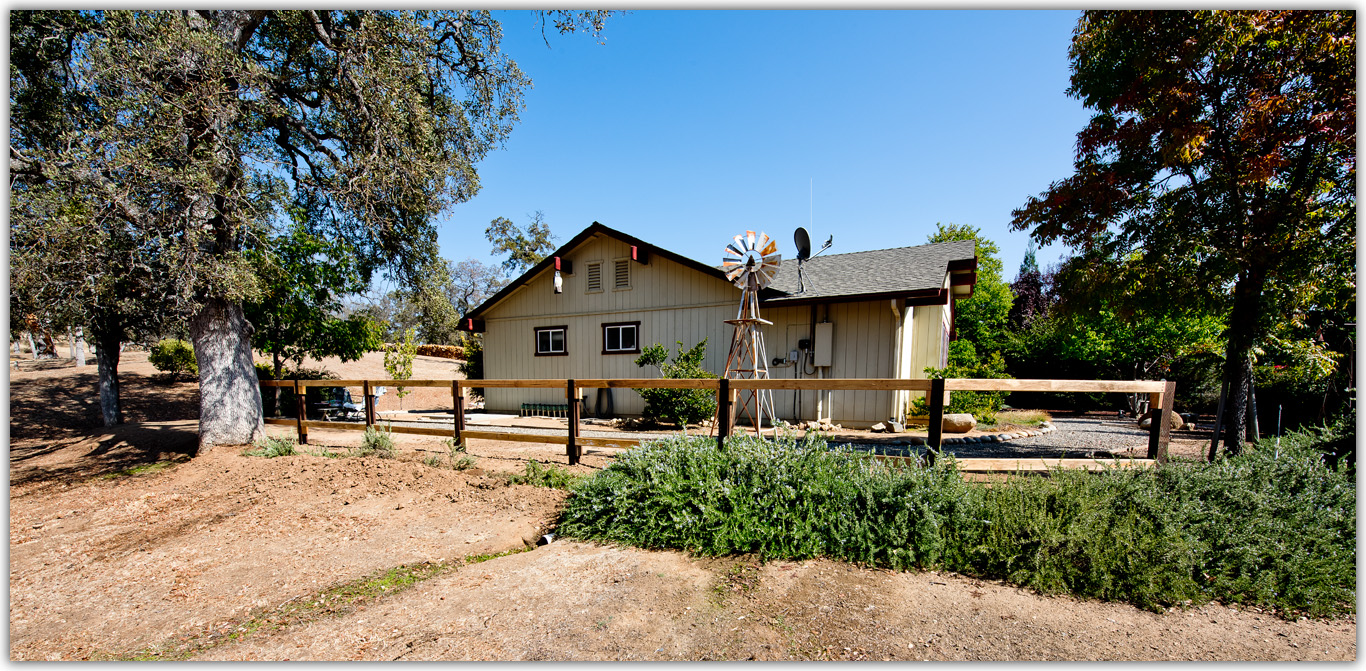
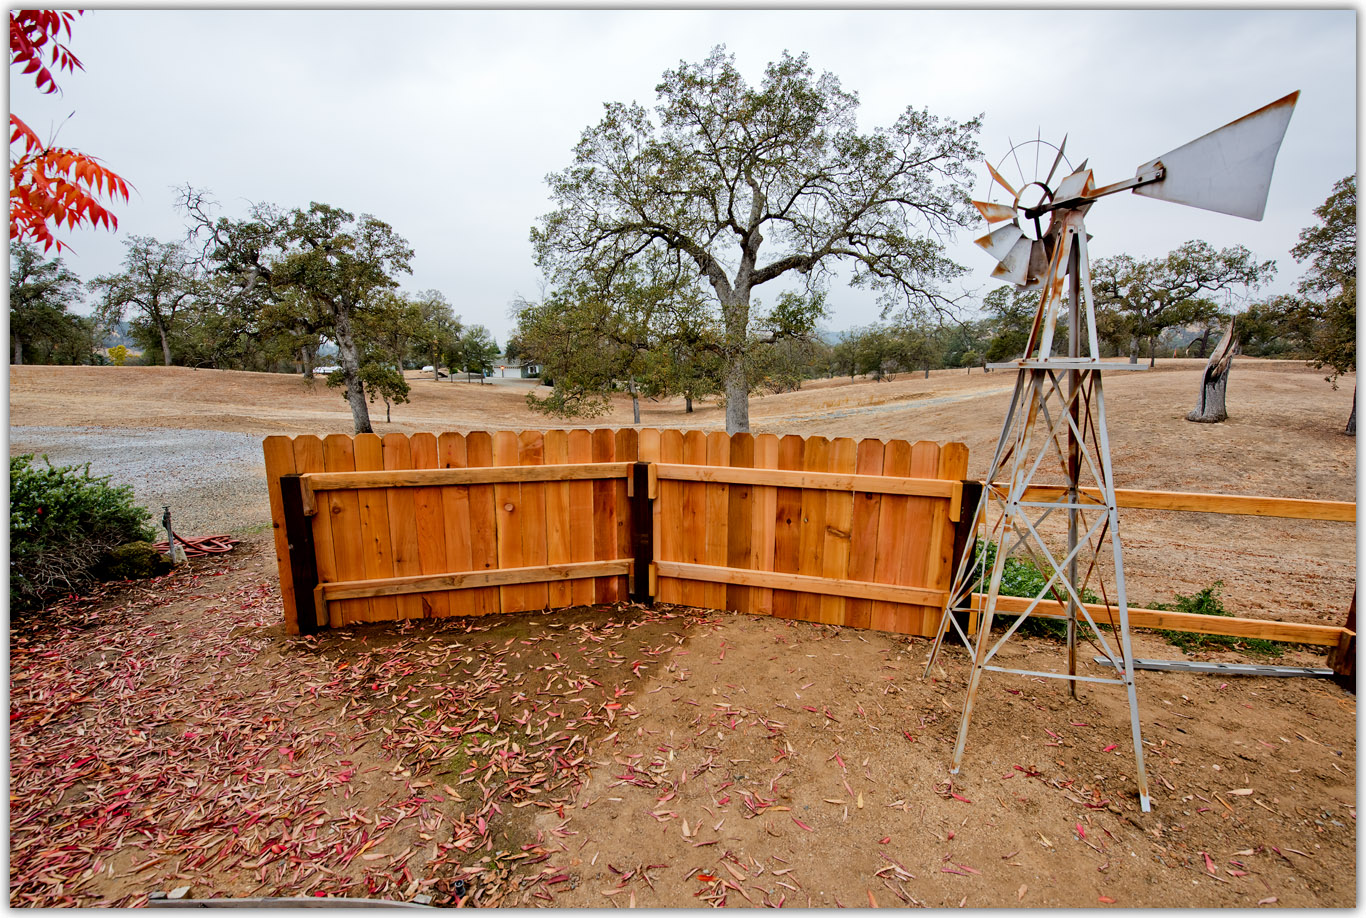
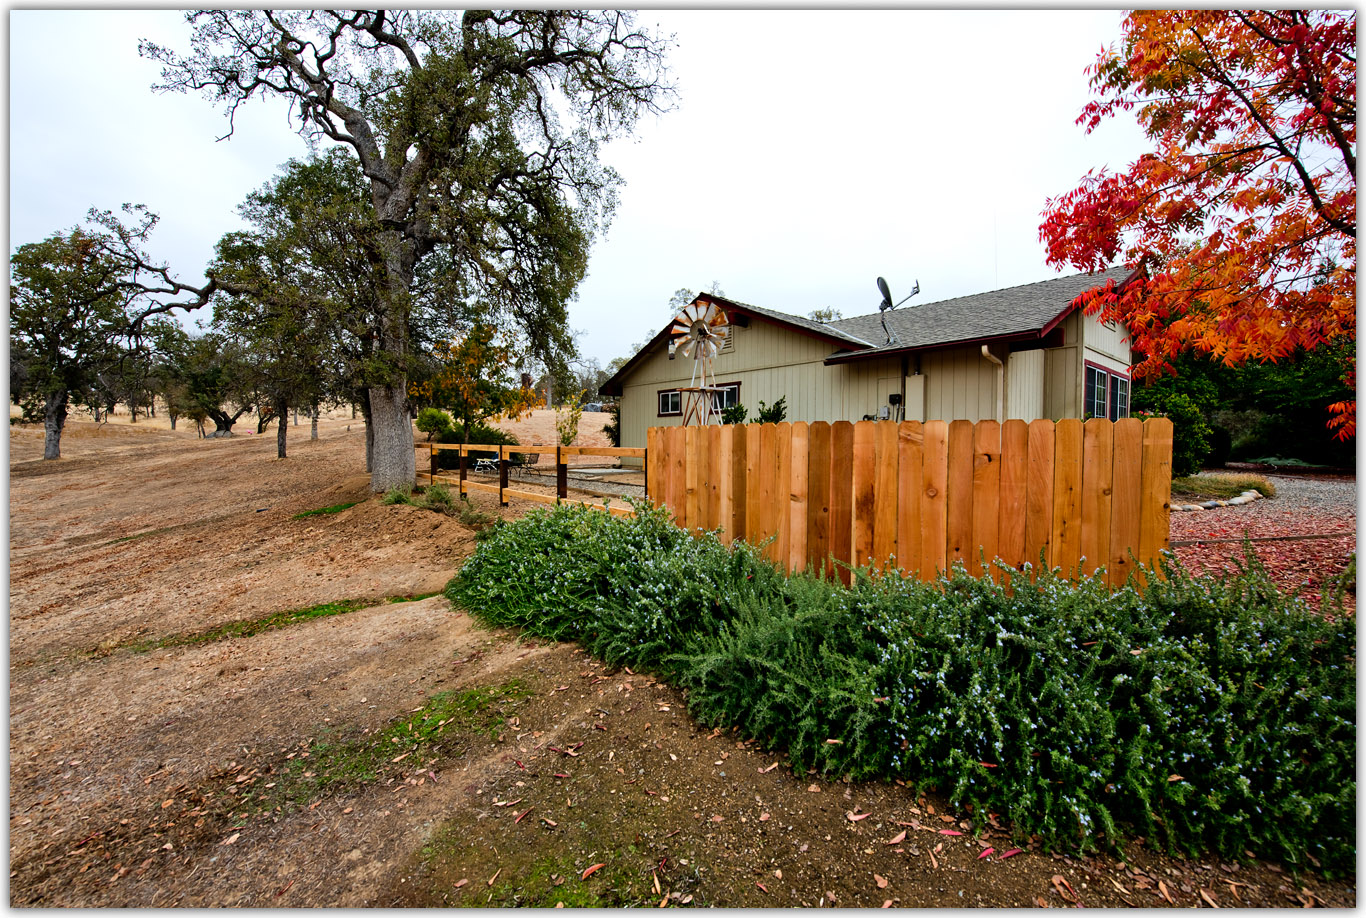
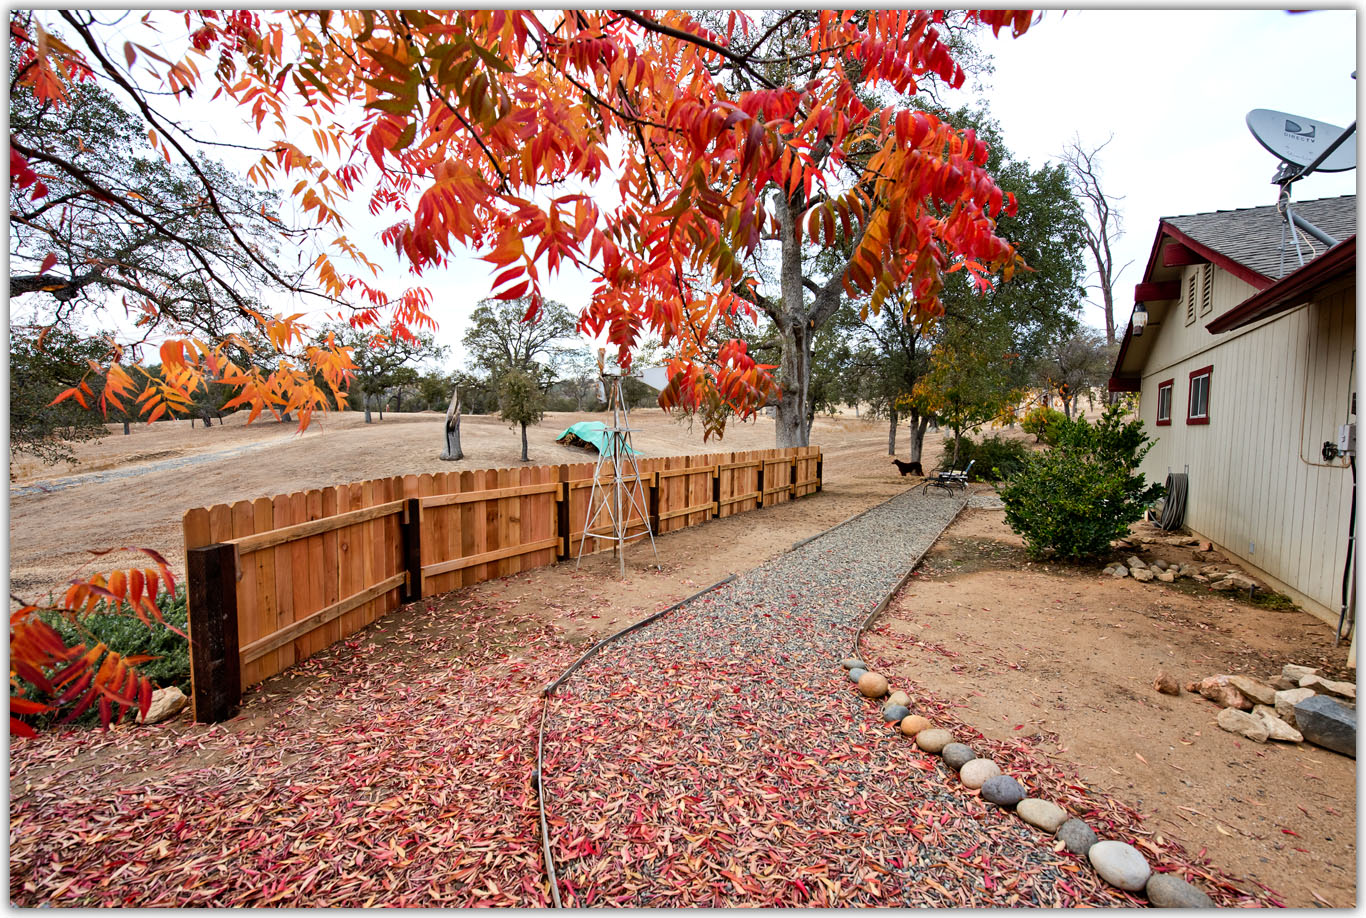
It'll be a basic straight 4 1/2 foot fence with a "dog leg" on the south side to follow the rosemarys.


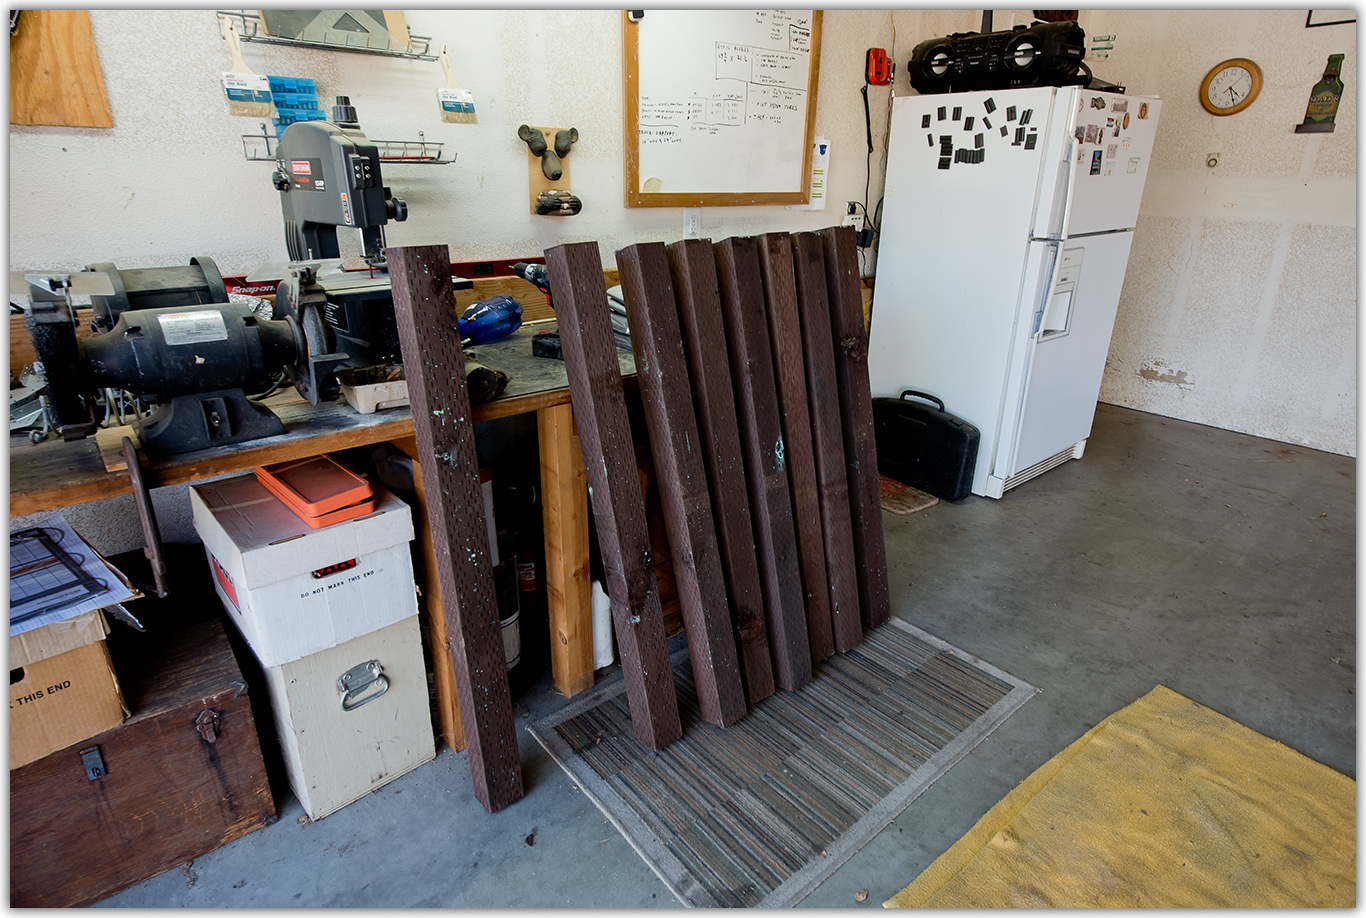
The posts are cut to 5' and 12" of them will be buried.


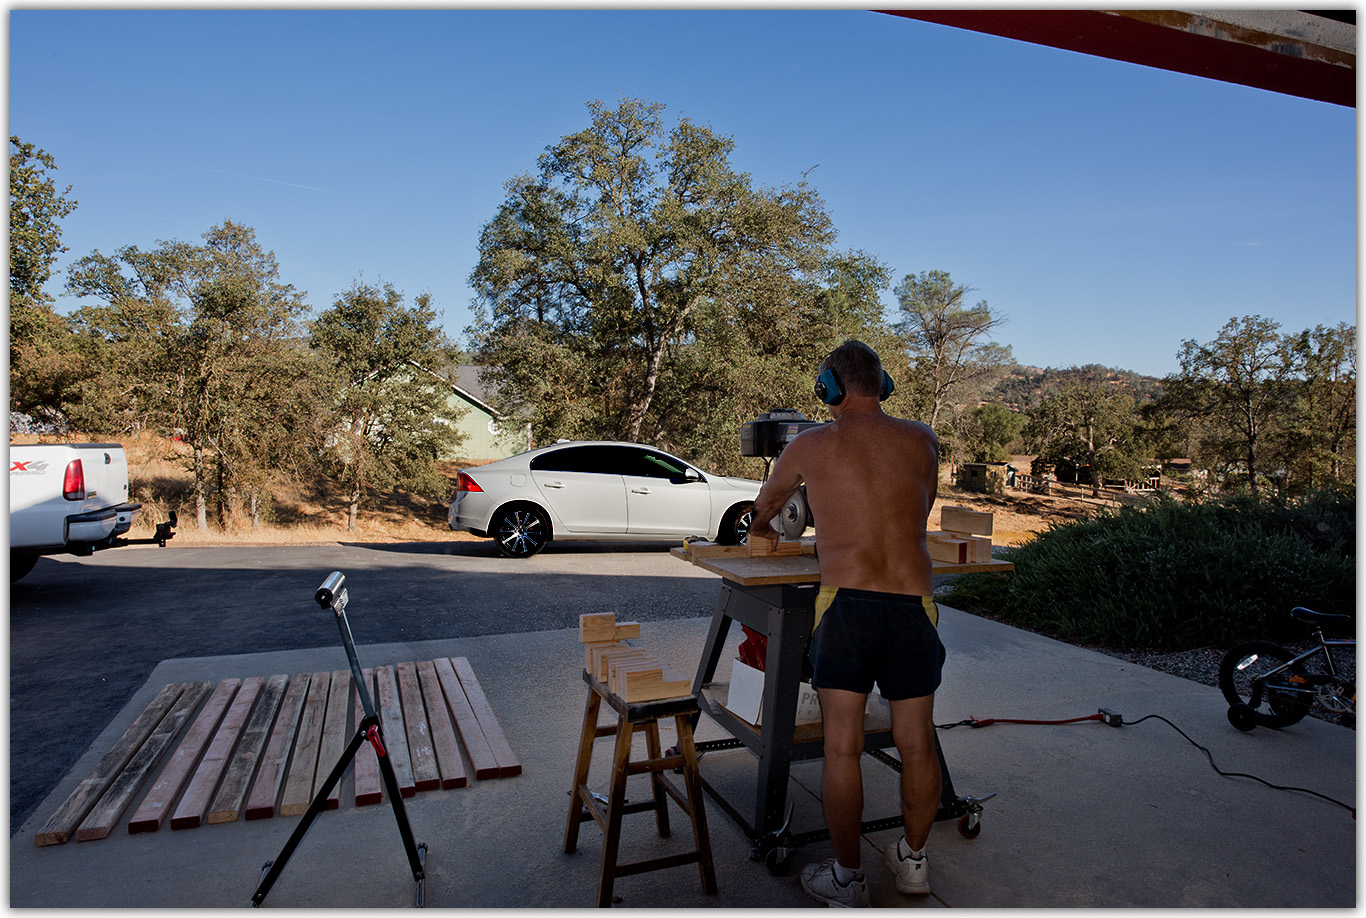
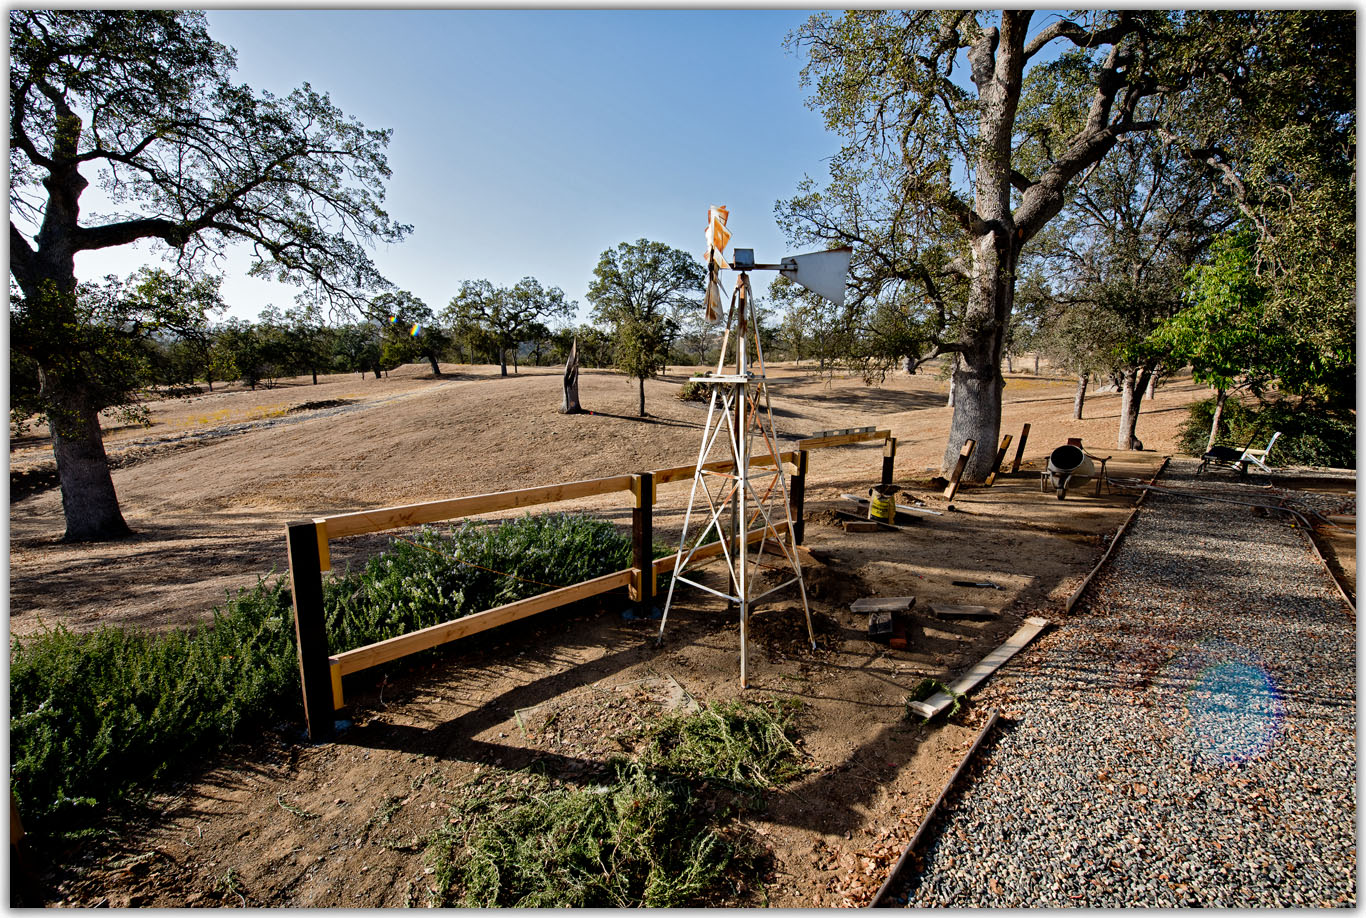
The cross member 2x4's are cut to length. I chose a unique method of attaching them to the 4x4 post.
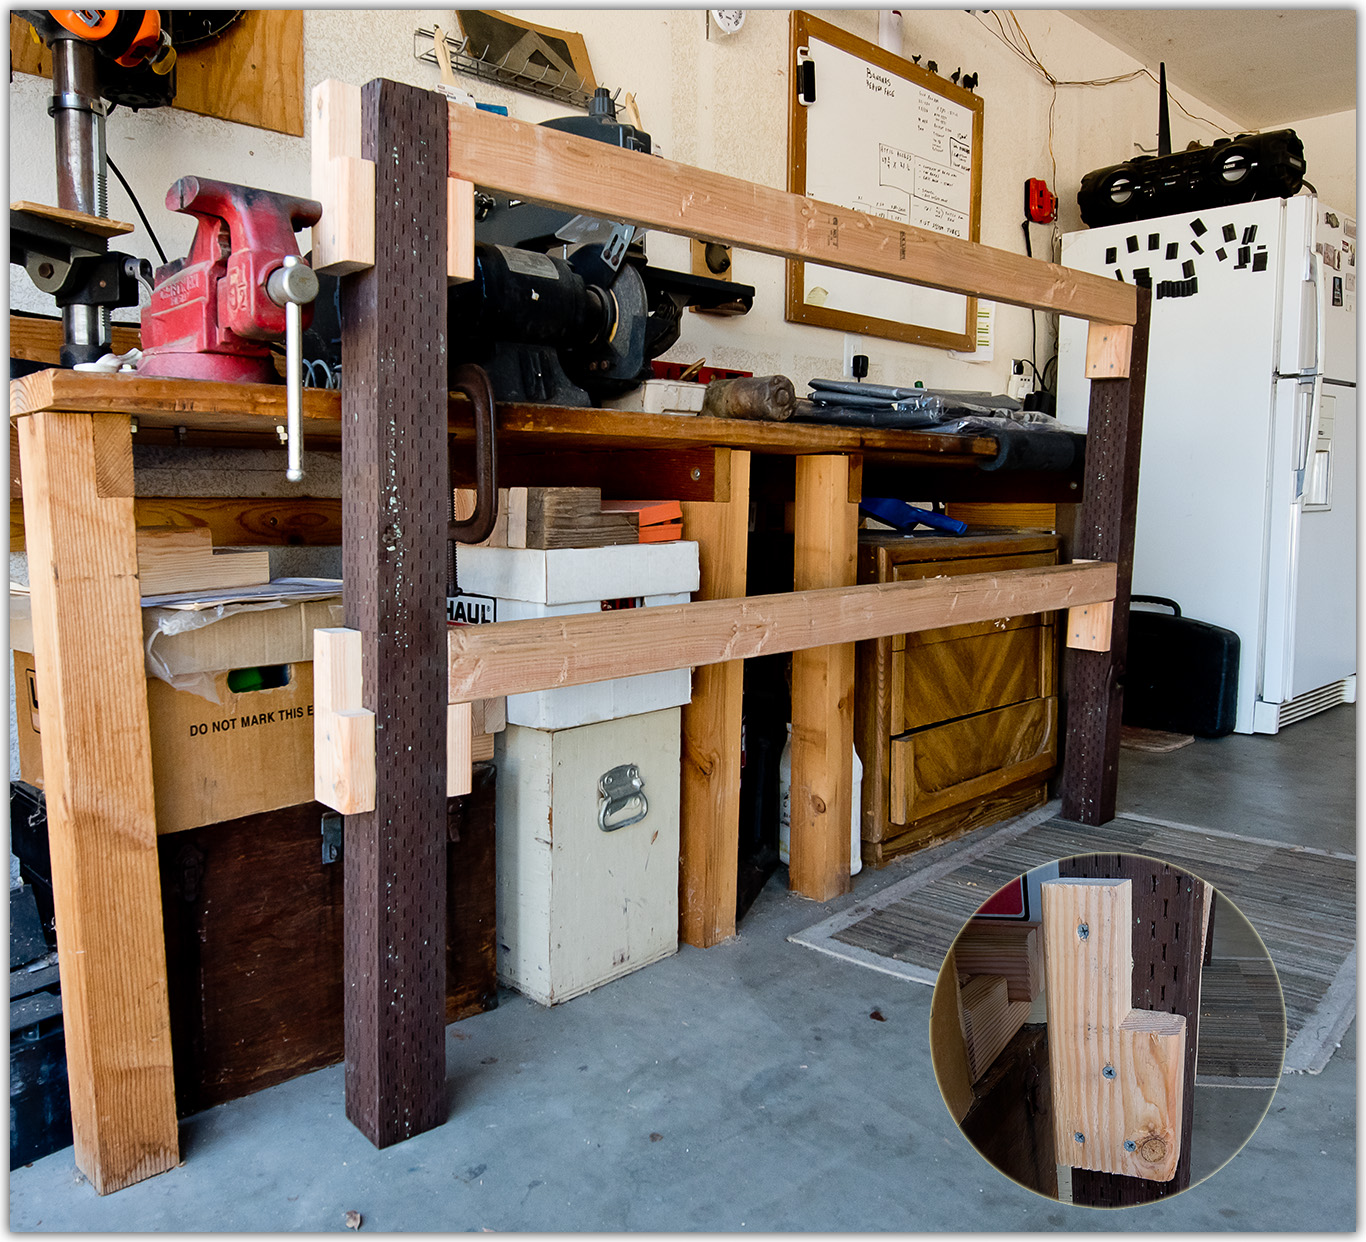
The "L" shaped boards will hold the board on it's side. That might keep it from sagging over the years.


I assembled the first panel in the garage. This shows a better example of the "L" boards.


In place, I found a need to trim the rosemarys. Mostly for build access.


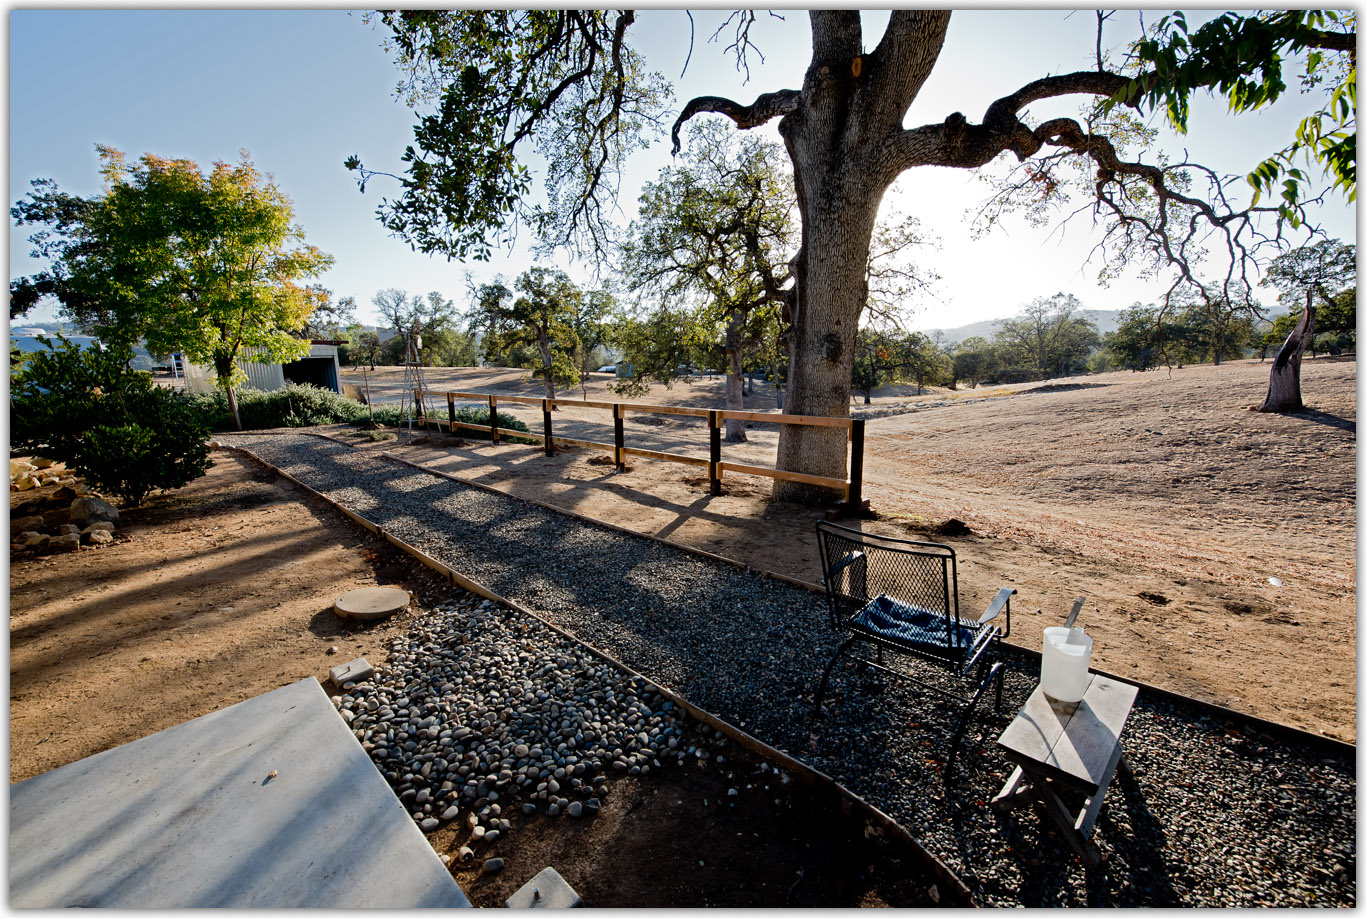
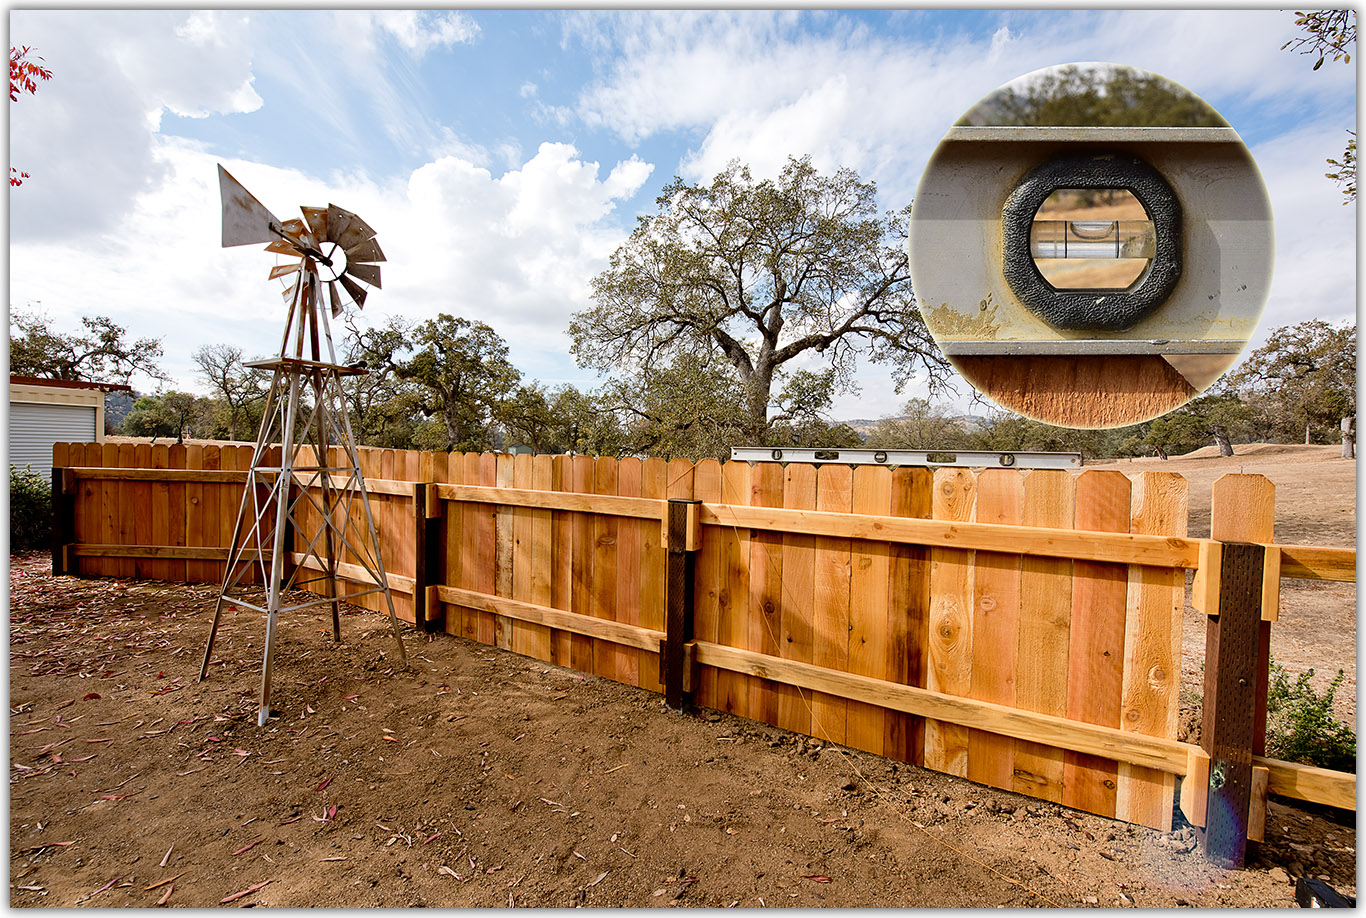
The rest I built "on location". It was a bit challenging to get it perfectly straight and level..


Progress


Level!


Straight!


The dog leg frame (left side, south side) was easier, just had to get it level.


I added more rosemarys to fill the gap to the oak tree.


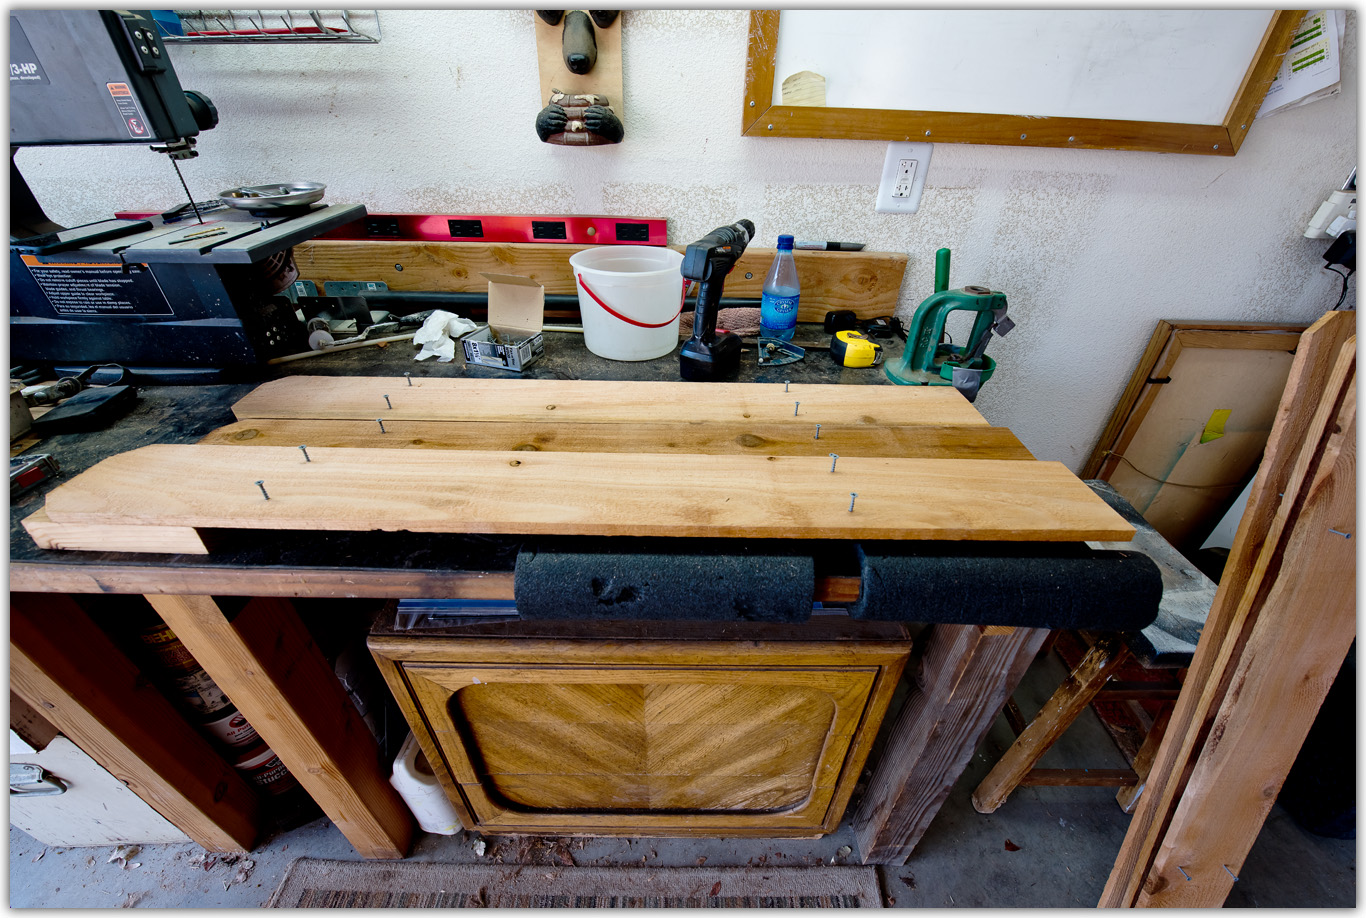
I placed the screws on the boards in the garage where I could measure them.
It's important to me to have the screws also level and evenly placed.


Adding the face boards.


I needed 90 boards, so I bought 100. Good thing, a few were cracked too much.
It's going to look great!


Level! Heh heh heh...


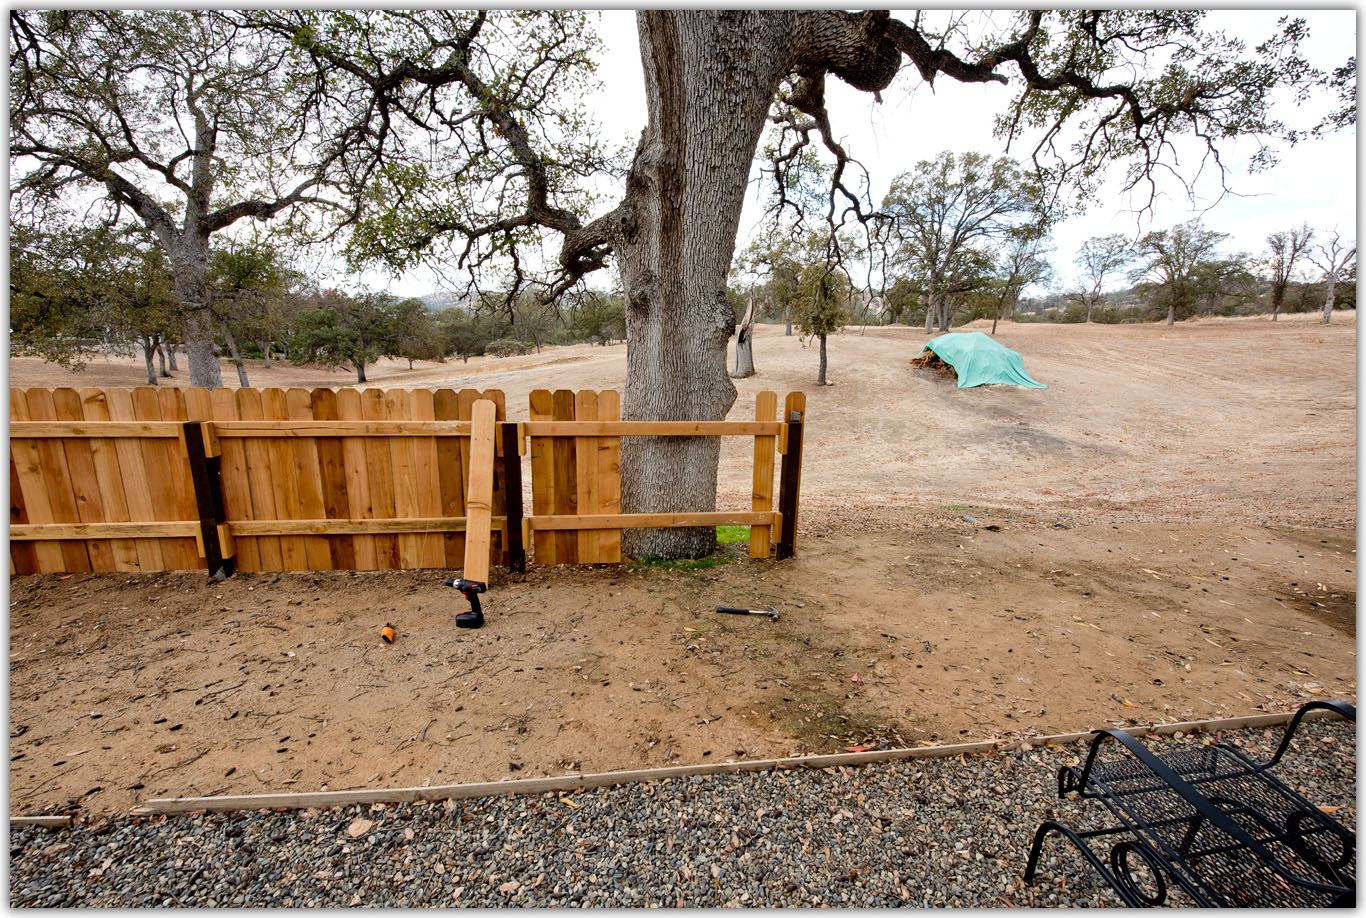
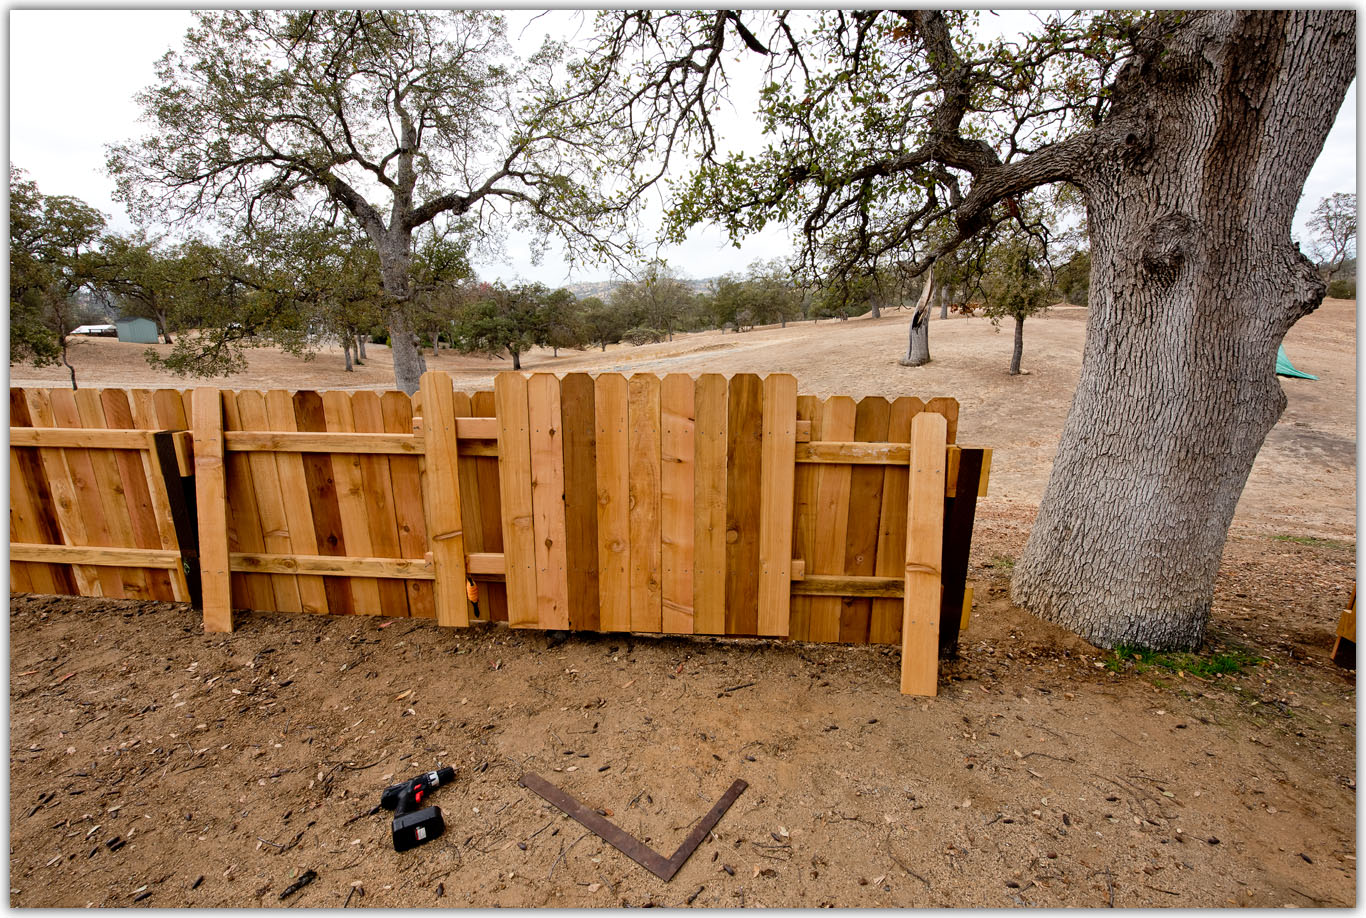
I knew it would be a challenge to place the boards at the tree. Time to climb that mountain.
The cross framing 2x4's were not glued so I could remove the entire panel.


Some boards were already placed, to hold the 2x4's still. I used a
square rather than the level to get the boards vertical on the frame.


YEAB BABY!
Looking good!


At the ends, the 4x4 posts didn't support the entire face board. Both sides got an extra
4x4 bolted to it's side. Both final boards are now supported to within an inch of it's edge.
This photo shows the double 4x4 on the south end.


Now that looks better!


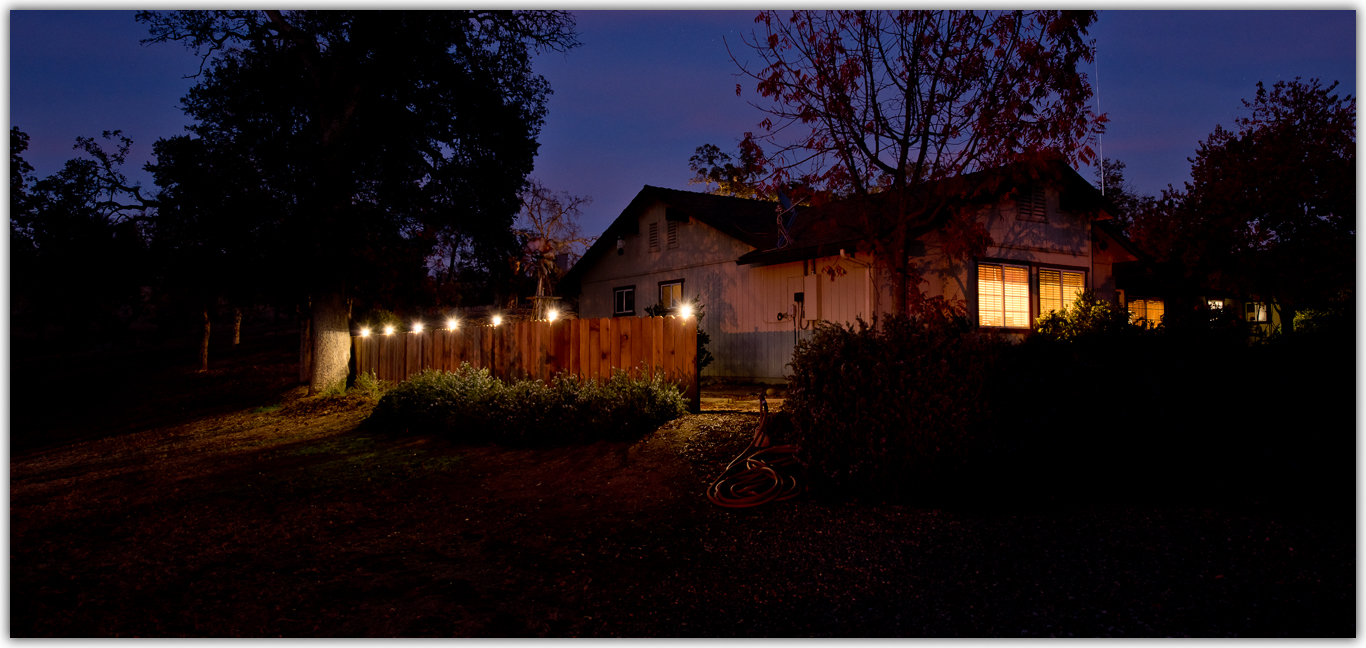
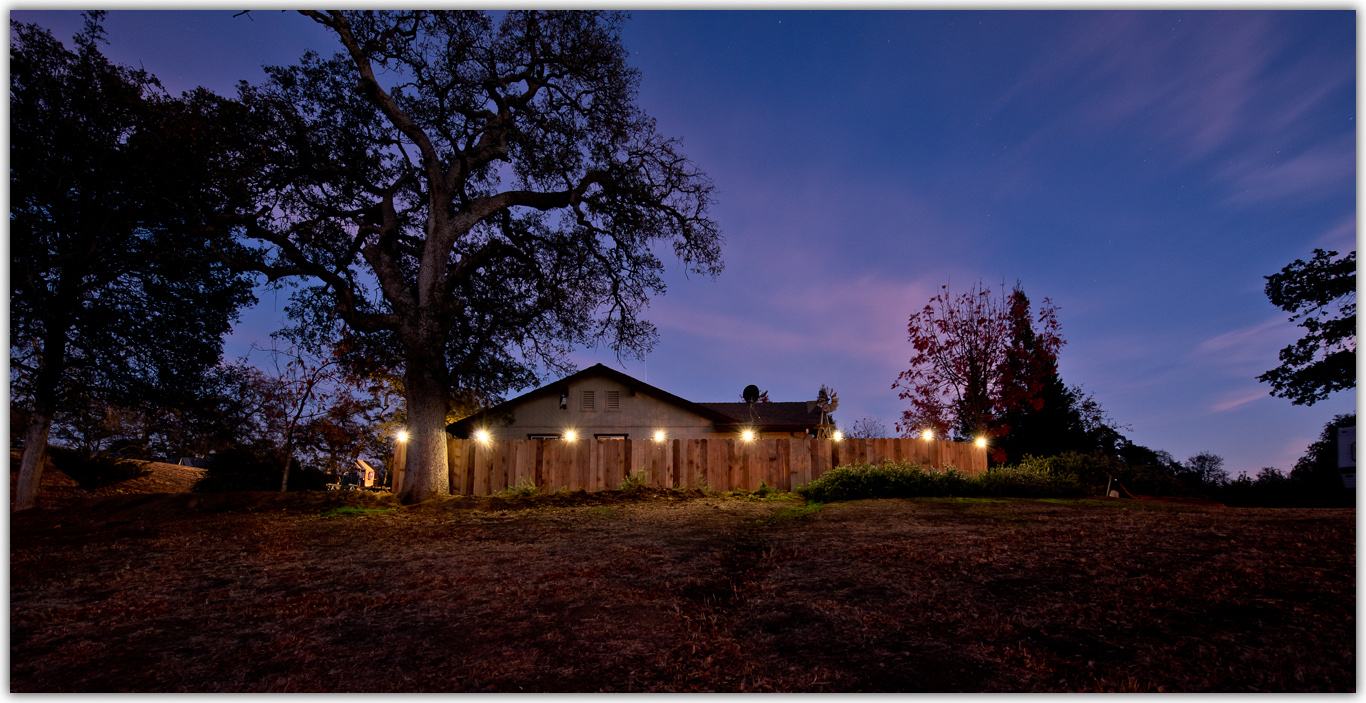
I added the solar lights. I attached them with wire ties between every 13th board. Knowing that
the plastic wire ties will decompose in the sun and rain, I put hot glue over them for protection.


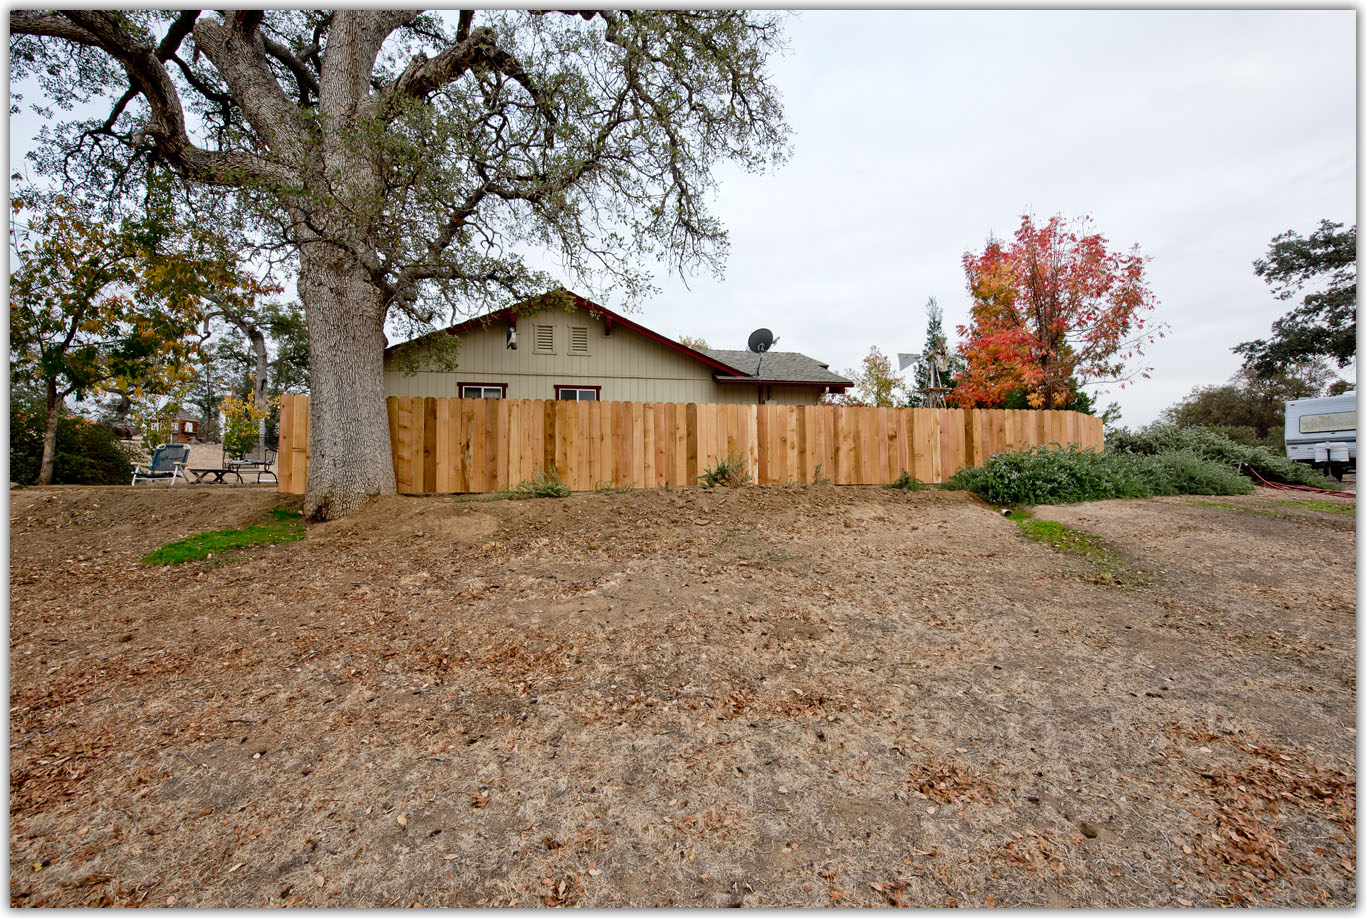
I'm happy with the results.