Heat Distribution System
Step 3
Living Room Vent

About the Photo Sequence
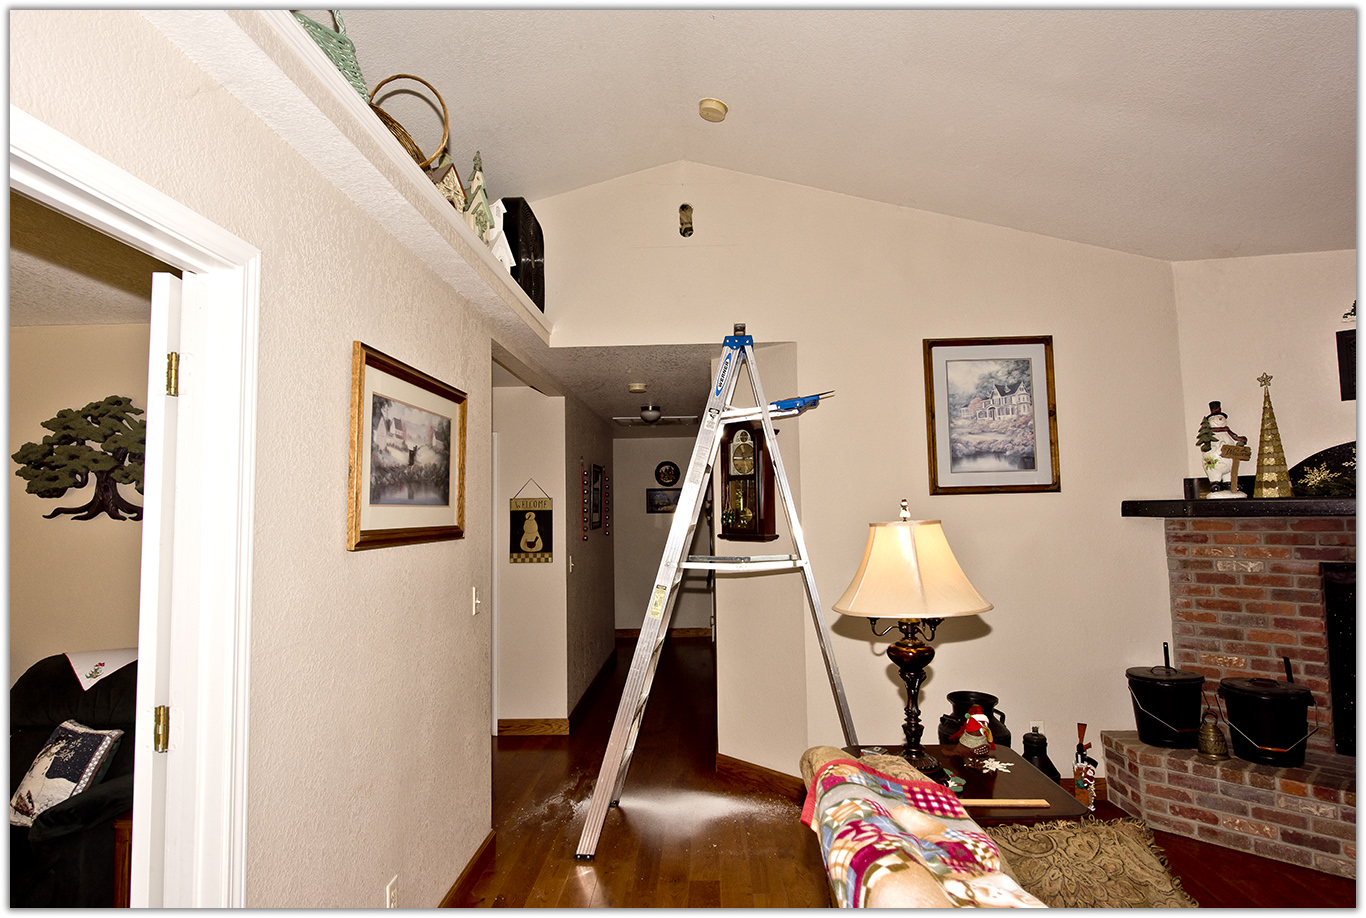
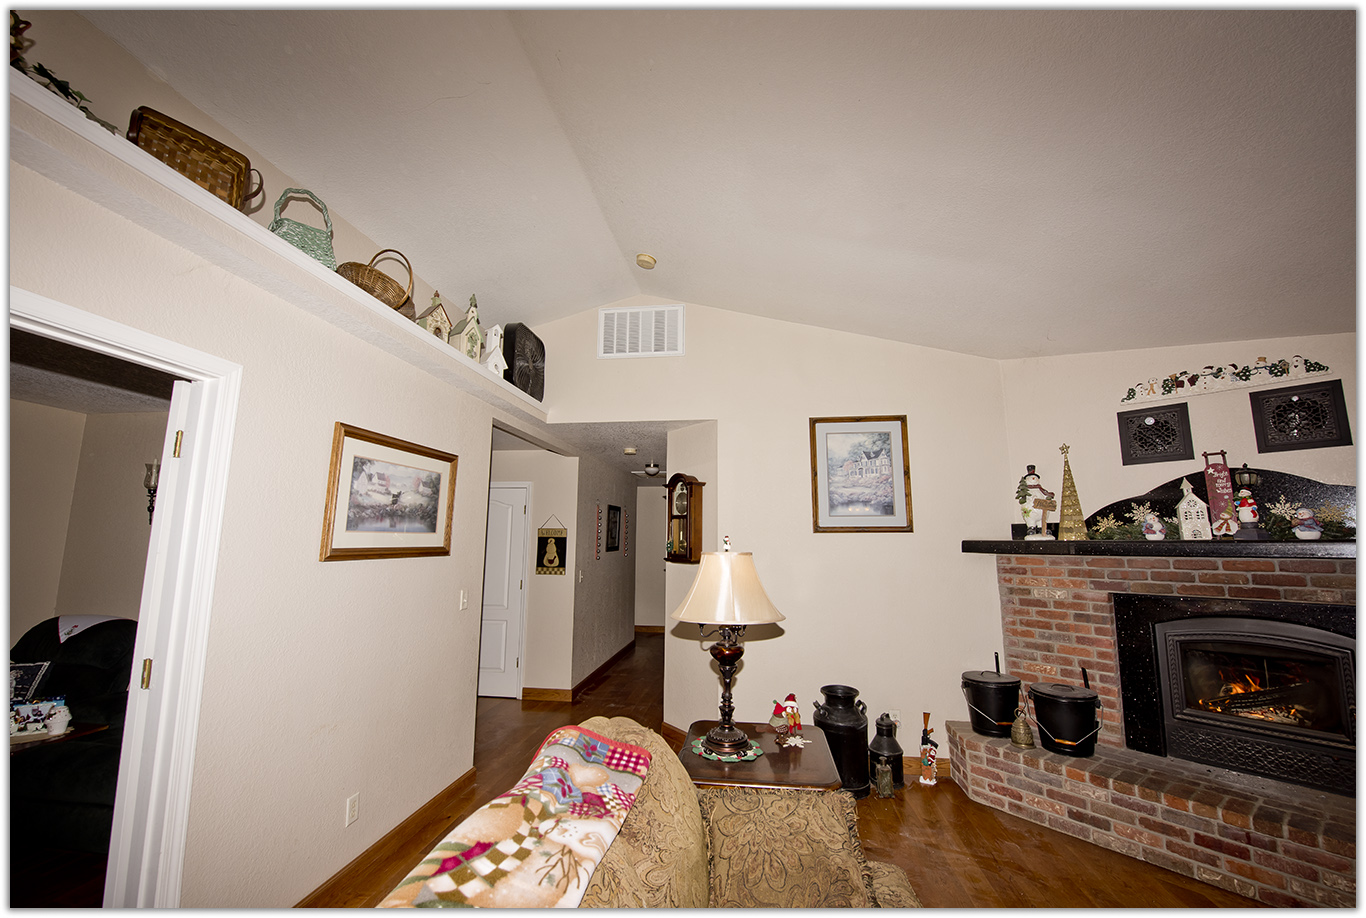
The source of the heat is the fireplace. Heat rises, so most of is resides at the apex of the cathedral ceiling. That's where I intend to draw the heat for the bedroom. This documents the placement ofd the heat source vent.

 
Photo Details
This photo sequence contains 8 frames. Each frame is a finite 1366 pixels wide but height was left to its own based on the crop. I based the picture size on an email program's display window asuming that the picture would not be automatically resized to fit. This technique kept the file size down, the largest being just less than 612k making it easy to send and receive through email. All photos were taken with a Nikon D810.

Download Photo Project


2018-12-HDS-LivingRoomVent.zip - 4390400 bytes.


Heat Distribution System
Step 3
Living Room Vent

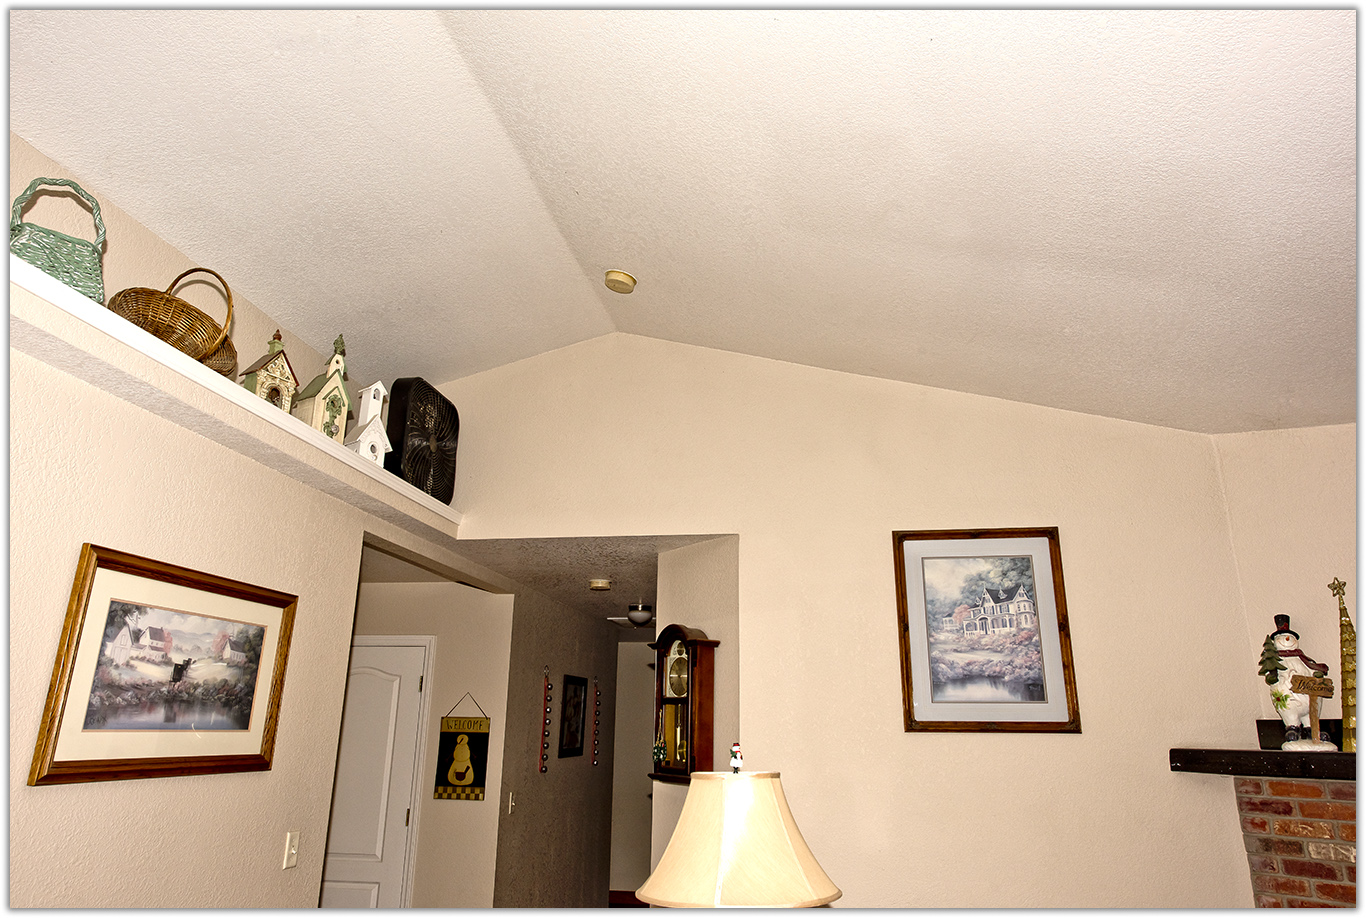
BEFORE
Doesn't that wall look great? I'm going to cut a big hole in it.


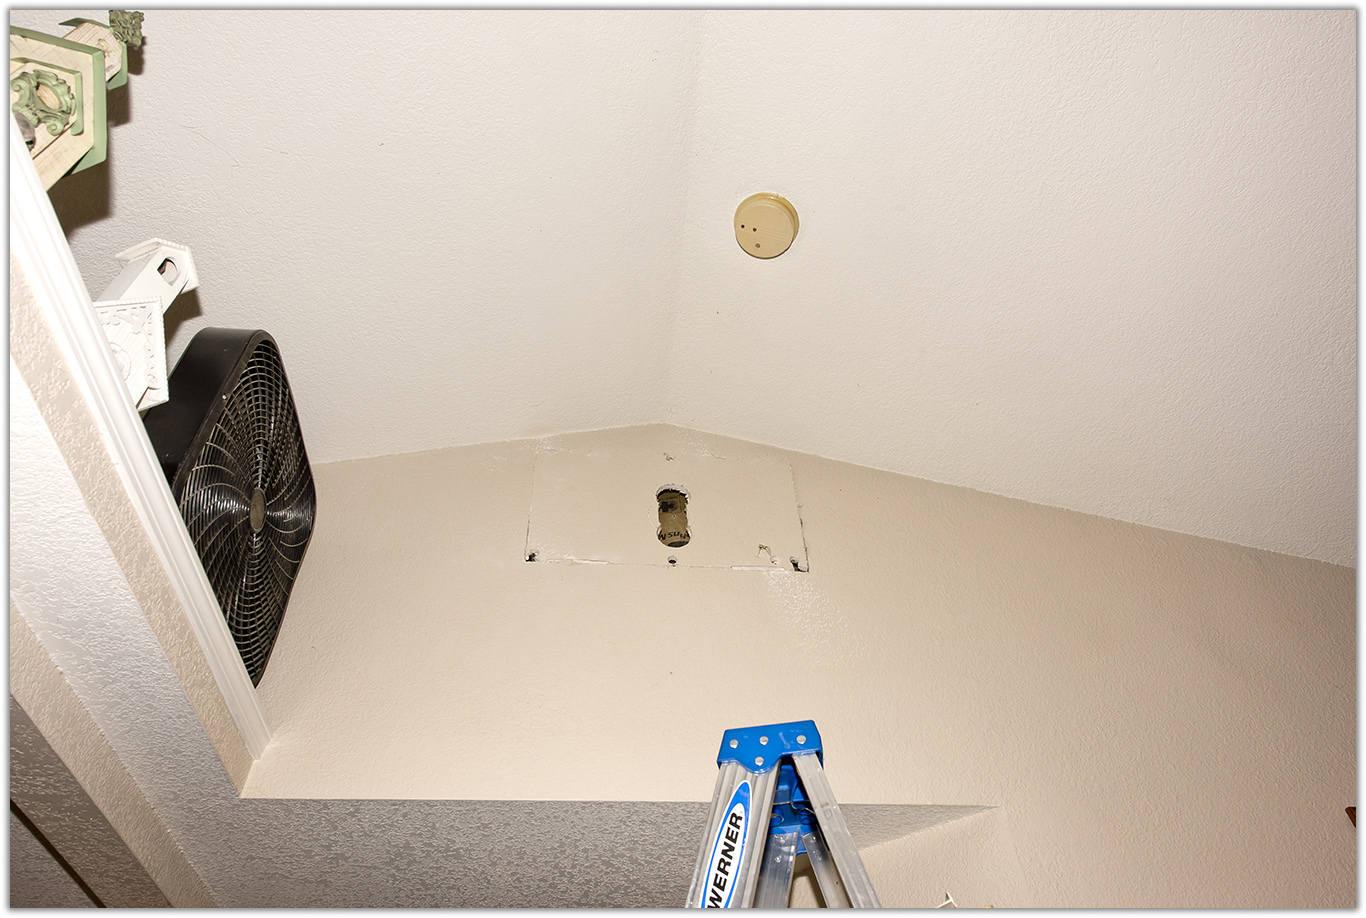
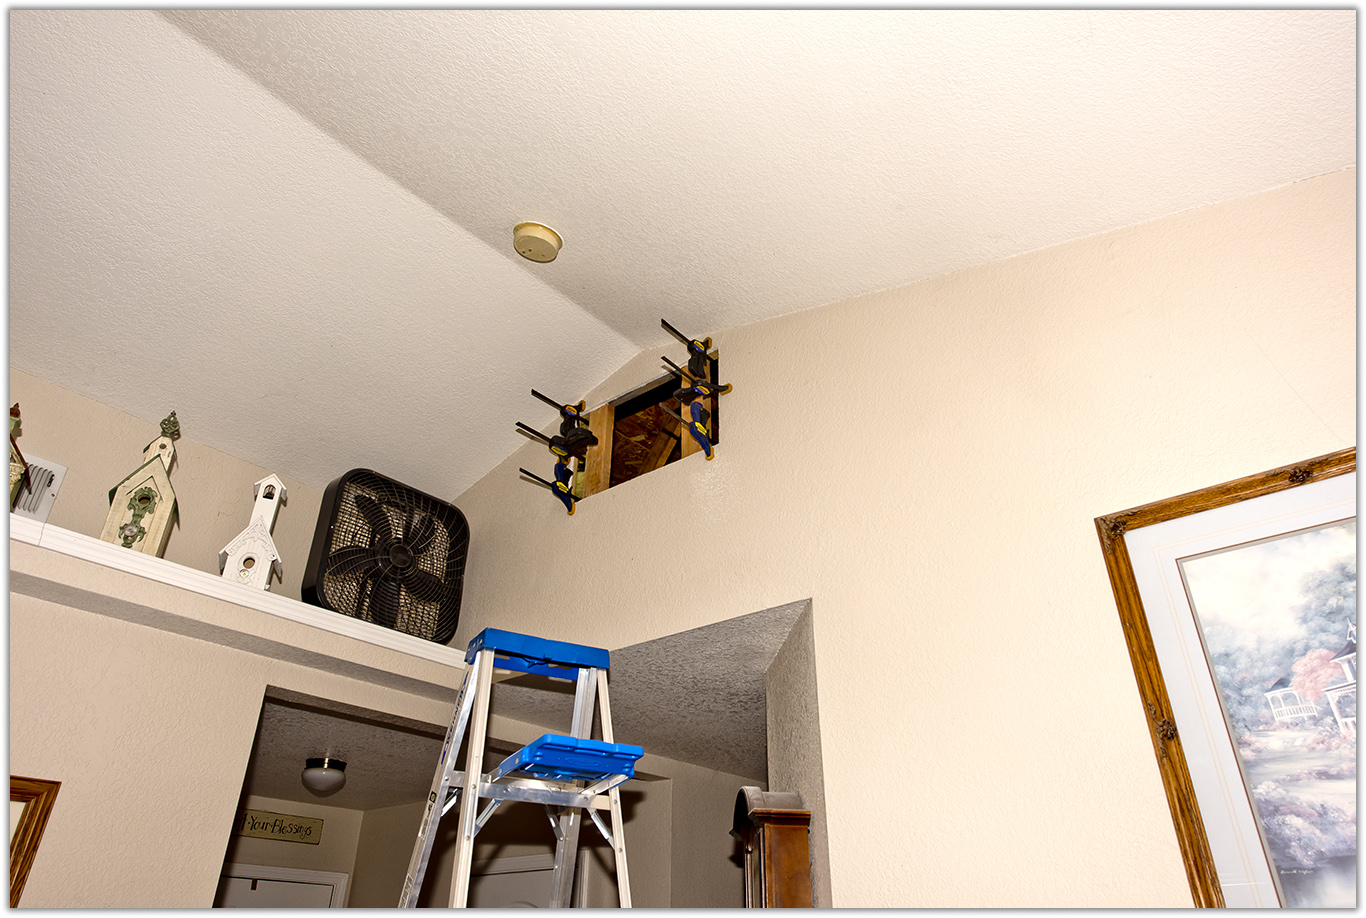
After measuring the vent frame, which will also hold a filter, the first holes are cut.


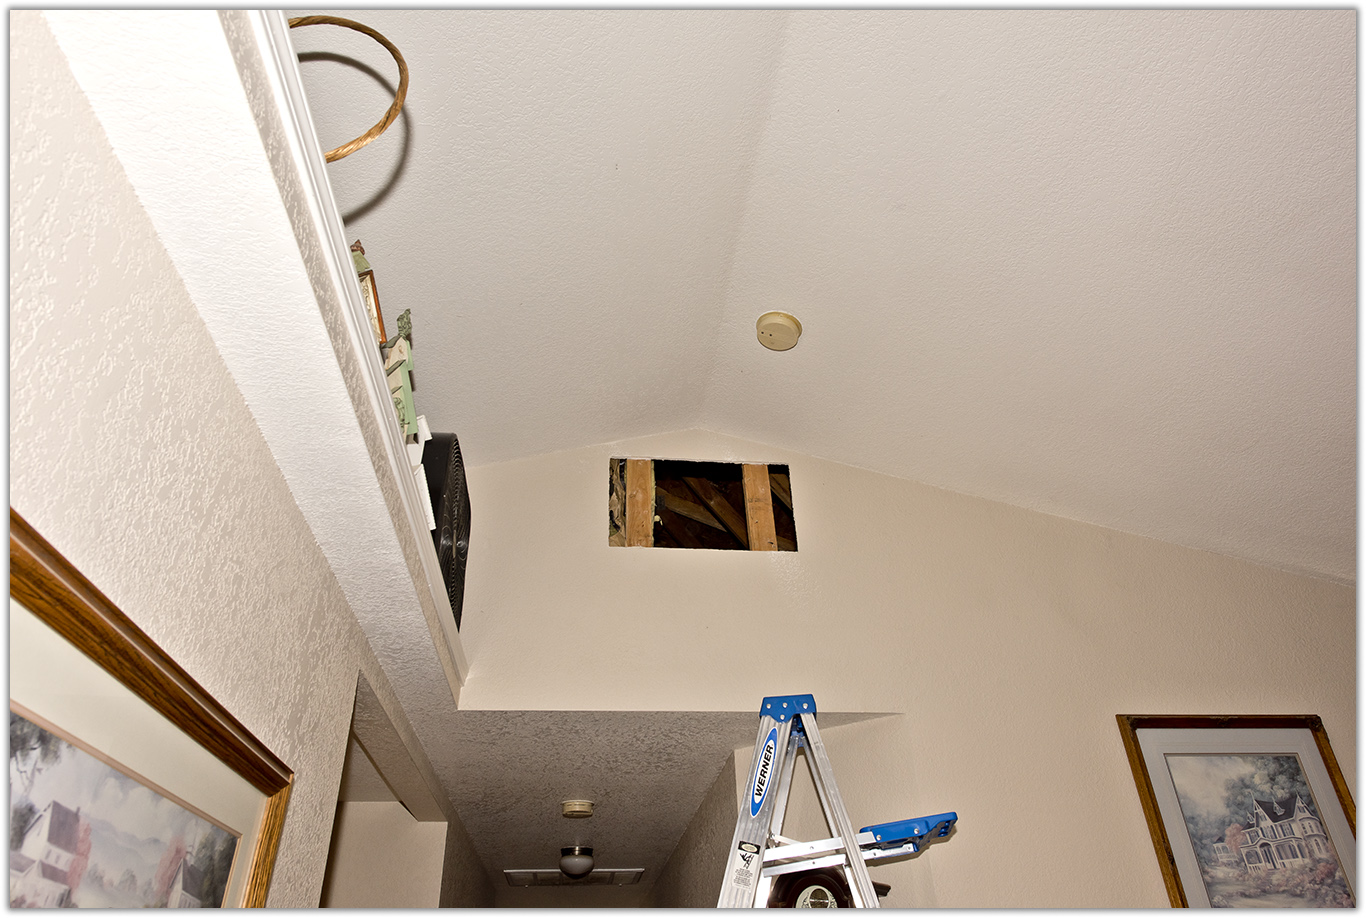
Further measuring and marking the wall, I cut the rectangular hole.


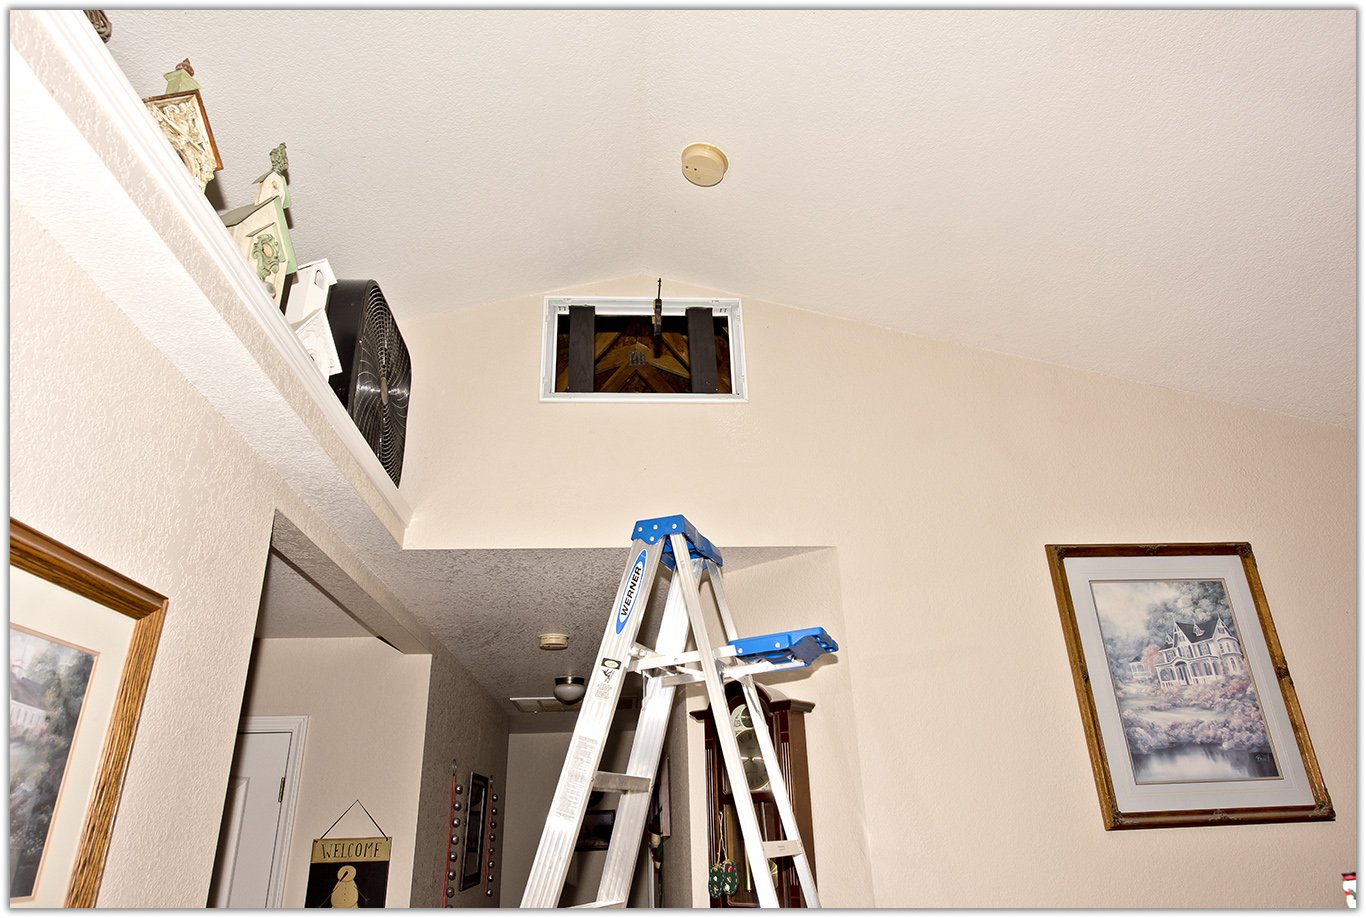
Well well well! What should I do with those 2 x 4's? I decided to leave them
alone. Why? Because I don't want to alter the structure of the house.
There's plenty of room for the air to flow around them.


With 2 x 4's, glue, and nails I reinforced the edges of the drywall on the inside.


I painted the 2 x 4's black. I had to cut the vent frame to place it around those 2 x 4's.
The filter will have to be altered a bit when it's time to insert one.
I'll climb that mountain when I get there.


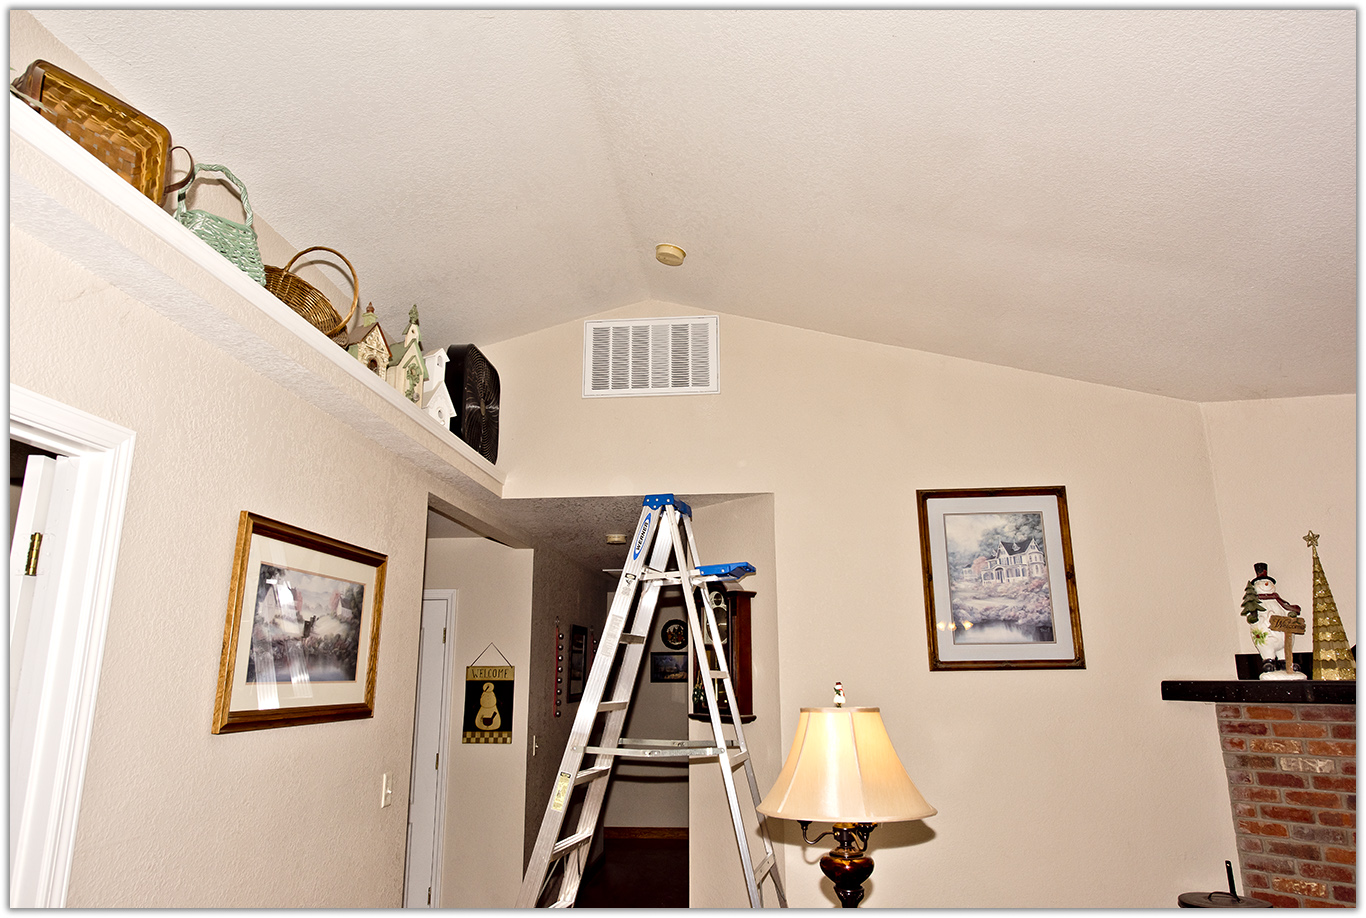
Doesn't look too bad. The slats are angled down, into the attic.
That way, it'll draw the hot air from above, not below.
Lucked out on that one.


AFTER
Without photos, I got the fan into the attic. It barely fit through the access hole
in a bedroom closet. It's up there, waiting for the next step.