Heat Distribution System
Step 6
Ducting

About the Photo Sequence
This step hooks up the duct pipes. With an extension cord and a timer, I made it functional. This documents the install and insulation of the ducting pipes and connectors.

 
Photo Details
This photo sequence contains 11 frames. Each landscape frame is a finite 1366 pixels wide but height was left to its own based on the crop. I based the picture size on an email program's display window asuming that the picture would not be automatically resized to fit. This technique kept the file size down, the largest being 838k making it easy to send and receive through email. All photos were taken with a Nikon D810 and a Samsung Galaxy S7.

Download Photo Project


2020-11-HDS-Ducting.zip - 6799973 bytes.


Heat Distribution System
Step 6
Ducting

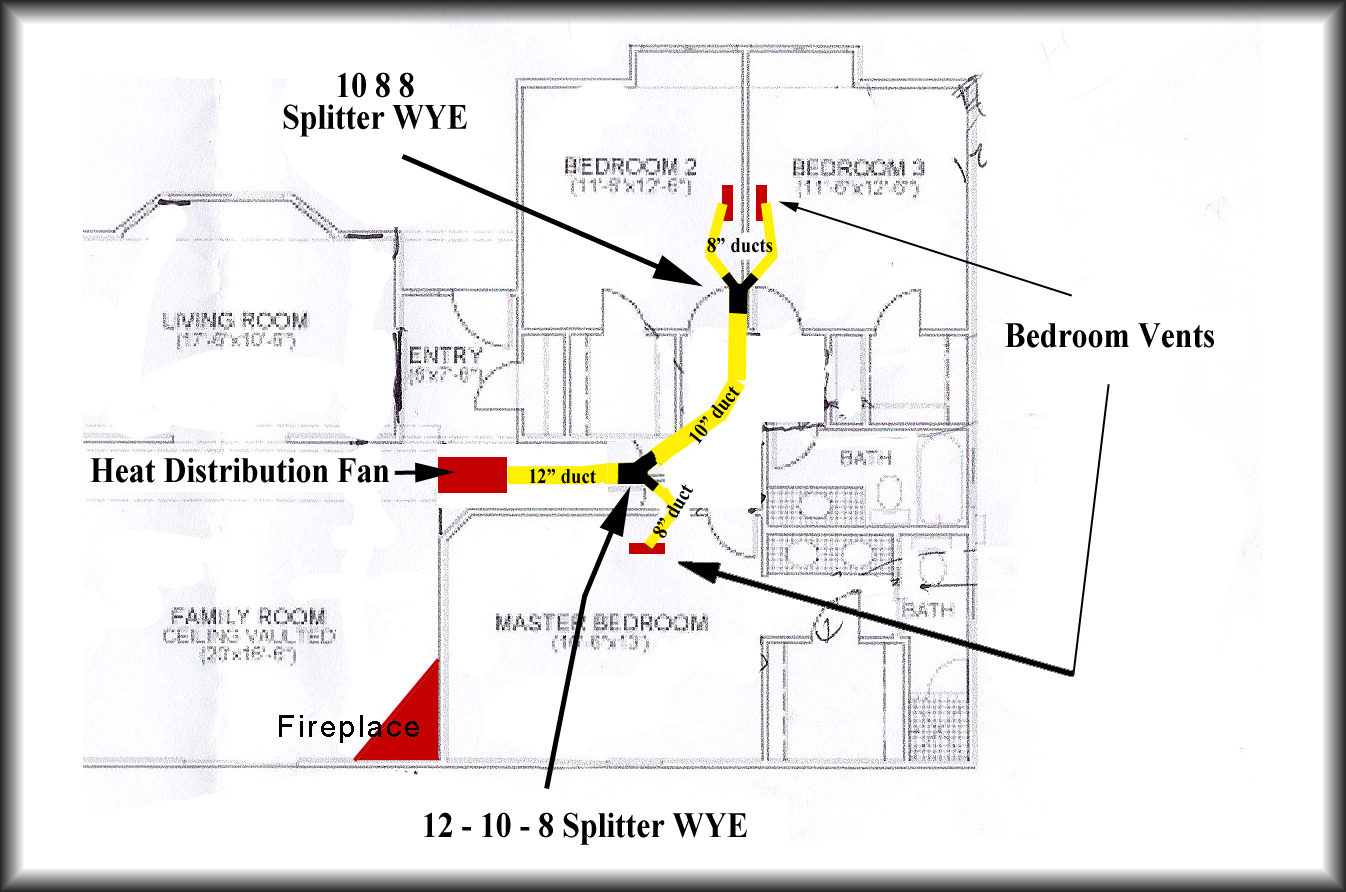
From the drawing board, here's the design.


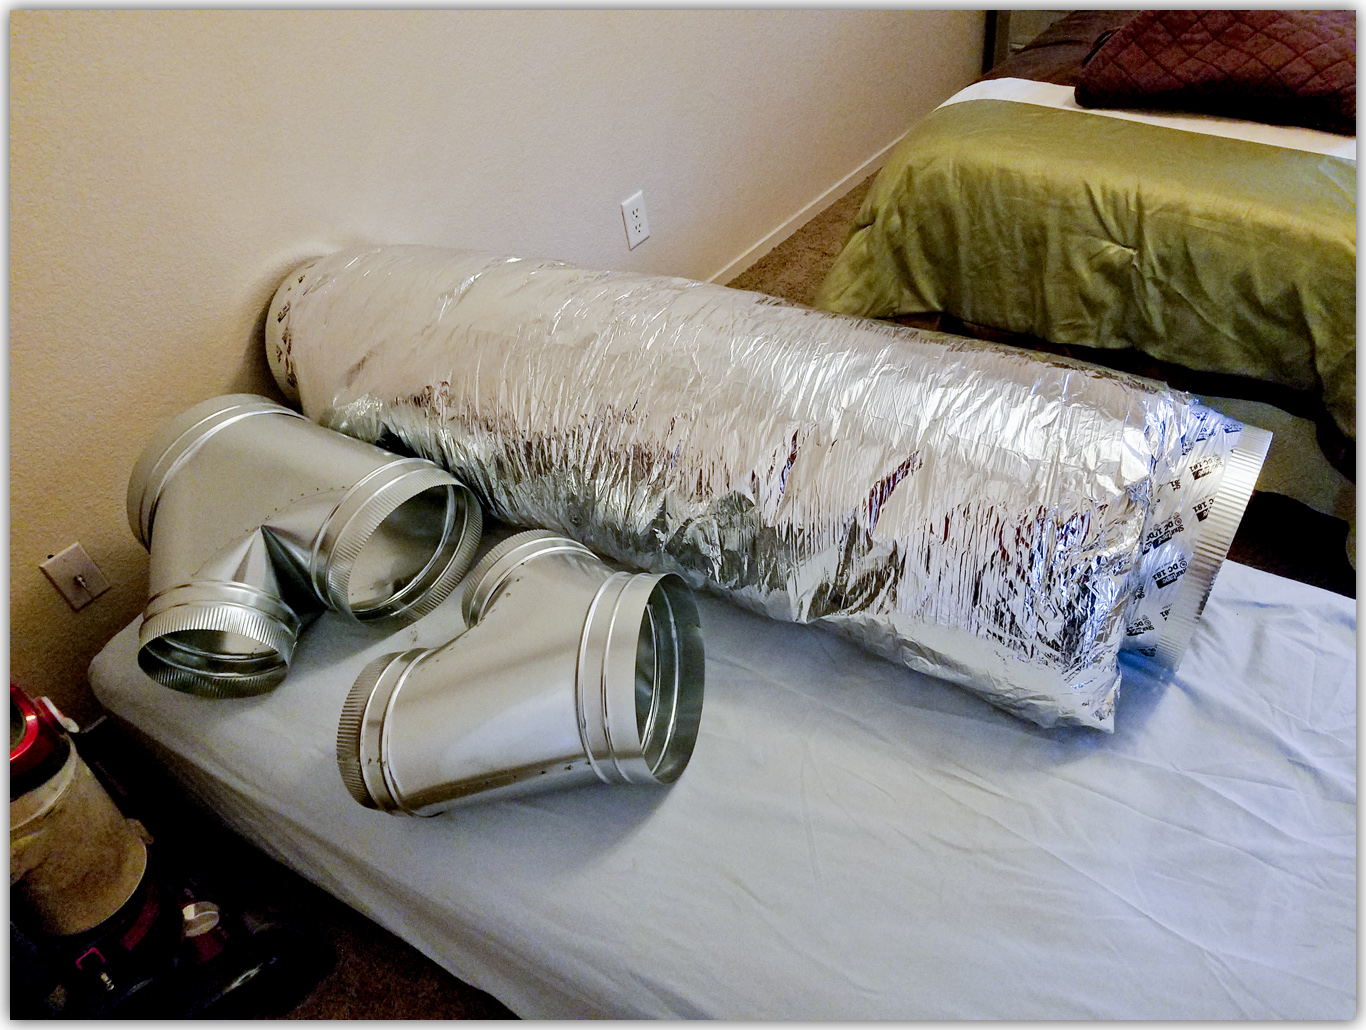
These are the duct parts for the first section. A 5' insulated duct pipe, 12" diameter.
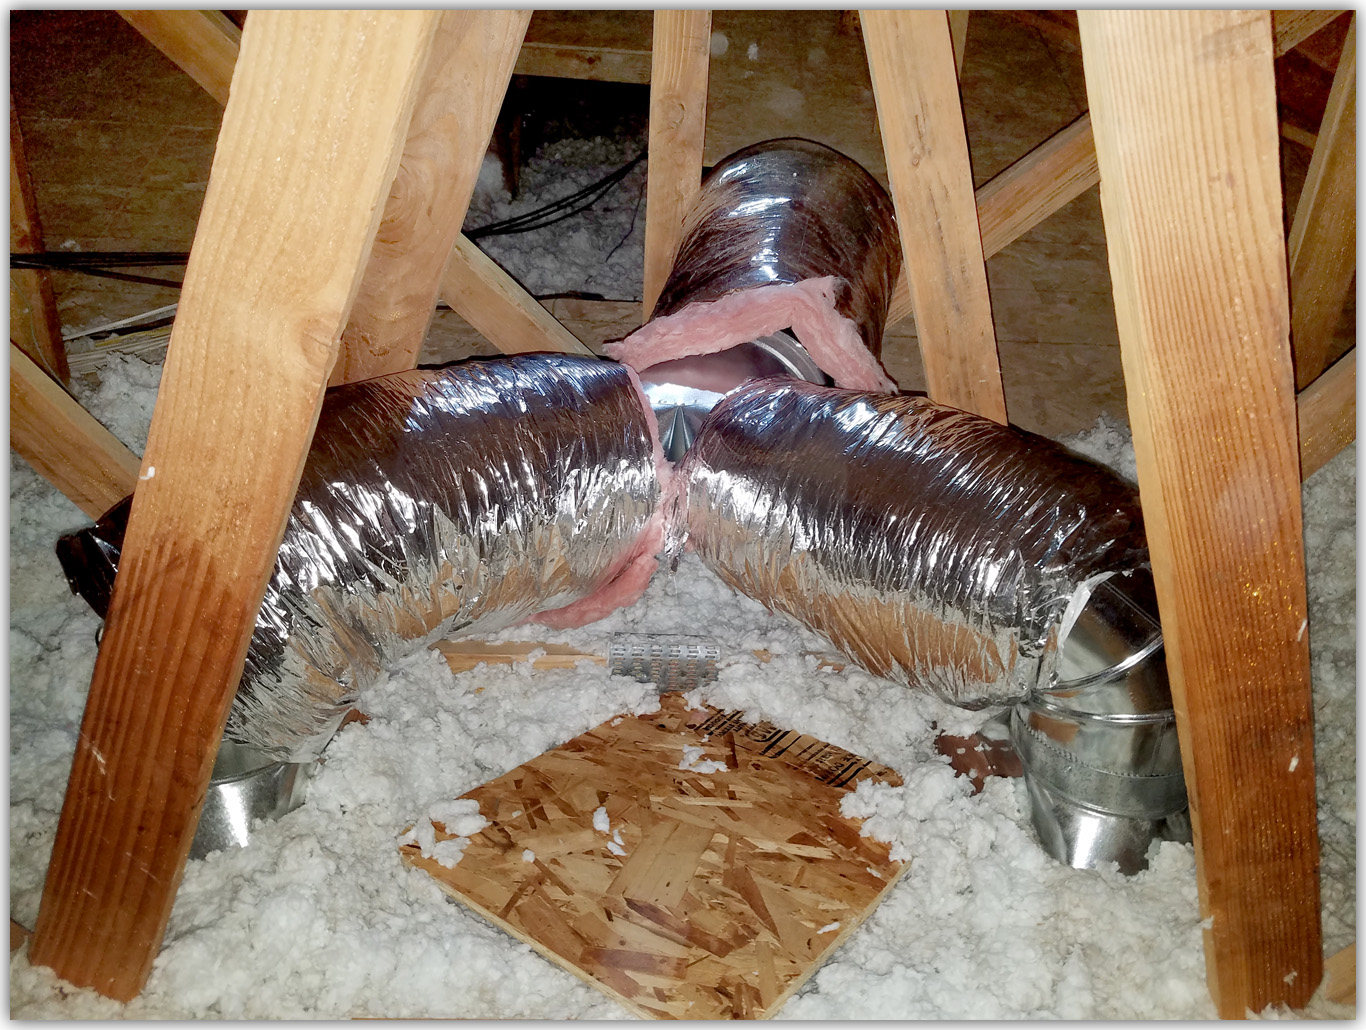
On the left is a 12 - 10 - 8 WYE
On the right is a 10 - 8 - 8 WYE.


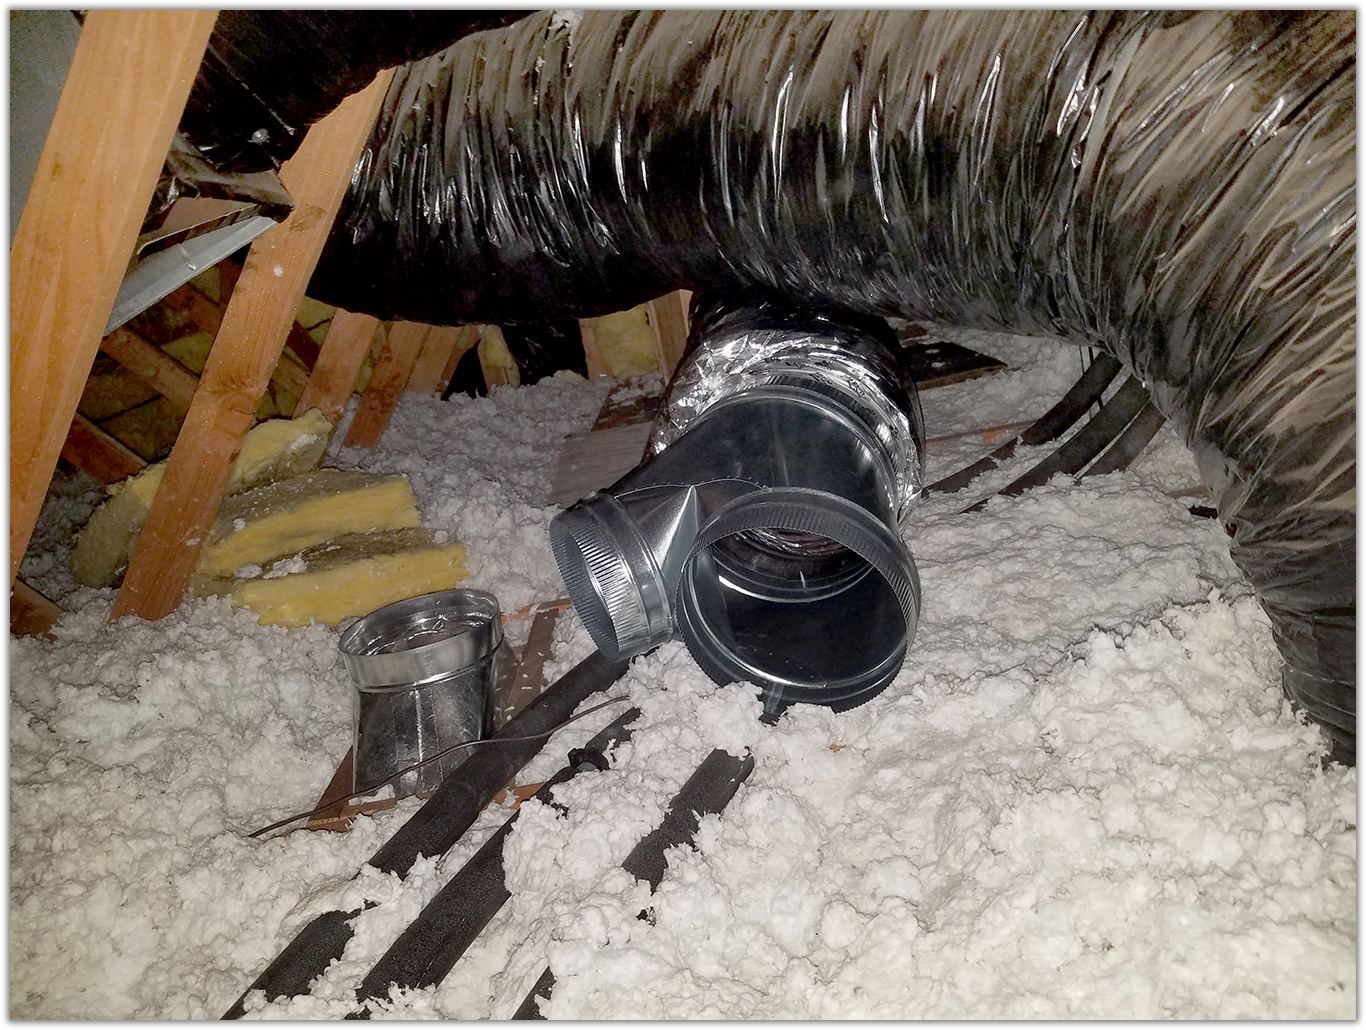
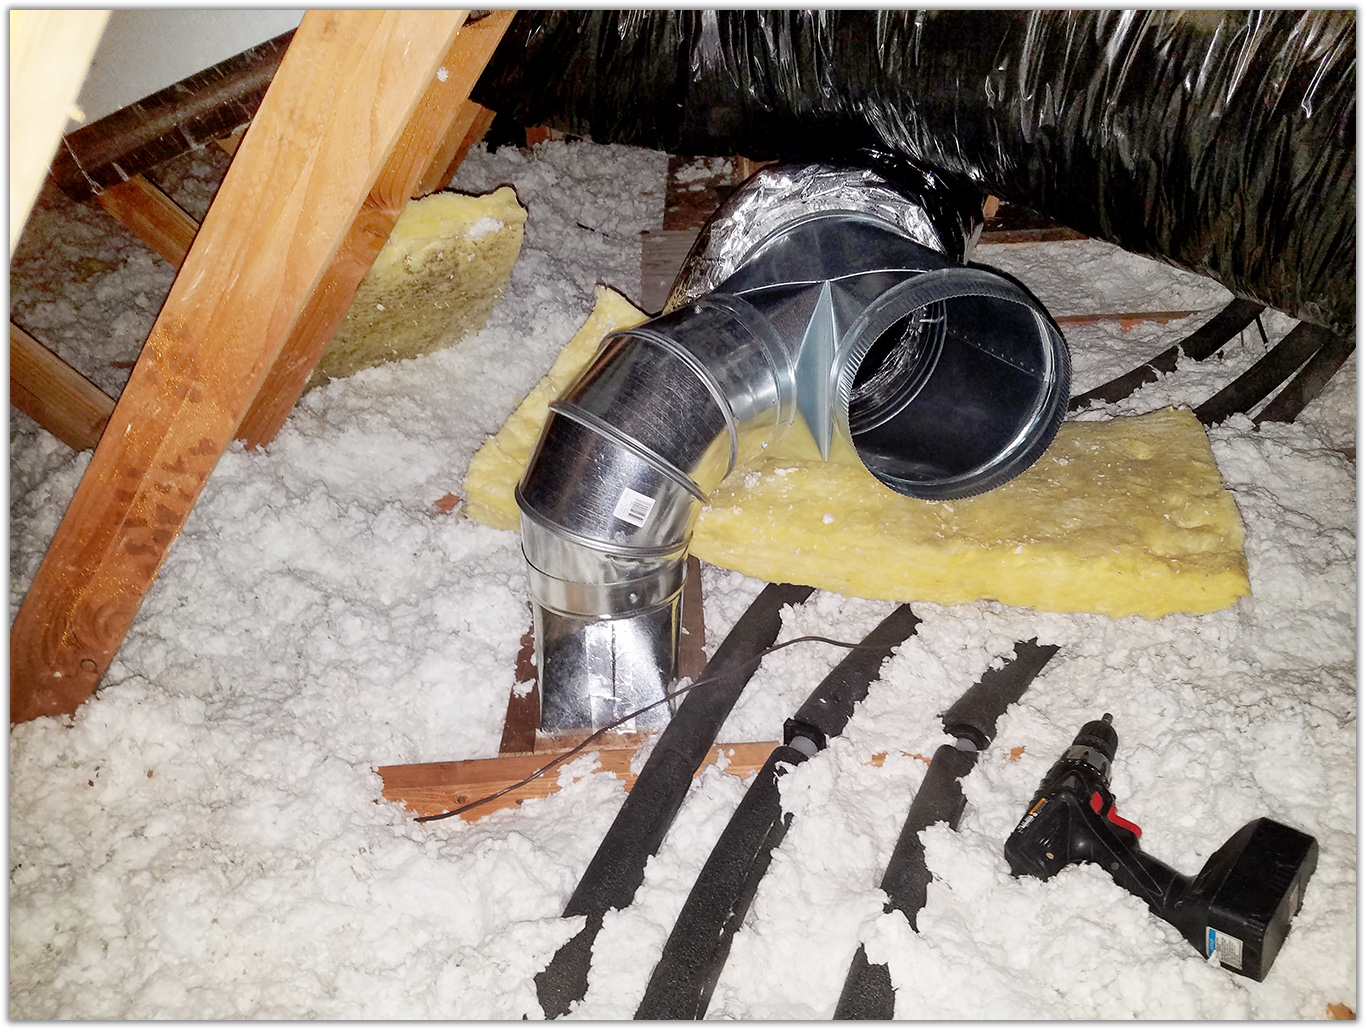
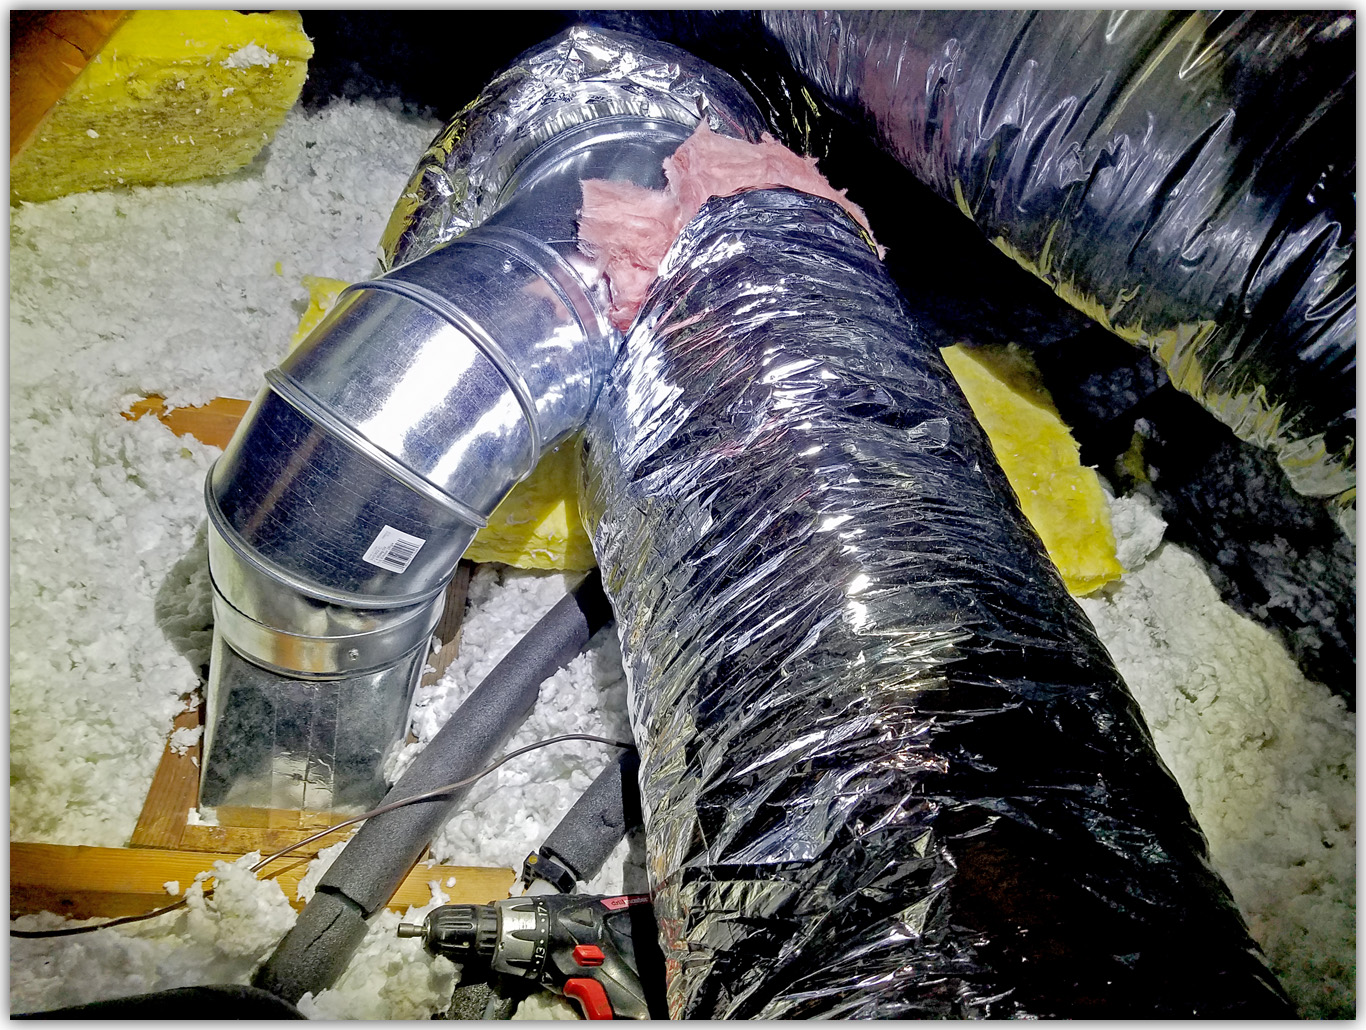
The 5' x 12" duct was the perfect length. Installing the 12-10-8 WYE on
the other end put the 8" hole right next to the mastrer bedroom vent.


All I need is a 90° connector.


Yeah Baby! Yeah!!!
Having the shortest distance from the fan means the least air flow resistance.
This vent gets more air pressure than the other two bedrooms.
A baffle will fix that some day.


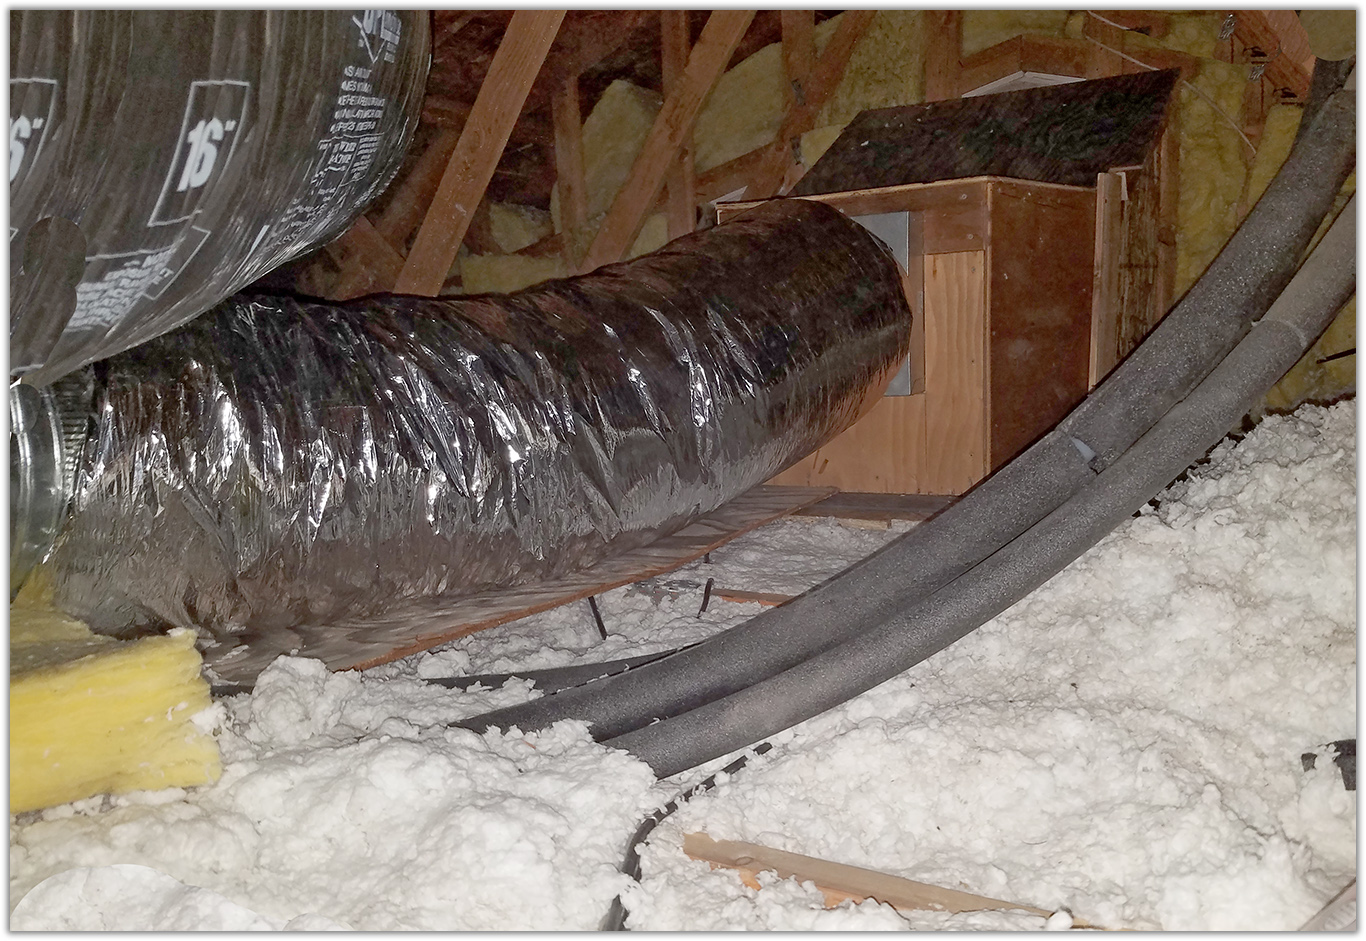
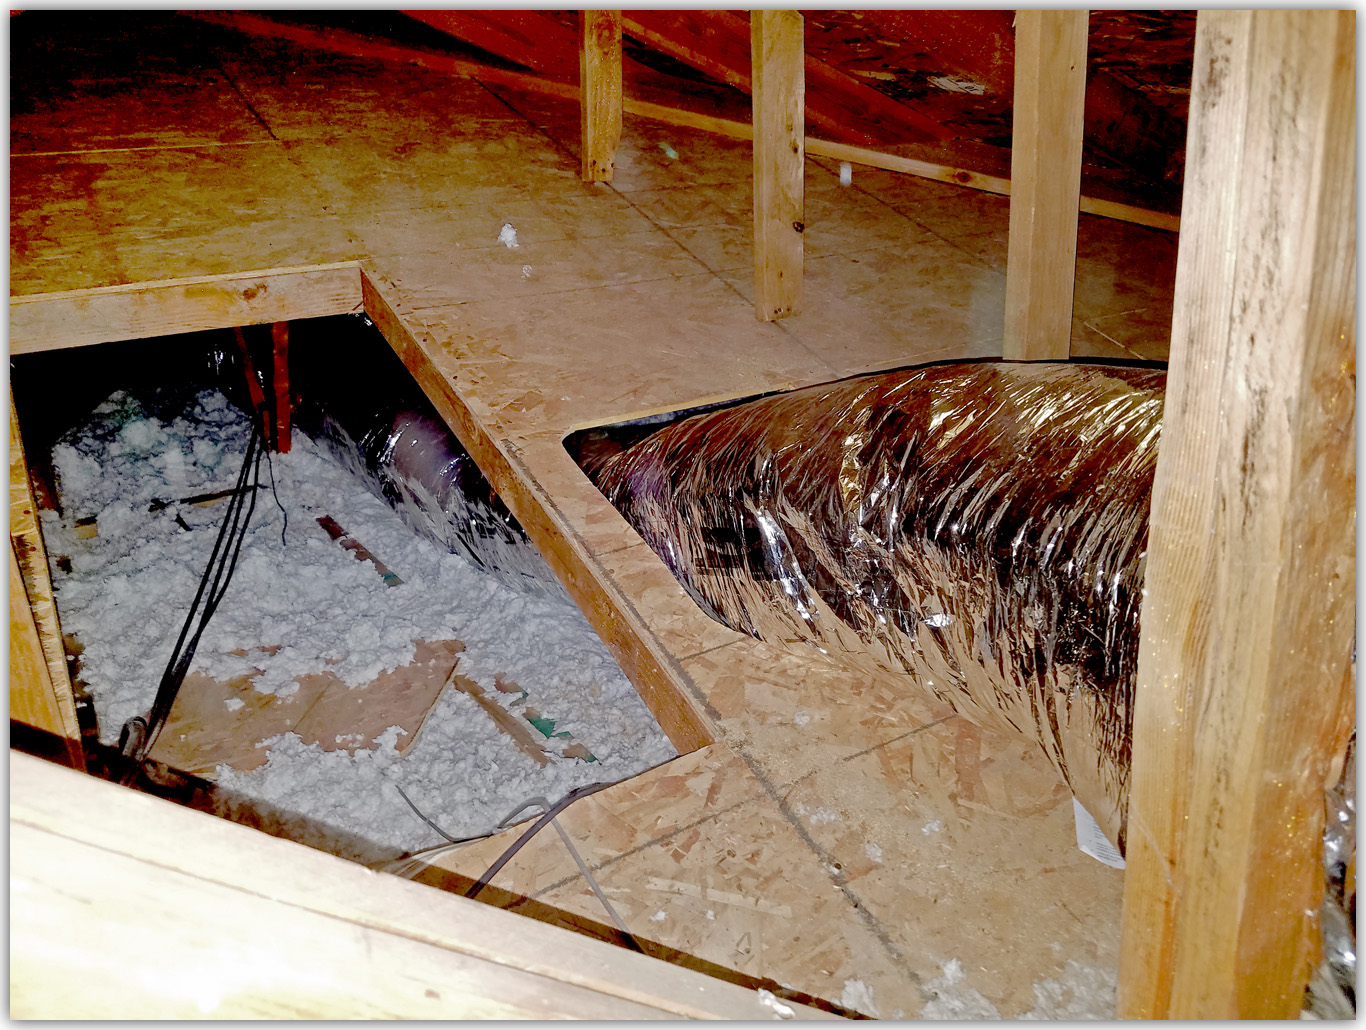
The next duct pipe is 10" diameter x 25'.
It comfortably reached the two bedroom vents.


I had to cut a hole in the particle board, or I'd have no access to that section of attic.


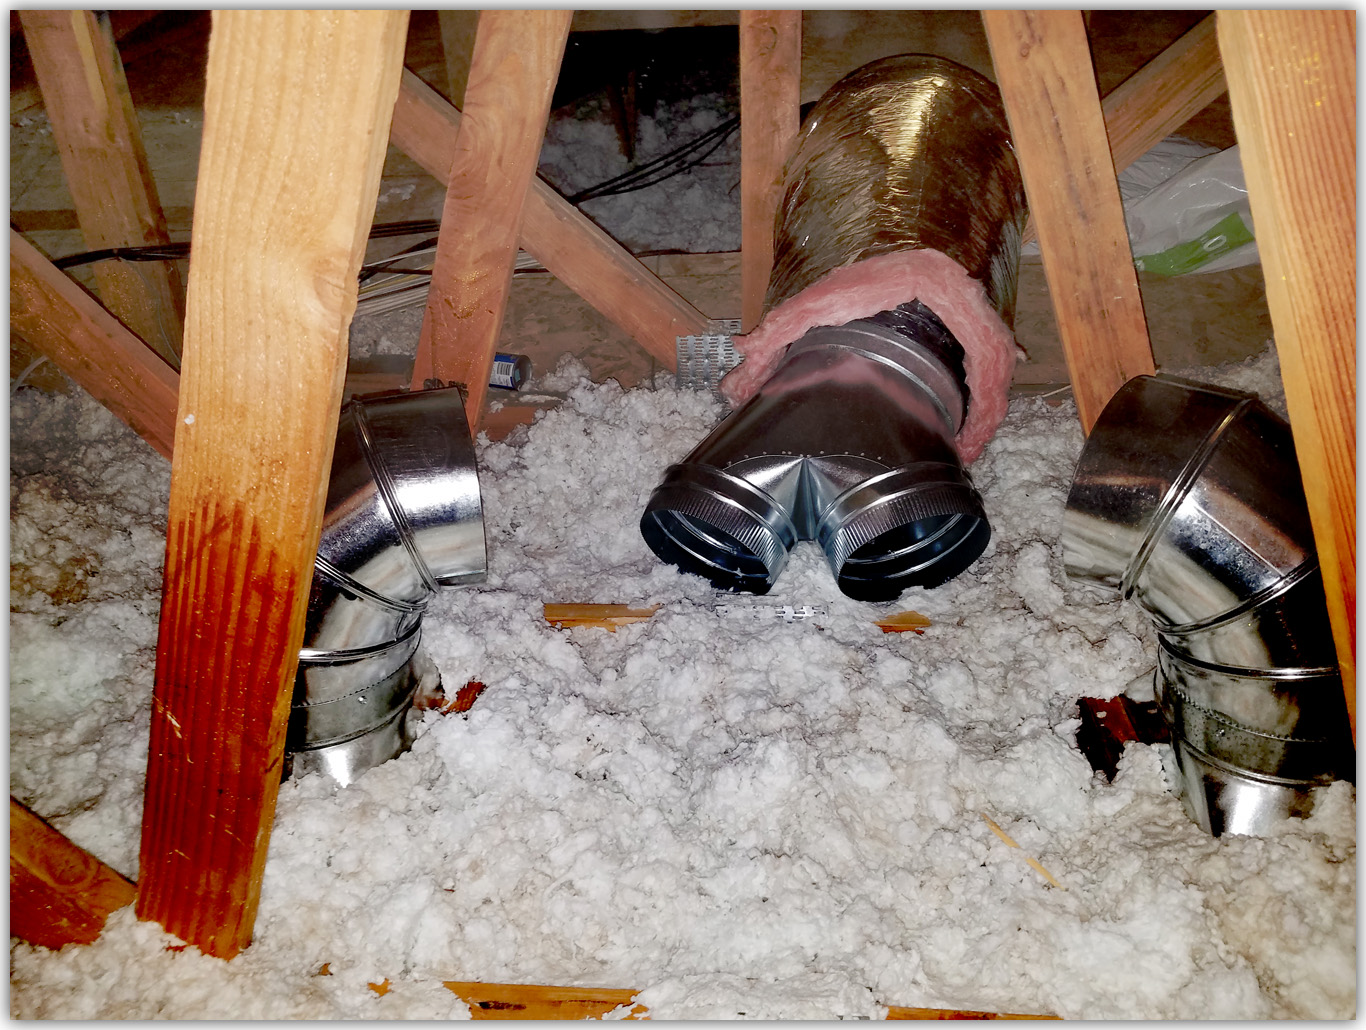
On the other end I placed the 10 8 8 WYE.


All hooked up to the 90° connectors and it's time to test it!
As I expected, the airflow to the master bedroom
exceeds the airflow to the other bedrooms, but not by much.
A baffle to decrease airflow to the master bedroom
will increase flow to the other two bedrooms.
That would be perfect but it's not necessary at this time.


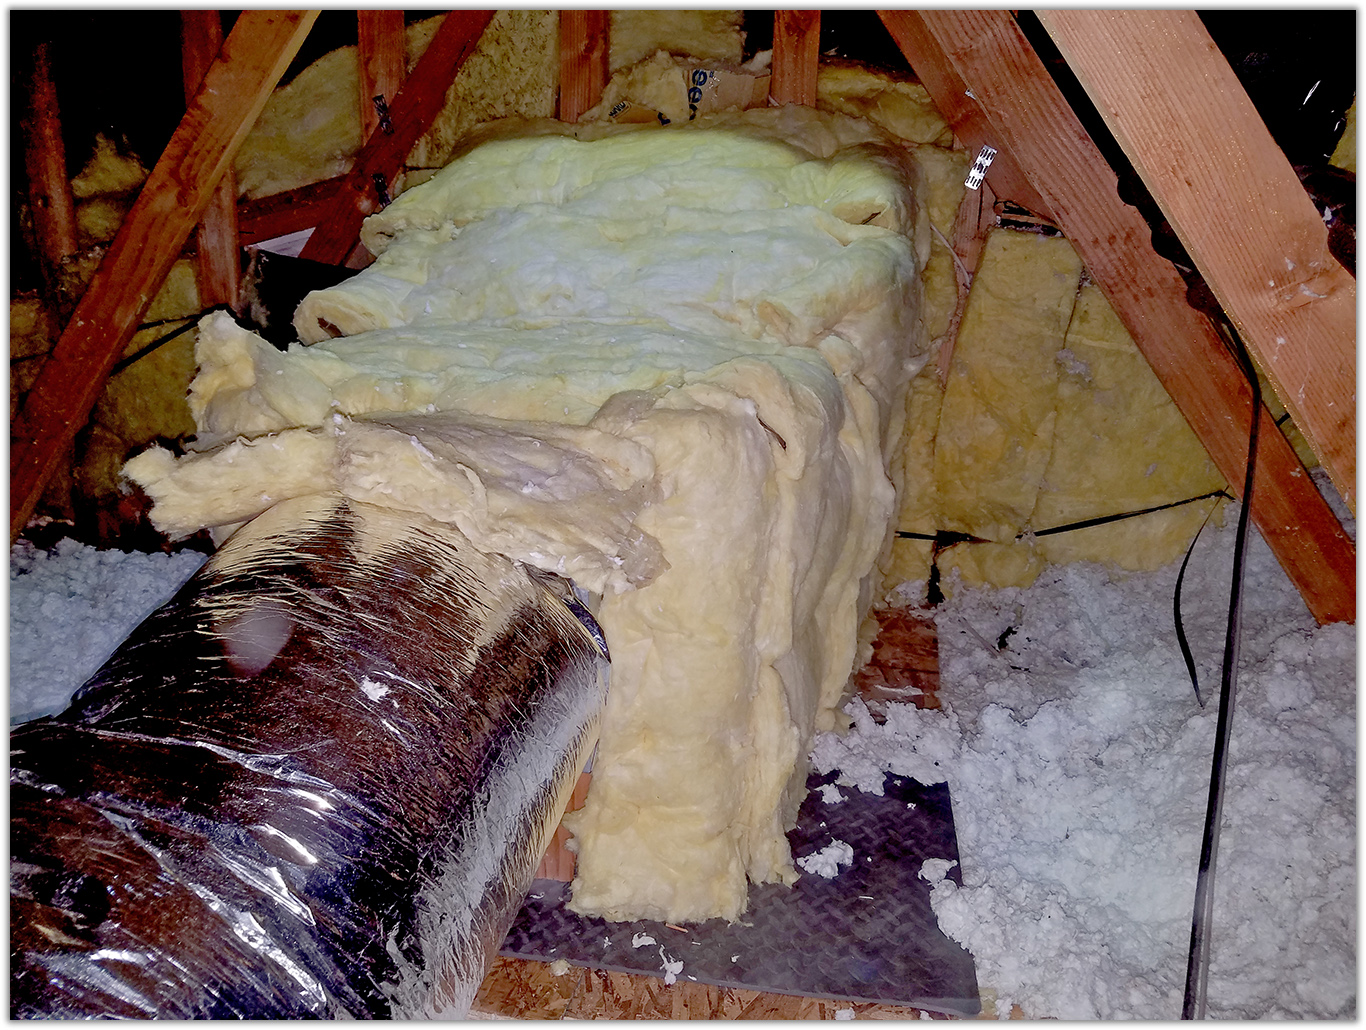
I had the insulation material, stored for many years. I knew I'd have a use for it some day. I need a bit more.


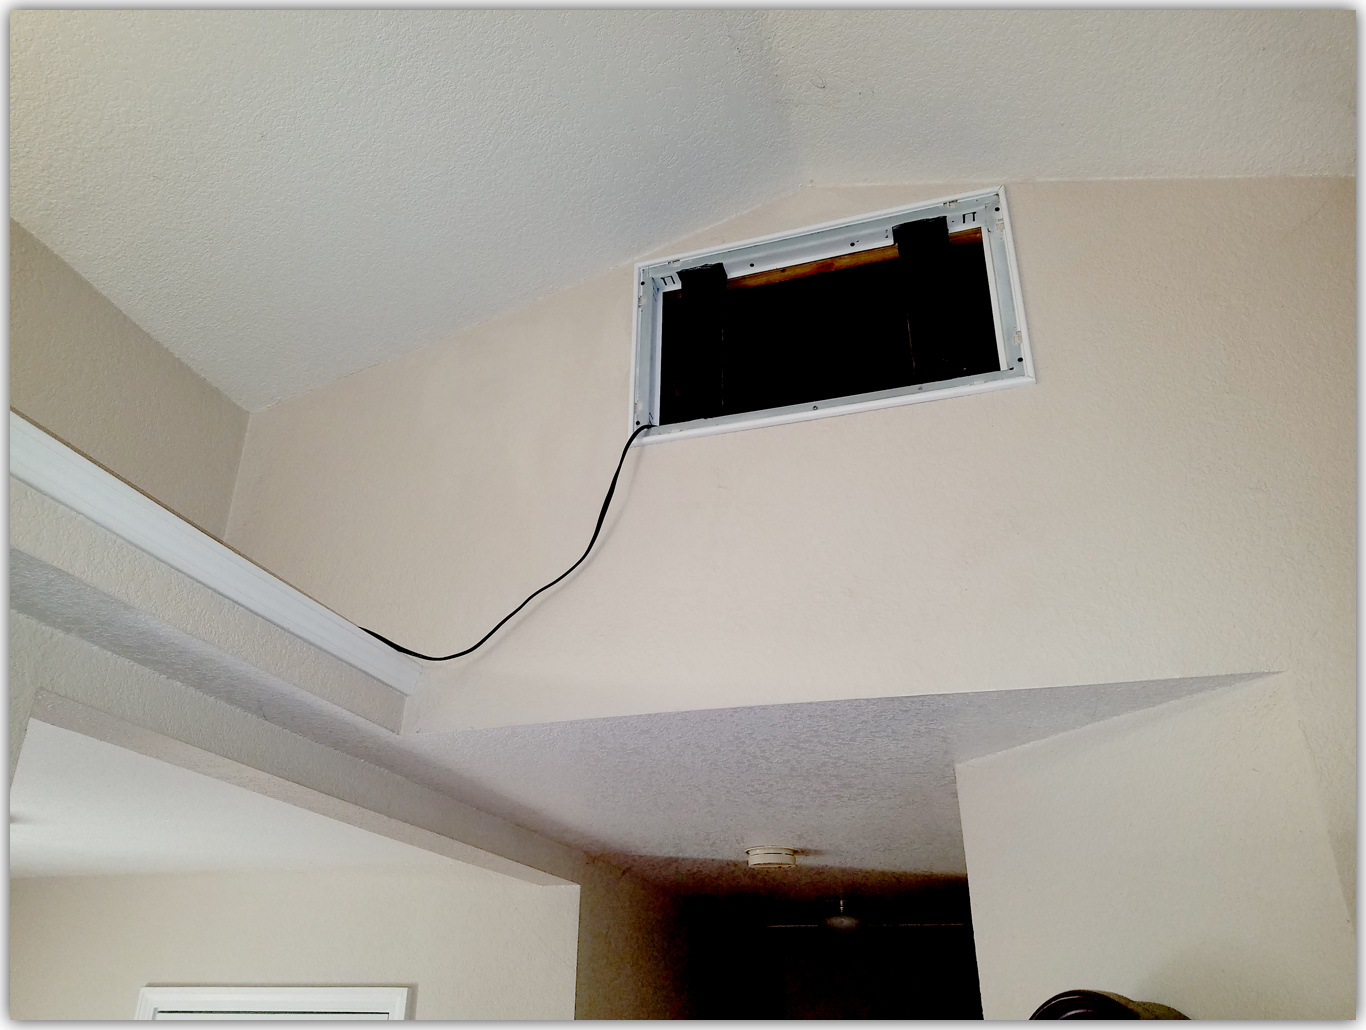
With an extension cord hooked to the low speed wire, the system is operational.
It's connected through an electro-mechanical timer:
ON for 15 minutes
OFF for 60 minutes
Adaquate but I'm not finished yet. Next step is the wiring, including two thermostats.