RSF Opel 3 Fireplace

About the Photo Sequence
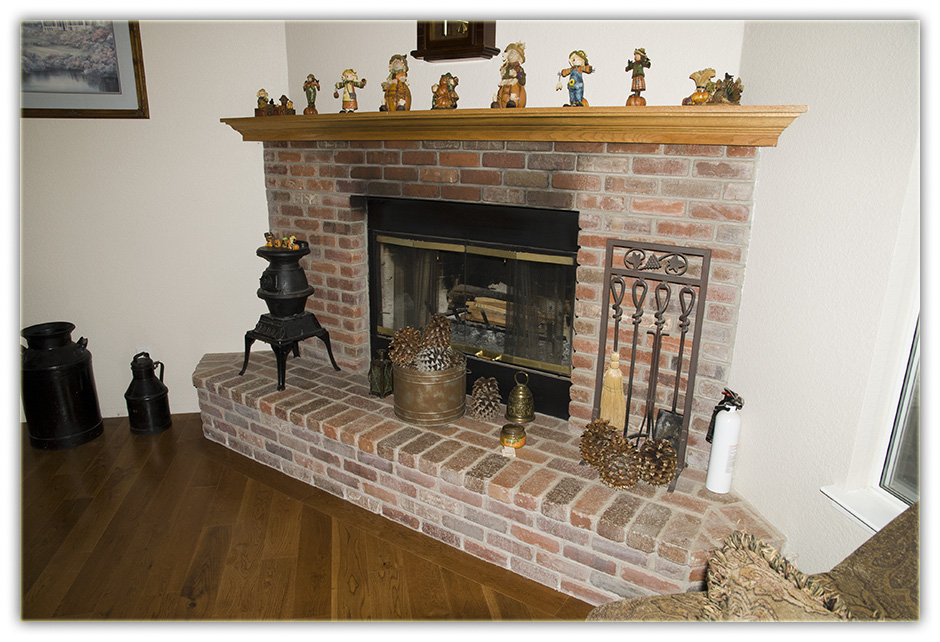
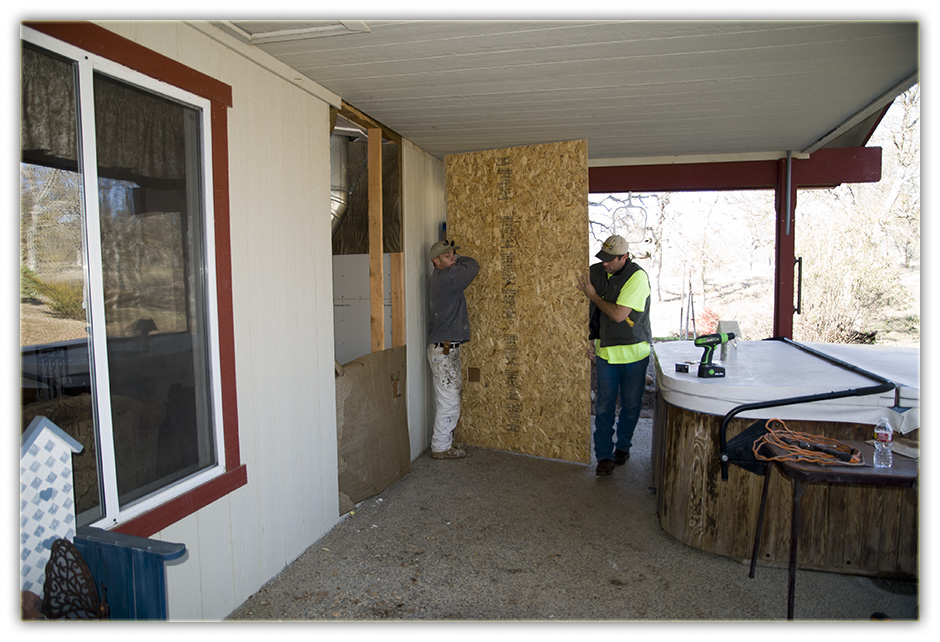
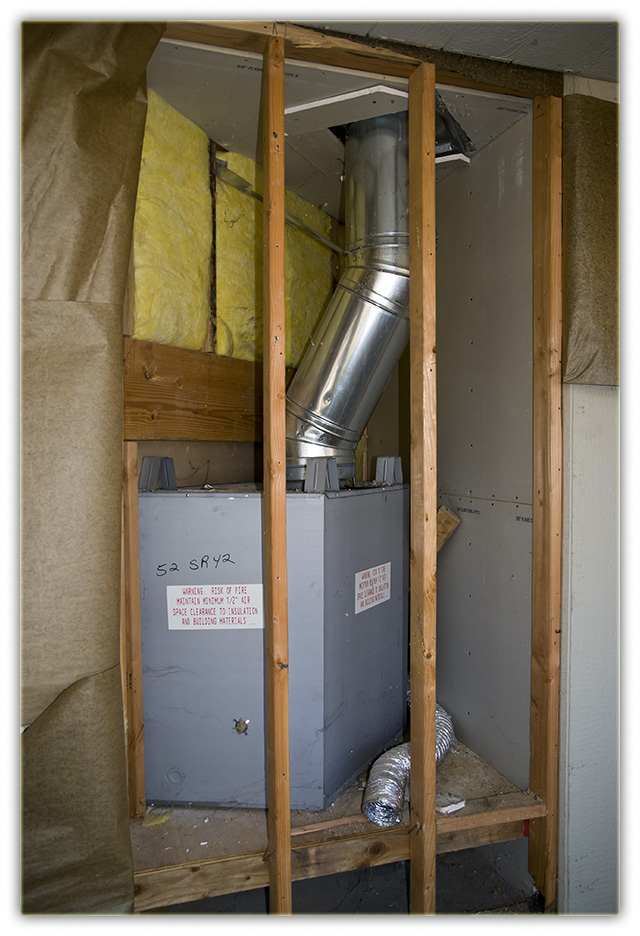
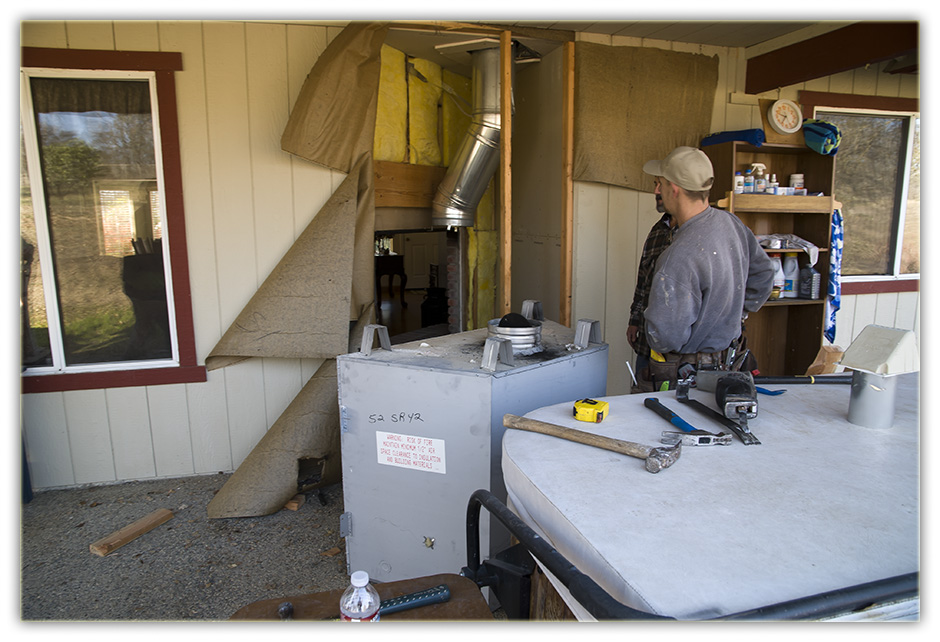
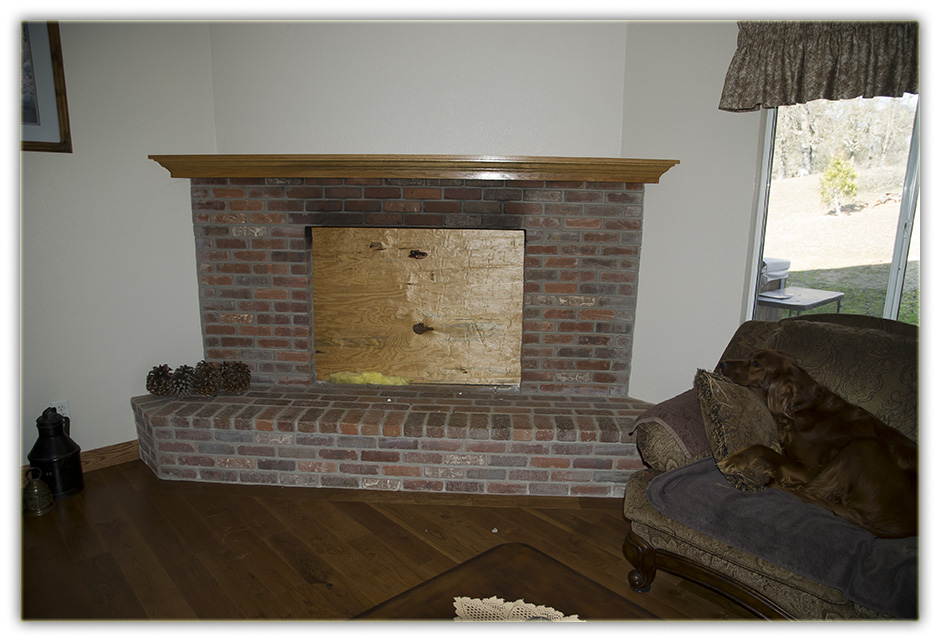
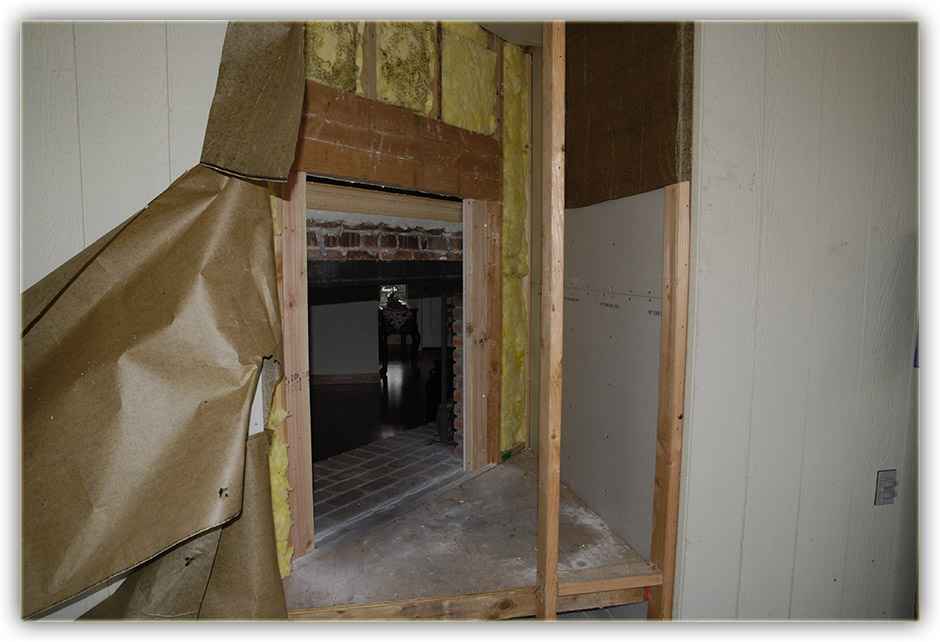
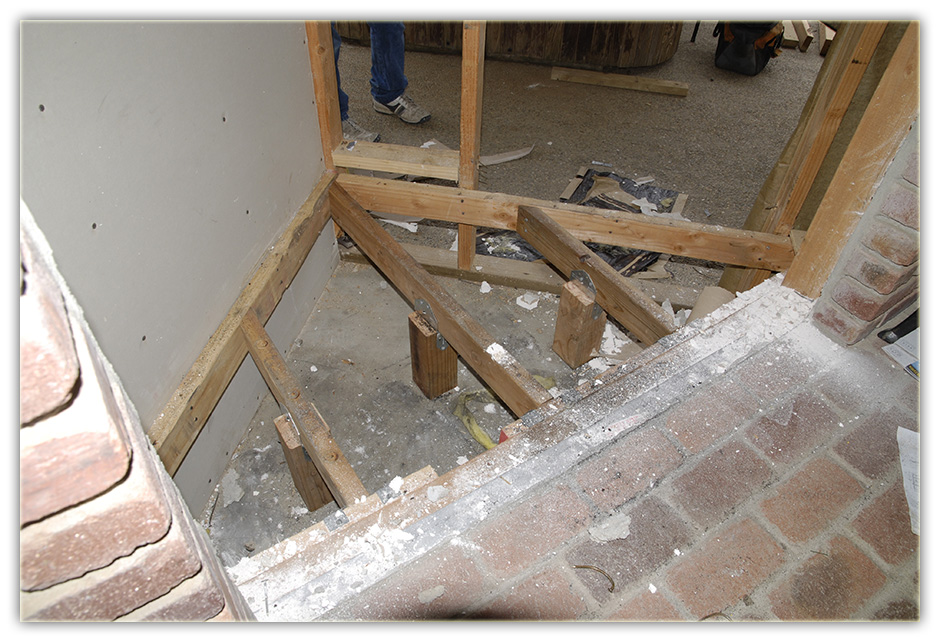
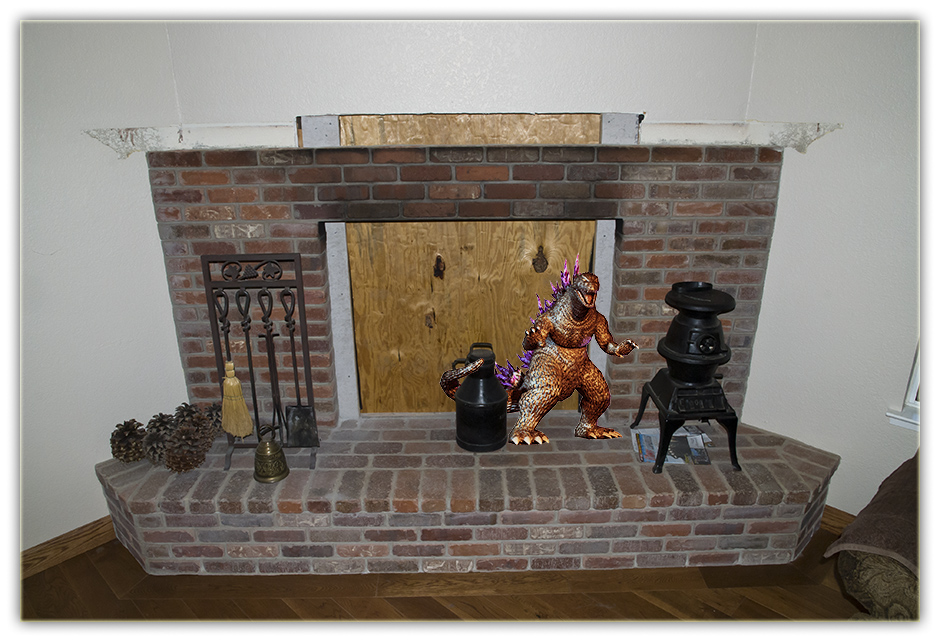
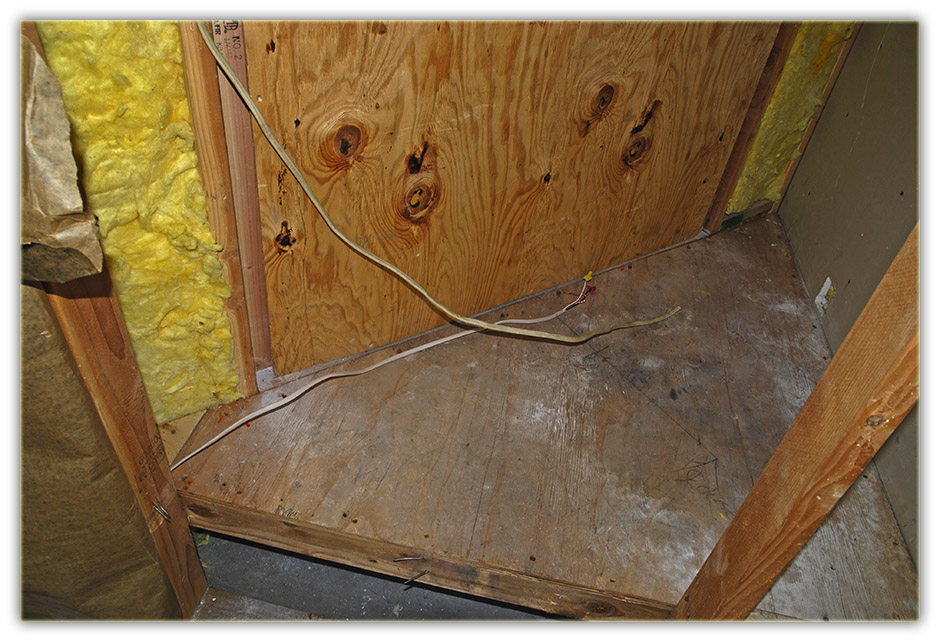
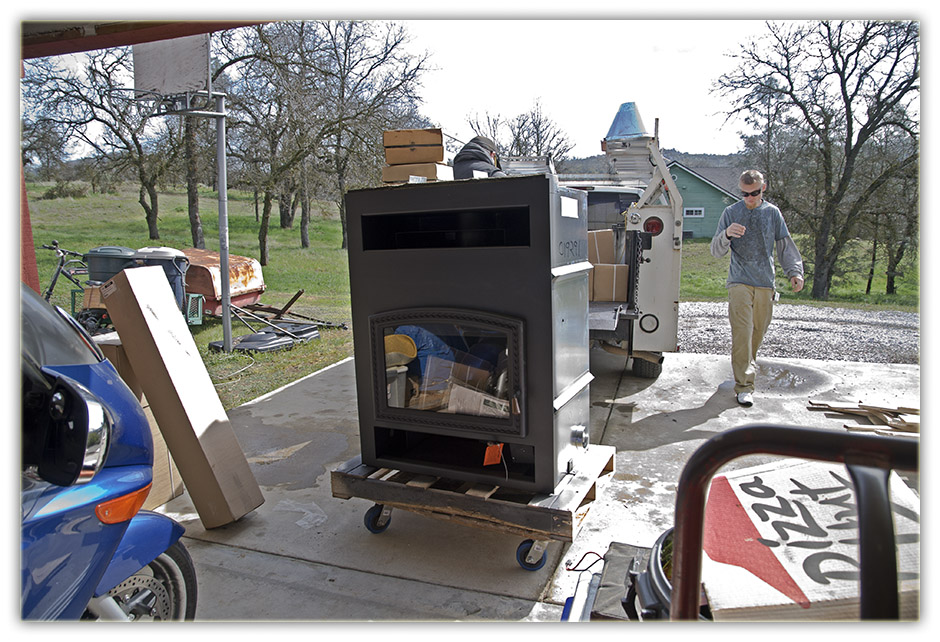
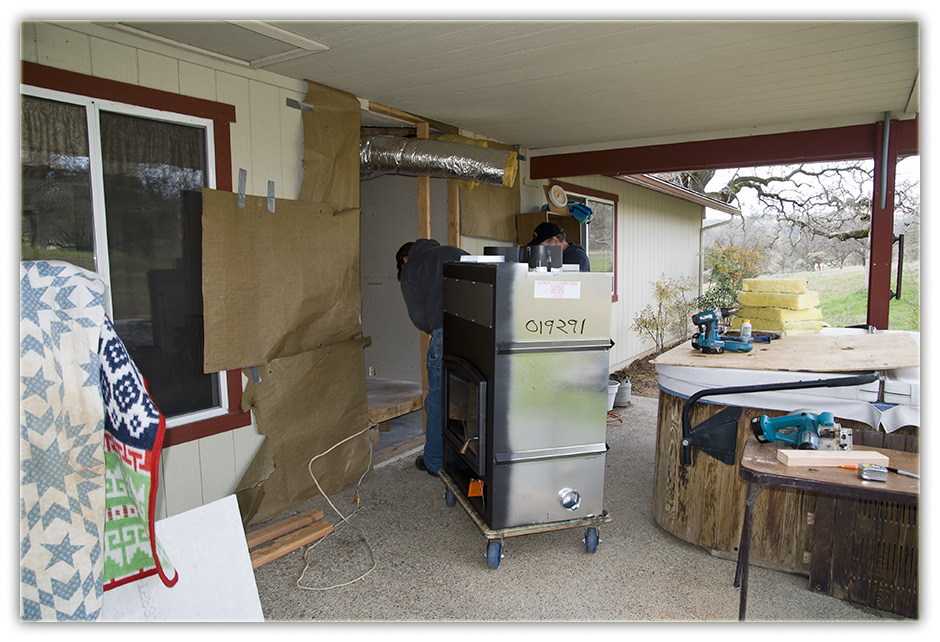
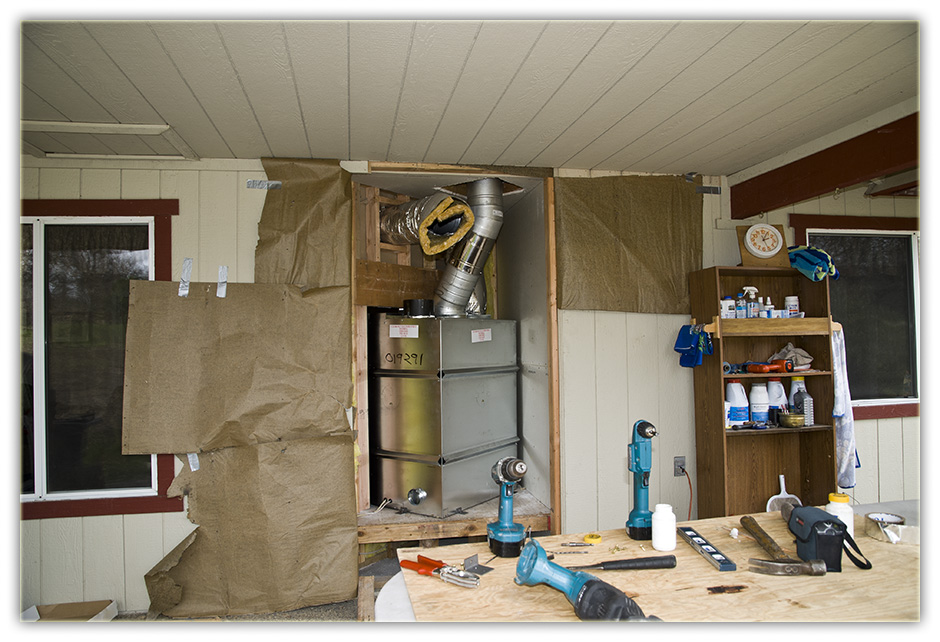
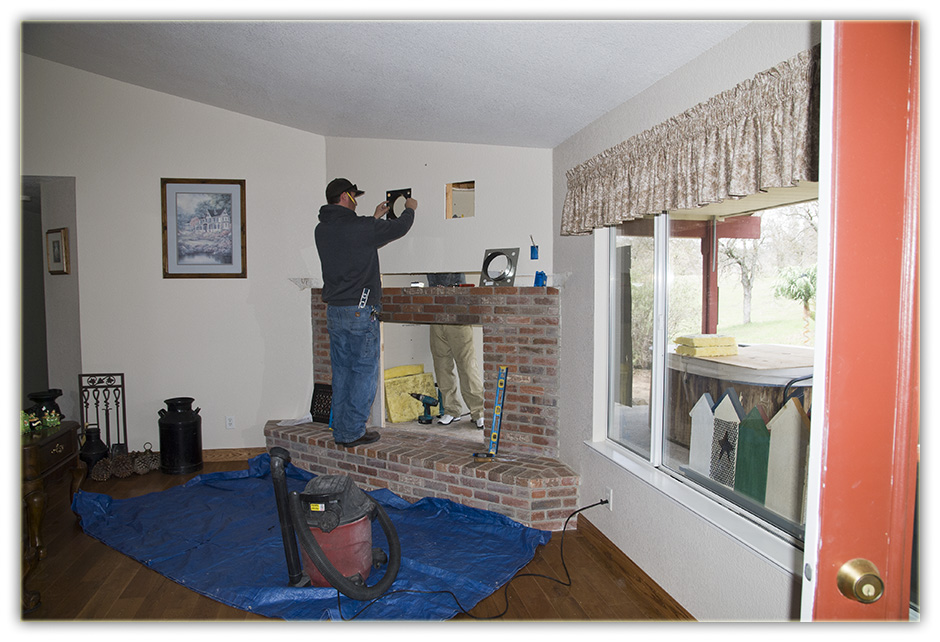
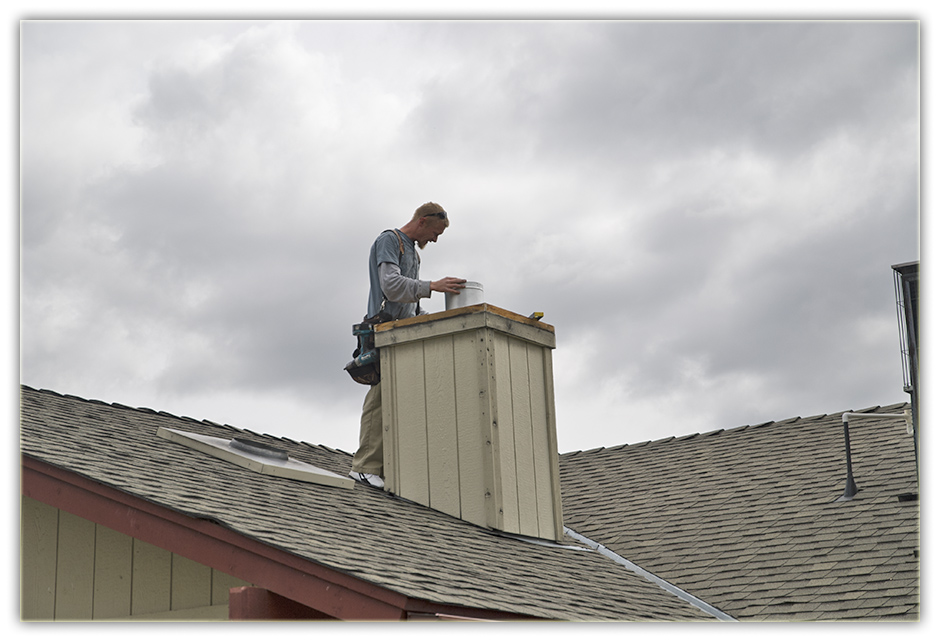
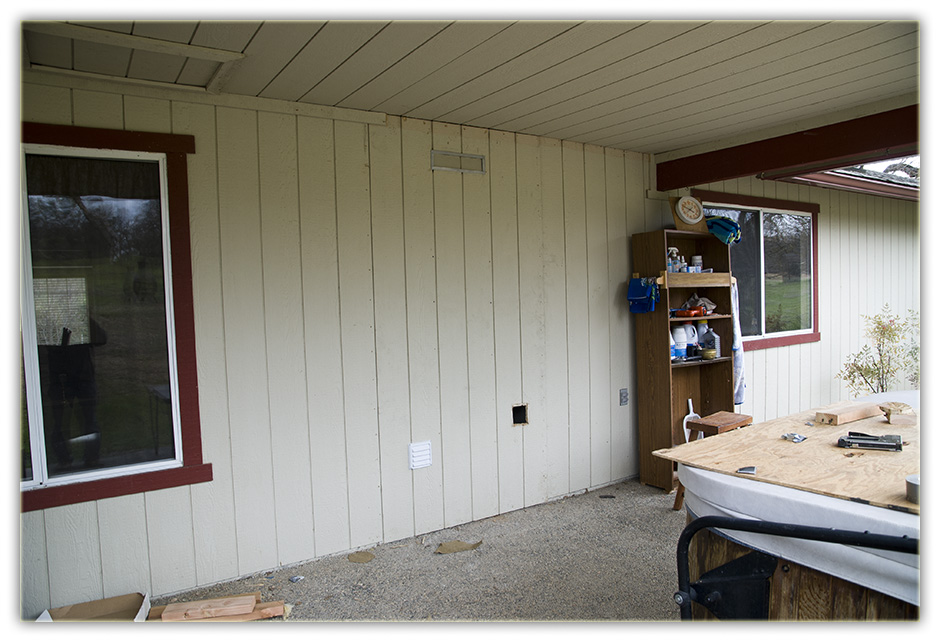
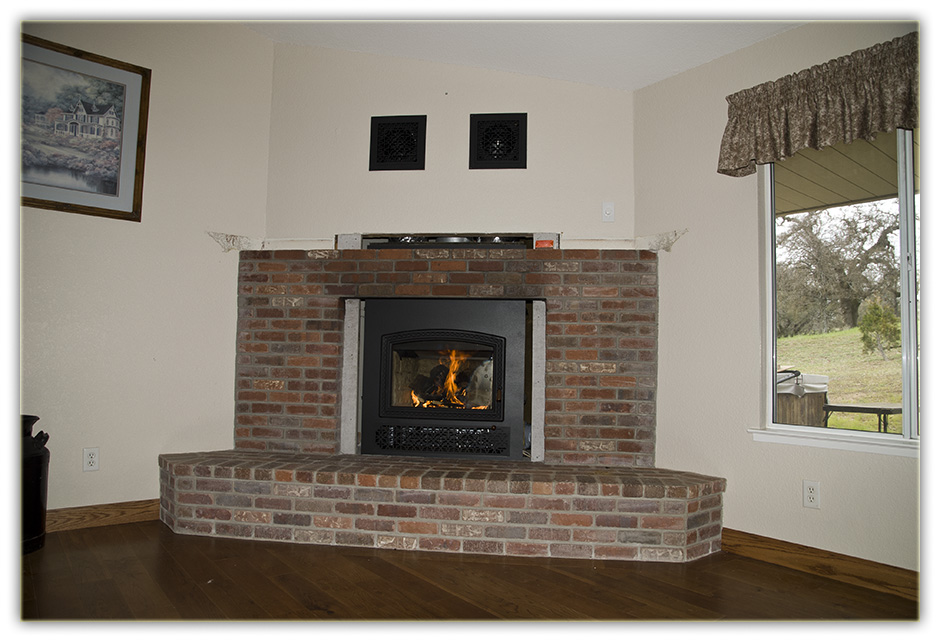
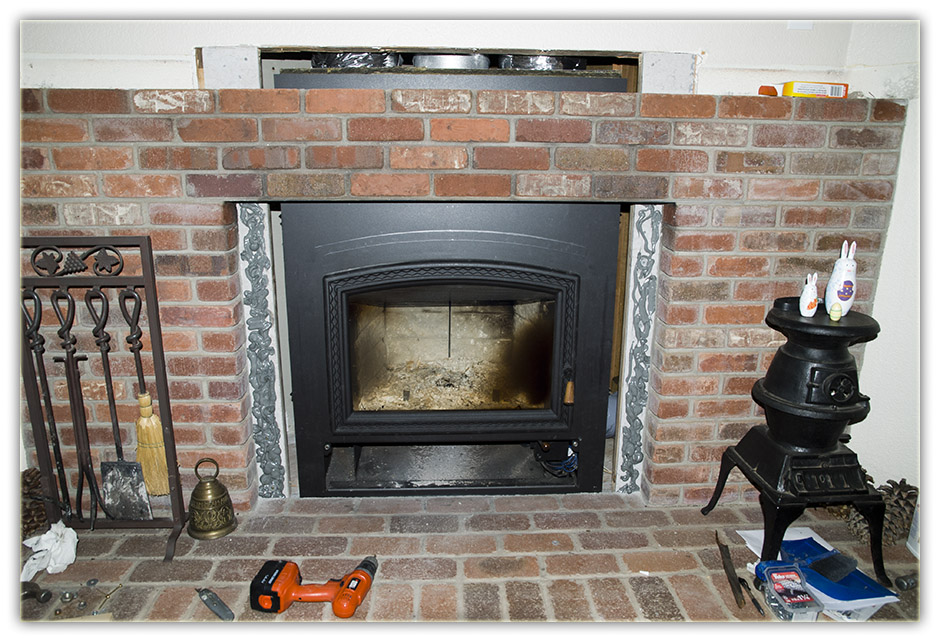
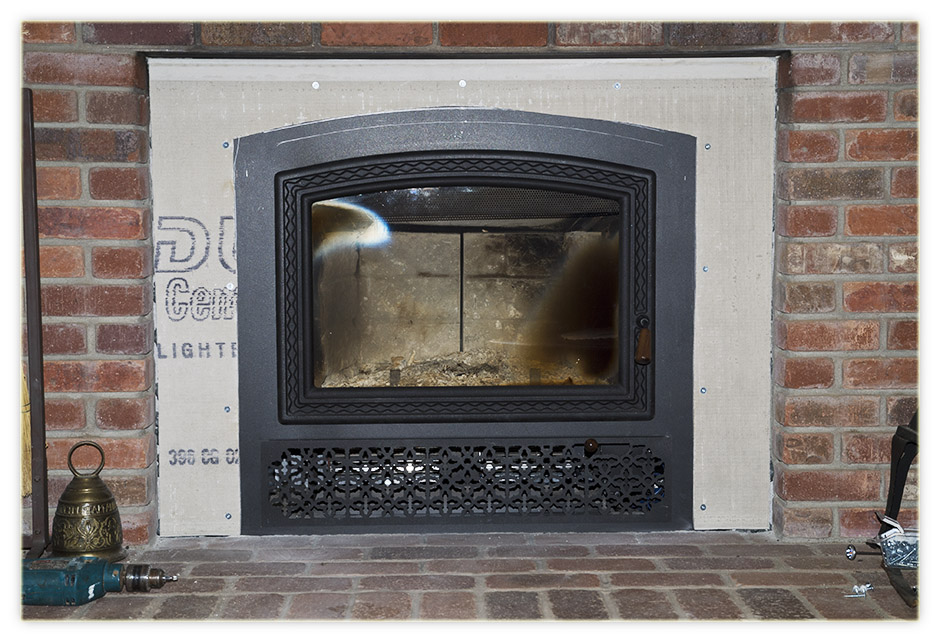
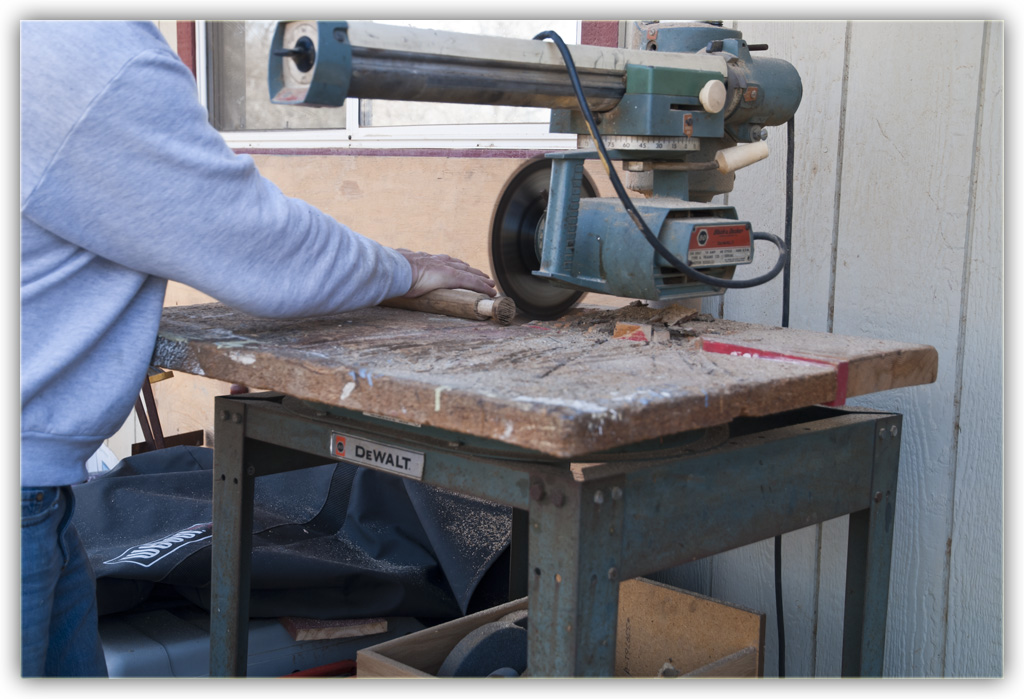
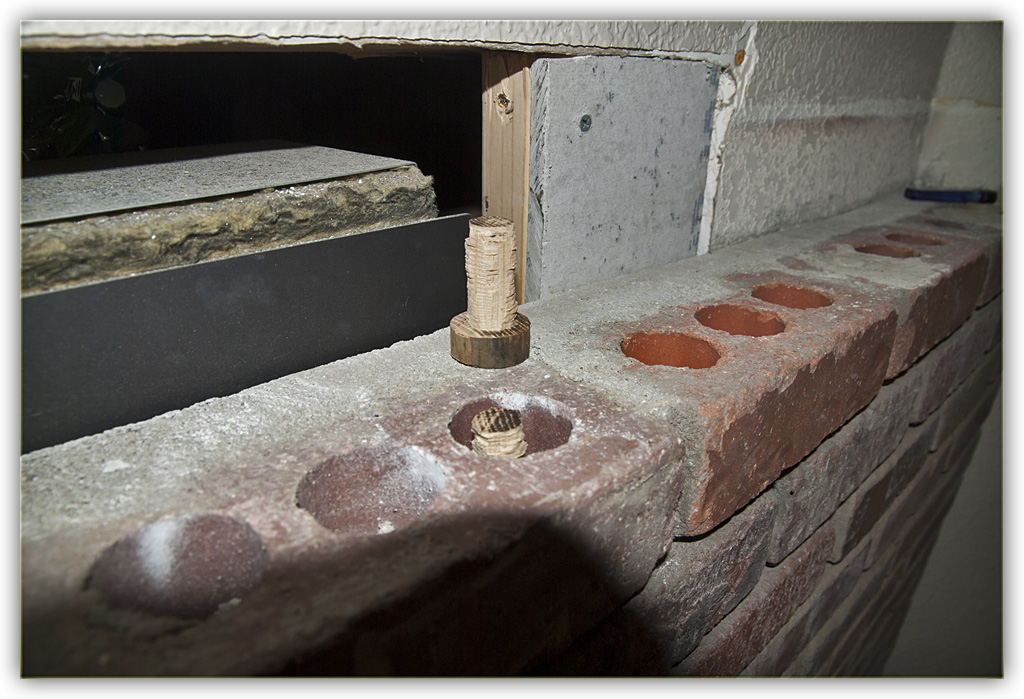
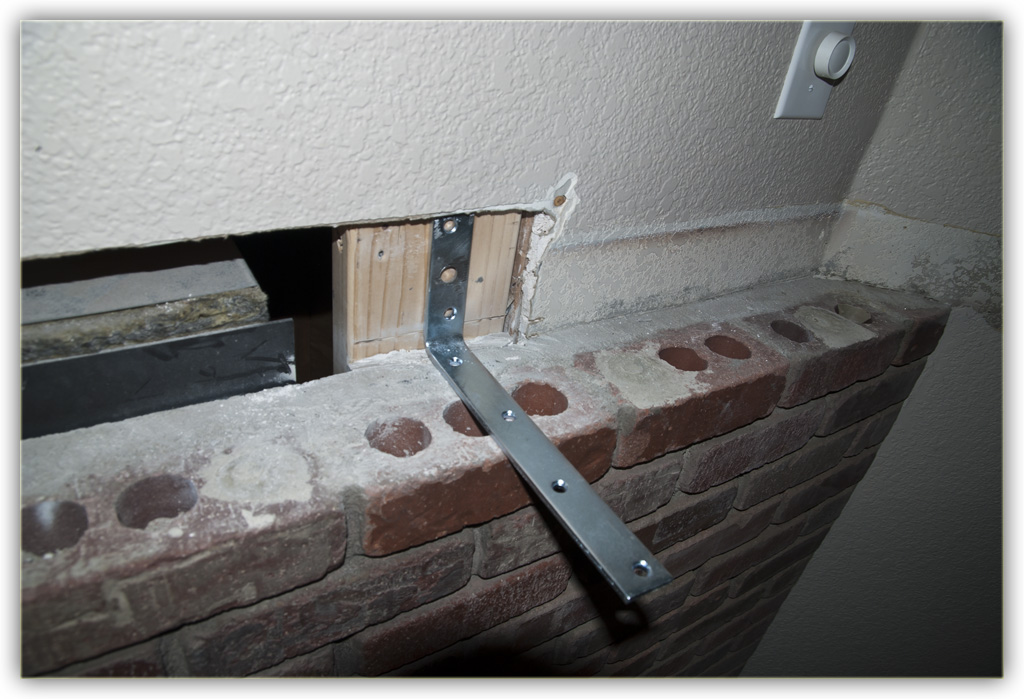
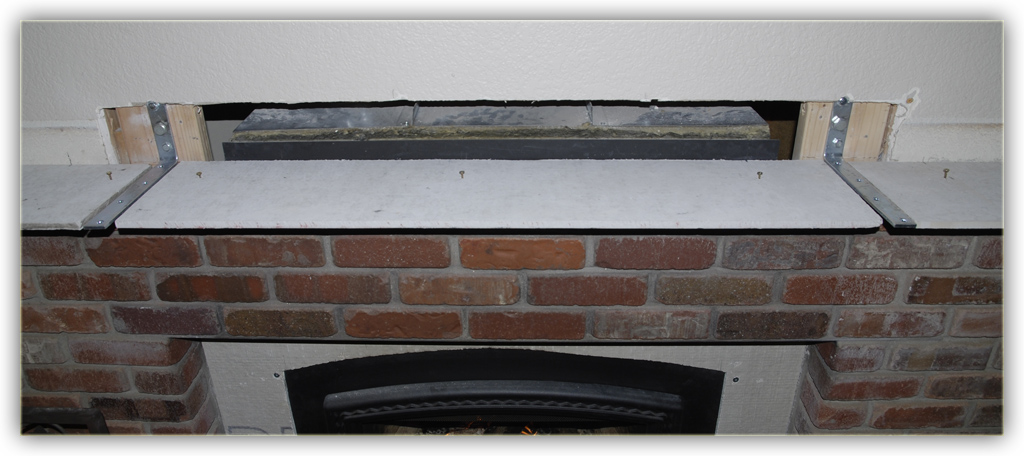
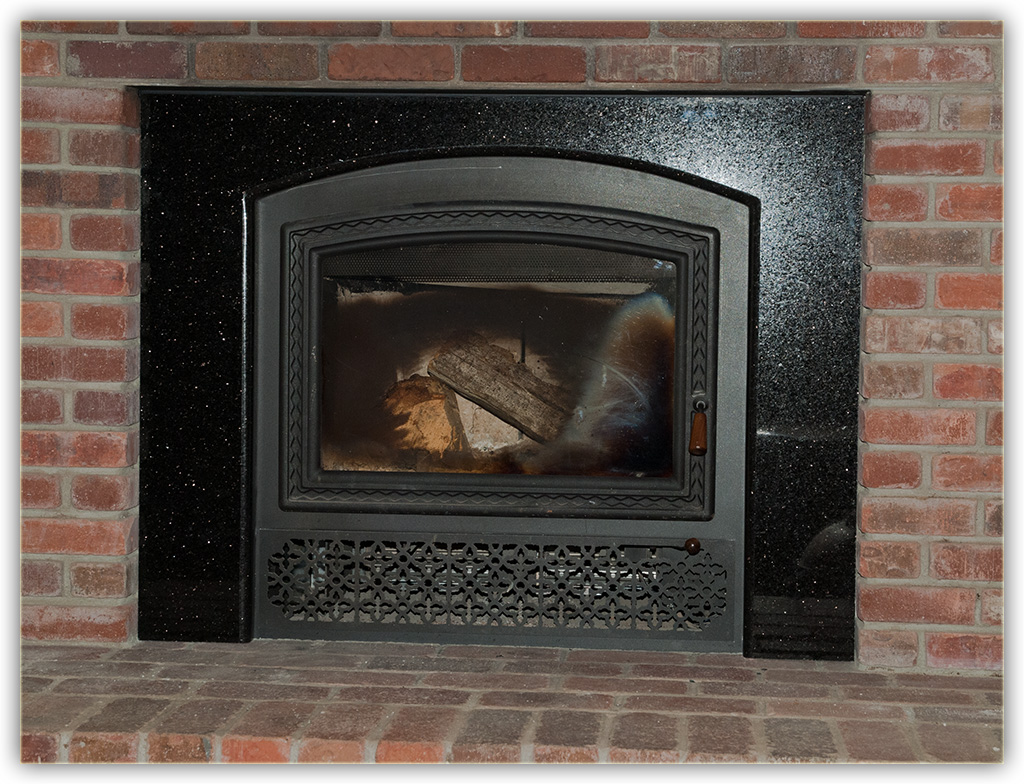
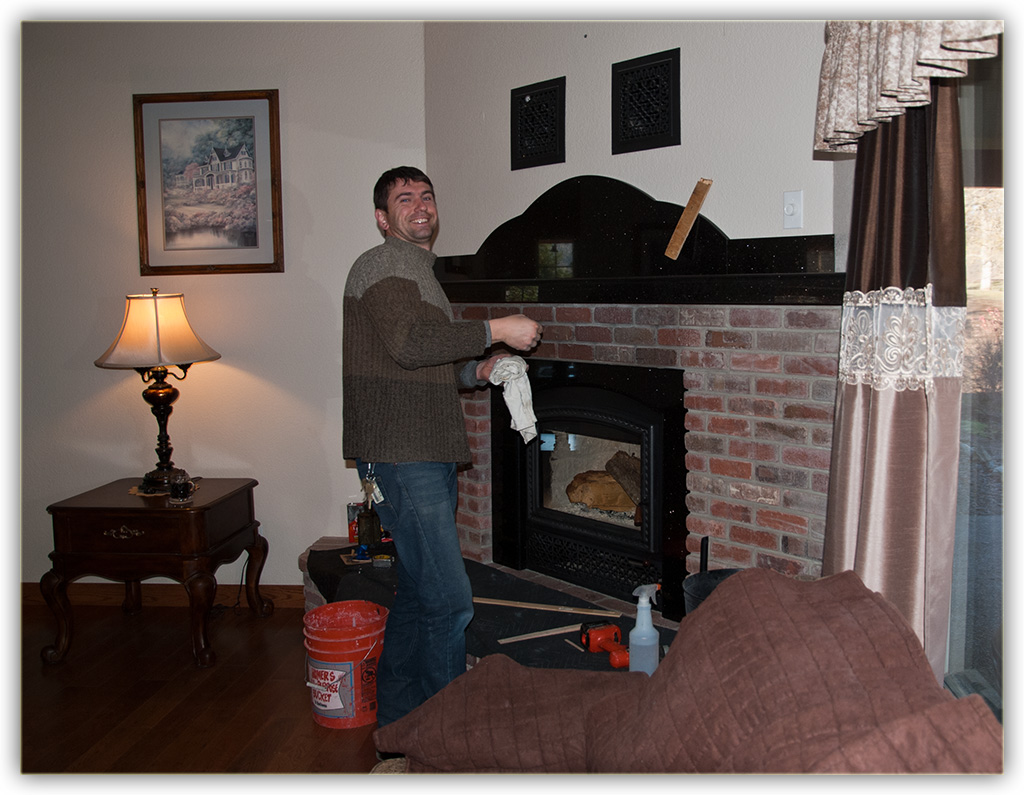
Upon entry to the new house, I knew my propane bills would be skyrocket high in the winter. I started looking into a wood burning fireplace that would heat the house. Through Mountain Comforts (a fireplace outlet in Oakhurst, CA) I found RSF Fireplace's Opel 3. It's a Zero Clearance firebox that pumps up to 70,000 BTU into the house through two vents. Of course, the quality of the wood and the size of the fire determine the output. This fireplace is FANTASTIC! My heating bill went from over $415.00 for 3 weeks (delivery truck schedule) to under $35.00. The propane furnace only kicks in when the log burns out from sleeping too long! This photo sequence documents the steps necessary to install and finish the project.

 
Photo Details
This photo sequence contains 37 frames. Each frame is a finite 940 or 1024 pixels wide but height was left to its own based on the crop. I based the picture size on an email program's display window asuming that the picture would not be automatically resized to fit. This technique kept the file size down, the largest being just less than 400k making it easy to send and receive through email. The file names are also numbered so they'll display in numerical order. All photos were taken with a Nikon D80.

Download Photo Project


Fireplace.zip - 9200288 bytes.


RSF Opel 3 Fireplace

Here's the original fireplace.
It's a simple Zero Clearance firebox placed behind the brick enclosure.
OK, it worked, I could have a fire. But the heat output was very minimal.
I later learned the flue was dislodged, it could have burned the house down.
I want a fireplace that will heat the house.


I hired a crew to remove the old "Zero Clearance Fireplace".


The framing for the new fireplace was an issue easily accomplished.
Plans were downloaded from the manufacturer's site.


The original support flooring structure was OK for the old unit.
Not for the new one!
The 4X4 posts added the needed support.


Godzilla says "So far, so good!"


Wiring was an issue for the internal fan.
I had to hook it into an existing outlet located in the wall that serves the bedroom.


I was told the enclosure had to be vented.
I wasn't going to open a hole in the bedroom wall,
so I mounted this vent in the outside panel.


Here's the new one, the ICC-RSF OPEL 3.


Not much room for error. The closest corner was within 1" of the drywall.
Couldn't ask for a better fit.
If there was more room, I would have bought a bigger one!


As it turns out, the heat outlet vents had vent holes to the inside enclosure.
The outside vent was unnecessary.
Good thing I didn't cut a hole in the bedroom wall!


A new flue was installed.


A future project will be to replace the outside panel.
The old exterior vent hole and the vent hole at the top will be gone.


At this time I can fire it up.
The fireplace installation is complete.
Now for the interior trim.


The glue on the "Hardy Backer" is heat resistant.


This is a sheet rock in place that will hold the granite trim.


This one was fun.
I cut a few posts in the shape of a mushroom to fit inside the brick holes at the mantle.


The concrete I poured in the holes hold the wood in place.
When the backing board is placed, I have wood in the bricks to accept the mounting screws.


The angle bracket is necessary to help support the weight of the granite mantle.


Each screw mounts into one of those mushroom dowels concreted in place.


The faceplate is mounted! I chose "Black Galaxy" granite.


Here's the installer, Mark Kotenkoff! And YES, I highly recommend him.

Kotenkoff Granite, Inc.
http://www.kotenkoffgranite.com/
1530 N. Maple Ave.
Fresno, CA 93703
559-905-6430


Here's the finished product. Besides a beautiful enhancement to the house
the Opel 3 unit outputs 70,000 BTU.
I no longer use the propane furnace!
Propane delivery went from every three weeks to once a year.
http://www.icc-rsf.com/en/opel-3-fireplace


The recommended fan failed. I wasn't happy with the airflow it produced, either.
There's an 8" break-away tab on the left side (when facing the front) and some
insulation to remove behind it. Due to the wall of the enclosure, I mounted this
elbow to give me room for a duct fan.


It wasn't easy getting in there. I strongly suggest that you plan ahead
for this accessory, and mount it before the fireplace goes into the wall.


Once in place, turning it a few degrees made room for the fan to be attached.

I purchased this Diversitech 625-AF8 duct fan that produces 420 CFM. It works with the variable speed
control that was installed with the old fan. Consuming only 37 watts I'm not concerned with the electric bill.
I bought mine here:
http://www.thesheetmetalkid.com/inline-duct-booster-fans/diversitech-625-af8-round-inline-duct-booster-fan/


Mounted and wired to the variable speed control, it's outside the high temperatures of the fire box.
Check the specs, this fan can handle some high temperatures so I think it's safe mounted here.


To complete the new inlet venting, the front inlet had to be blocked. After painting it
flat black, I used a high temperature glue to hold some sheet metal in place.


Now, the air pumped in by the new duct fan is forced around the firebox
and out the mantle vents into the room.


The 420 CFM provides an airflow I can feel standing back from the unit.
The airflow will be a bit cooler than the trickle of hot air I got before, but this doesn't mean less heat.
The fireplace will still produce the same amount of heat.
That heat will be contained by a larger volume of air.
And the room will be warmer faster.
Actually, I get an average of 180 degrees out these vents with the fan at full speed.


With the outside wall reinstalled, the fireplace enclosure is basically sealed with only small holes around
the heat exit vents. I closed the vent in the outside wall for this purpose:
To draw air from the master bedroom.
Therefore heat will flow down the hall to that room.
So I cut a vent hole close to the duct fan.


Cutting the hole level wasn't difficult. Reinforcing the inside edges with 2x4's was a bit of a challenge.


The face plate now mounts to solid wood behind the drywall, and it's level.
Maybe some day I'll paint it the color of the wall.


Mostly hidden and unobstructed, heat pumped into the living room will now be drawn down the hallway
and into the master bedroom. A similar duct system for my 3 other bedrooms is on the drawing board.