Yard Electric Outlet Extension

About the Photo Sequence
I was expecting the driveway pavers to return and I was prepared to have them pave the circle driveway. But I also wanted an electrical extension near the exiating blacktop driveway. So I either dig the ditch now, or tunnel under the new blacktop later. So on February 12, I started on the new outlet. This documents the construction of it.

 
Photo Details
This photo sequence contains 16 frames. Each frame is a finite 1280 pixels wide but height was left to its own based on the crop. I based the picture size on an email program's display window asuming that the picture would not be automatically resized to fit. This technique kept the file size down, the largest being just less than 585k making it easy to send and receive through email. All photos were taken with a Nikon D810.

Download Photo Project


2015-02-YardElectricOutlet.zip - 7156626 bytes.


Yard Electric Outlet Extension

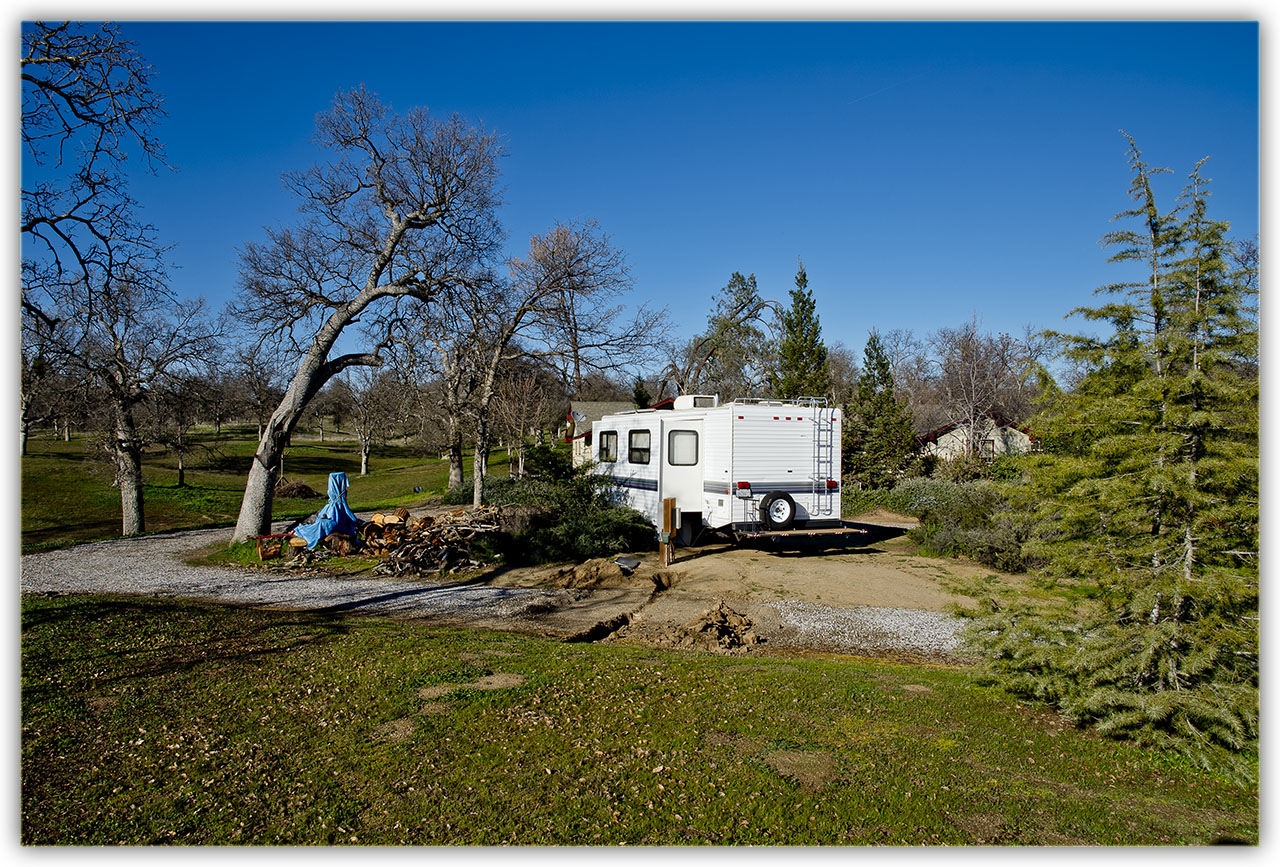
The RV station has a 240v 50amp panel on one side, and a 240v 100amp panel on the other.
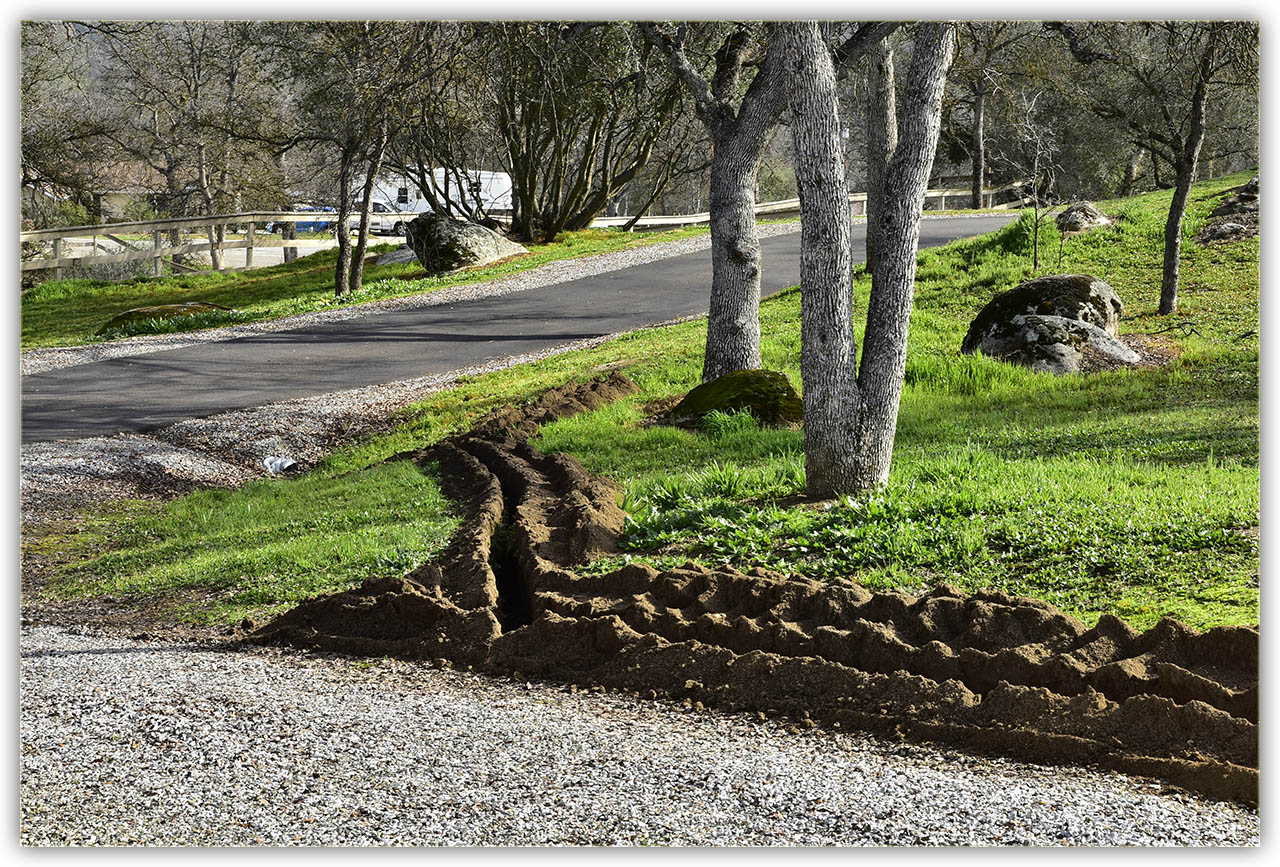
The new outlet will branch off the 100 amp panel and will be routed across the circle driveway.


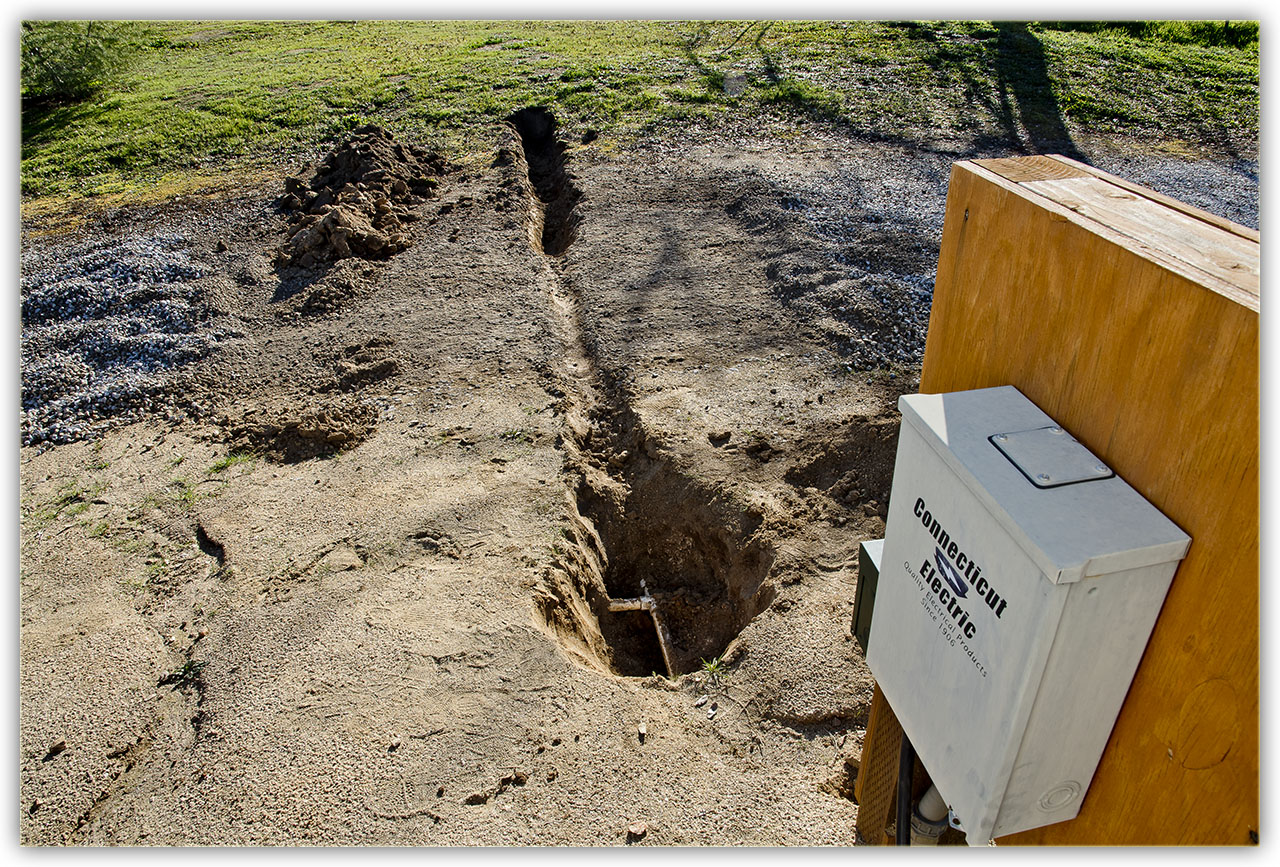
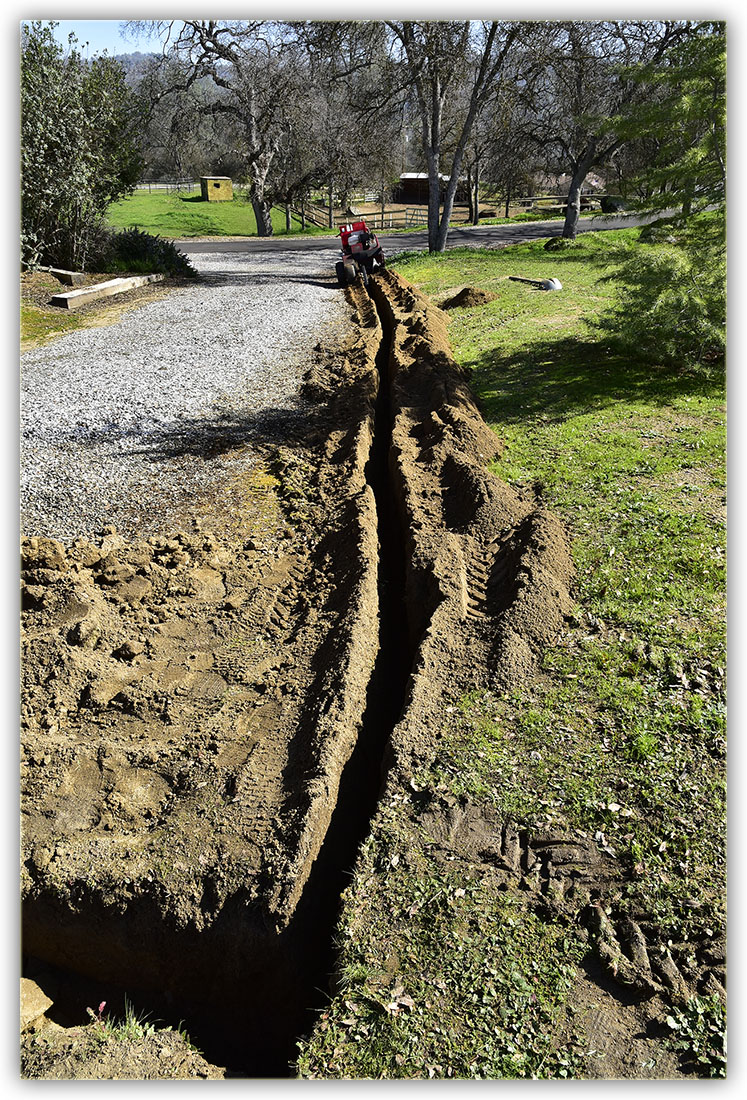
It wasn't easy digging into the decomposed granite.


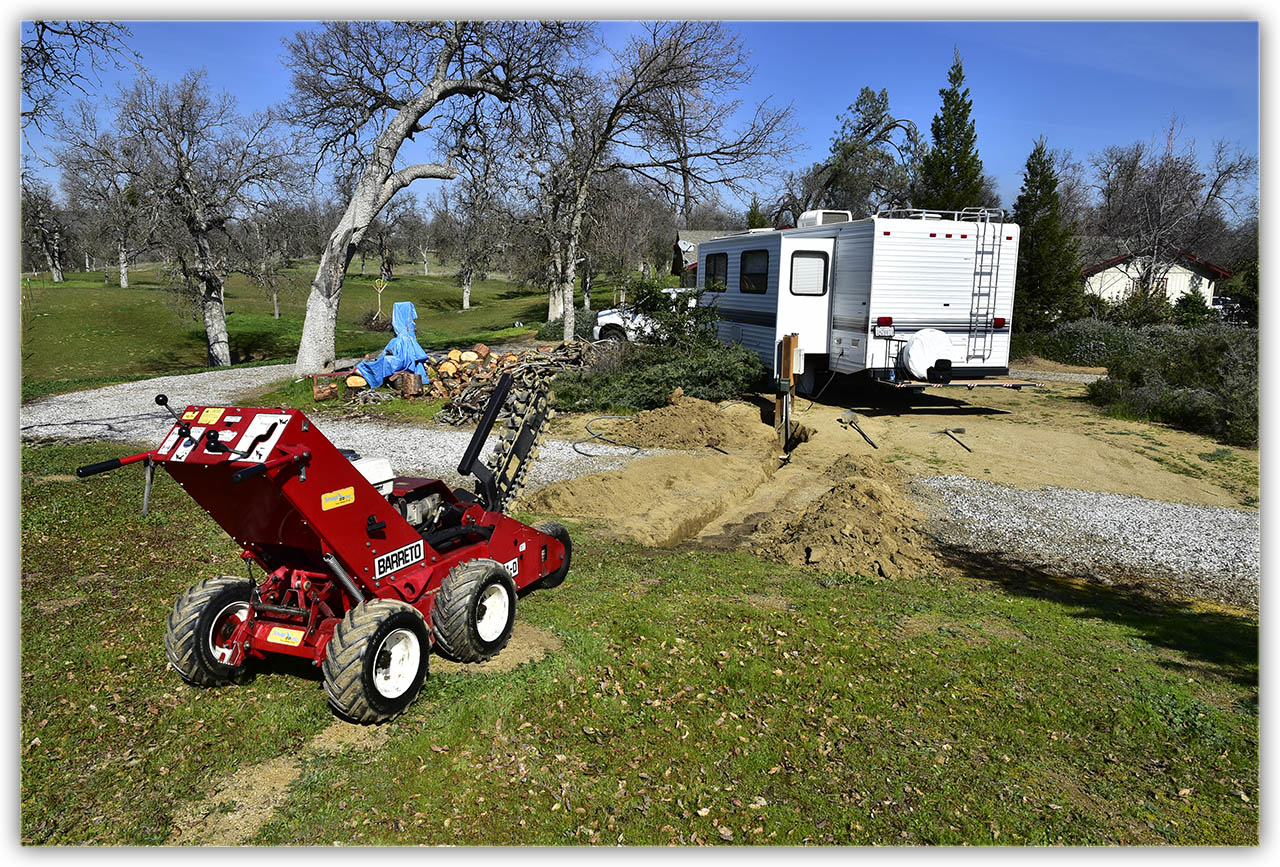
So I rented a ditching machine.


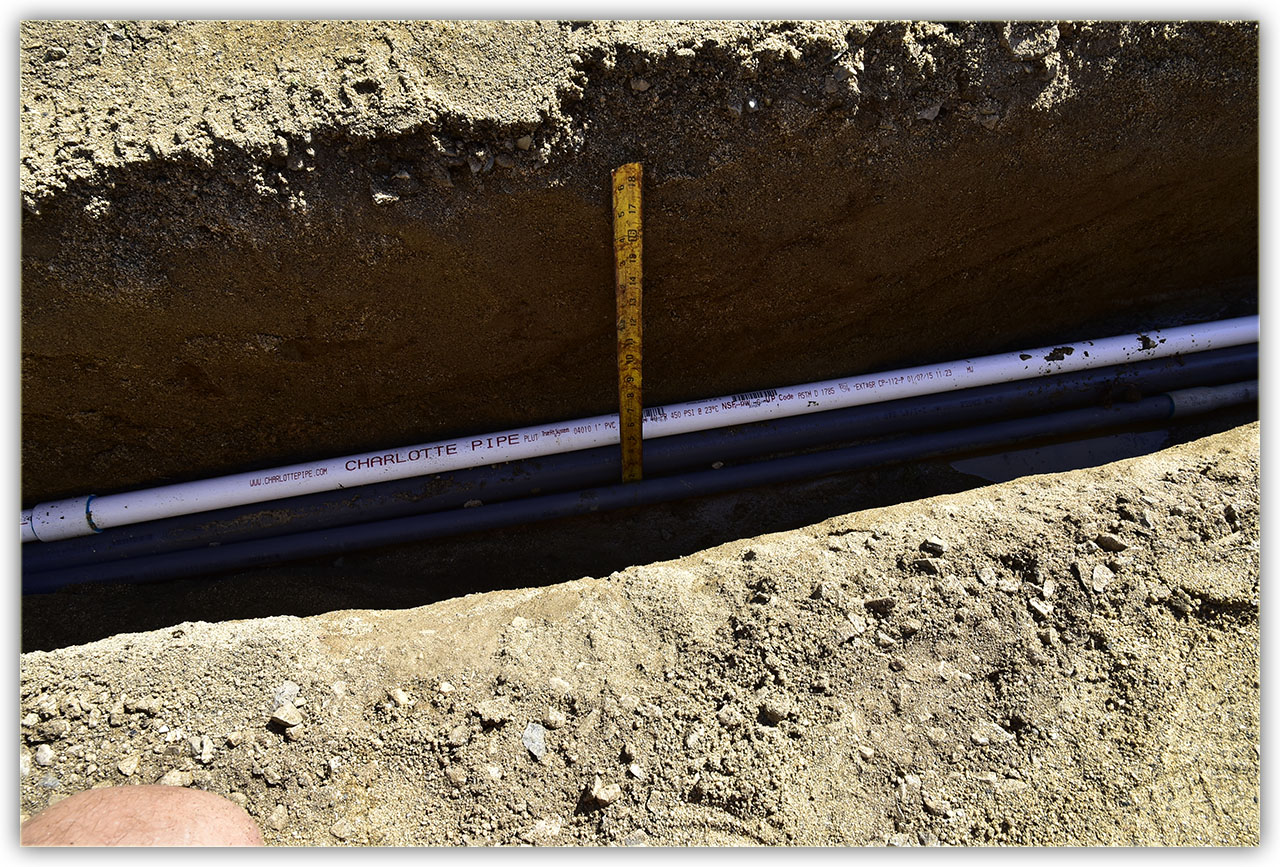
More than code's requirement of 18" deep, I added water pipes for possible future water needs.
Also, for the electrical needs of a future garage,
an extra (and large enough) electrical pipe is there and capped off.


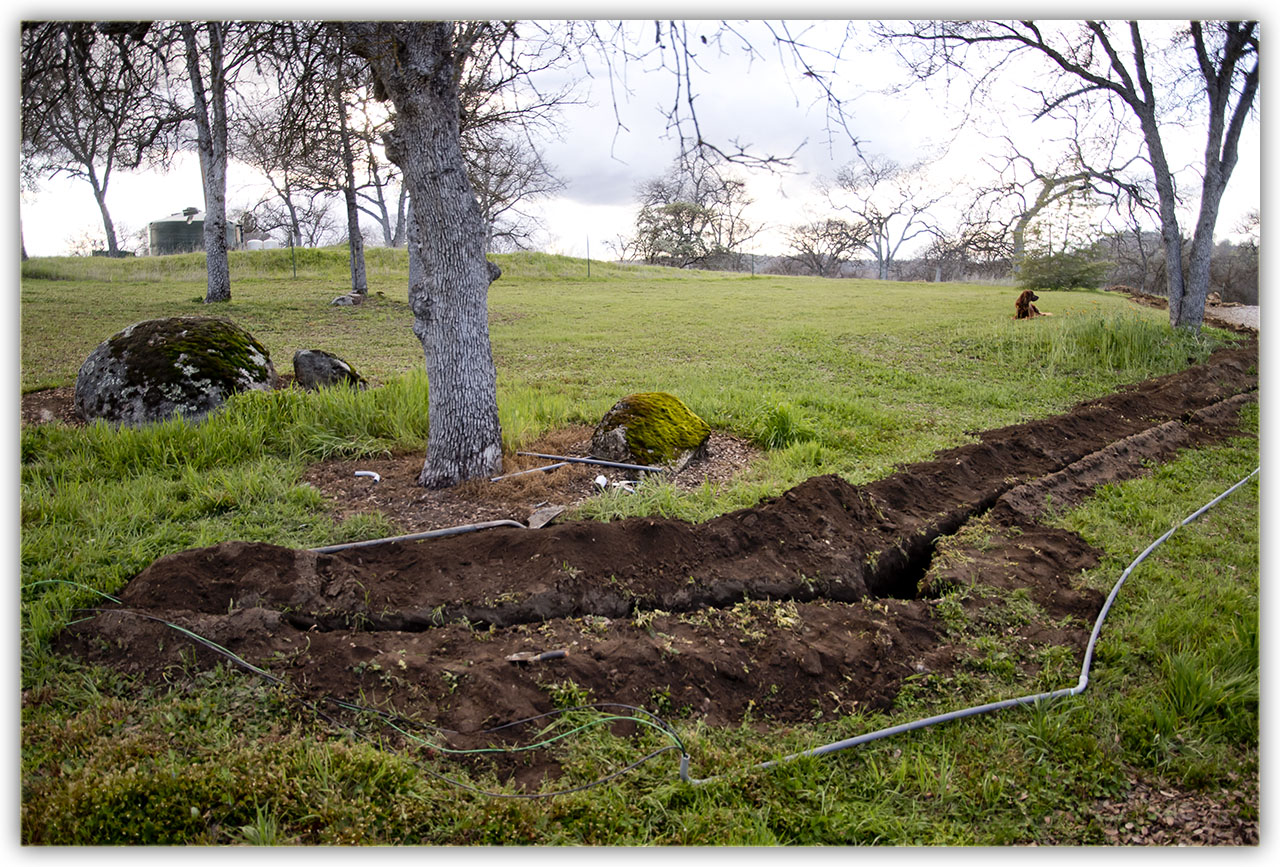
Trenching...


More trenching, to the destination.


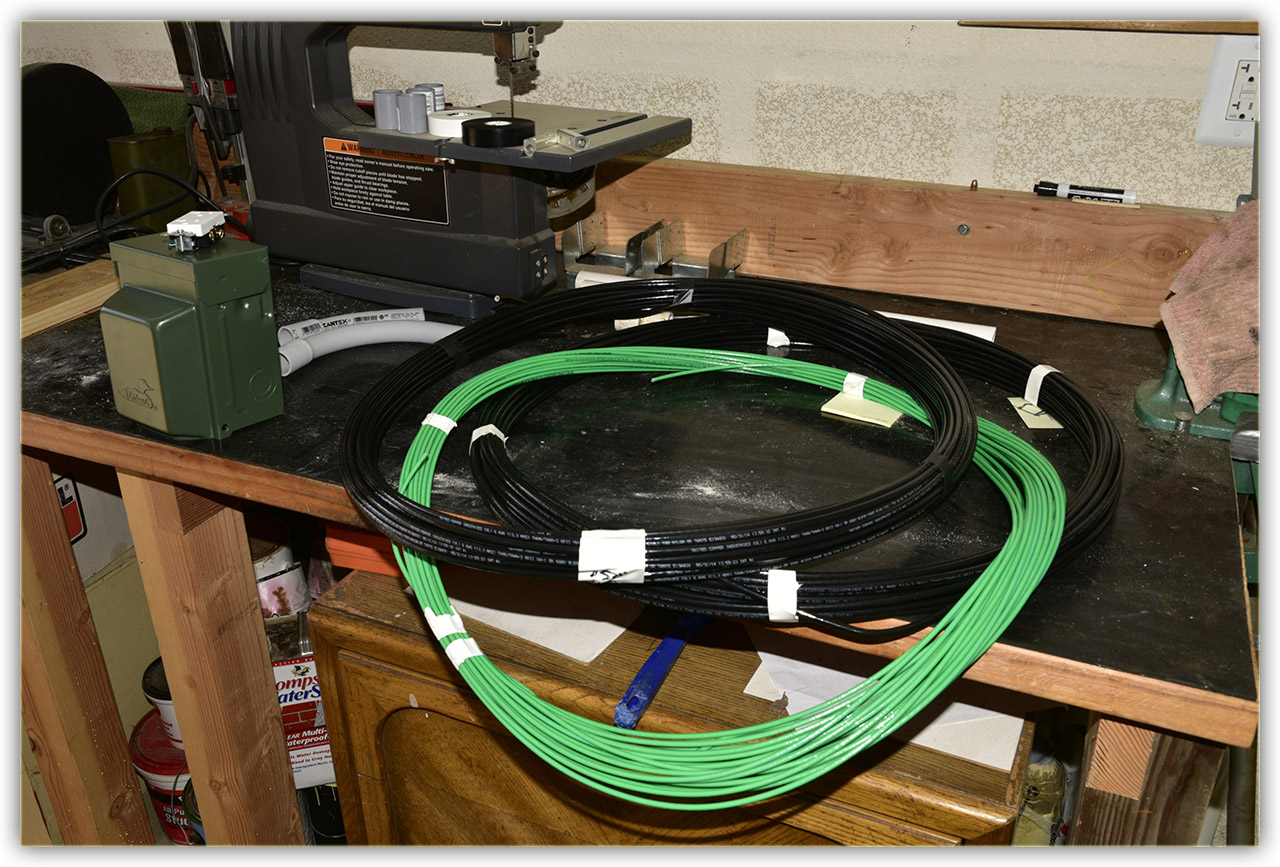
This ought to be enough wire.
I used 6 gauge to ensure minimal voltage loss at the distances it needs to travel.
I put this wire into the first pipe, then threaded the wire through each
additional pipe before glueing them together.


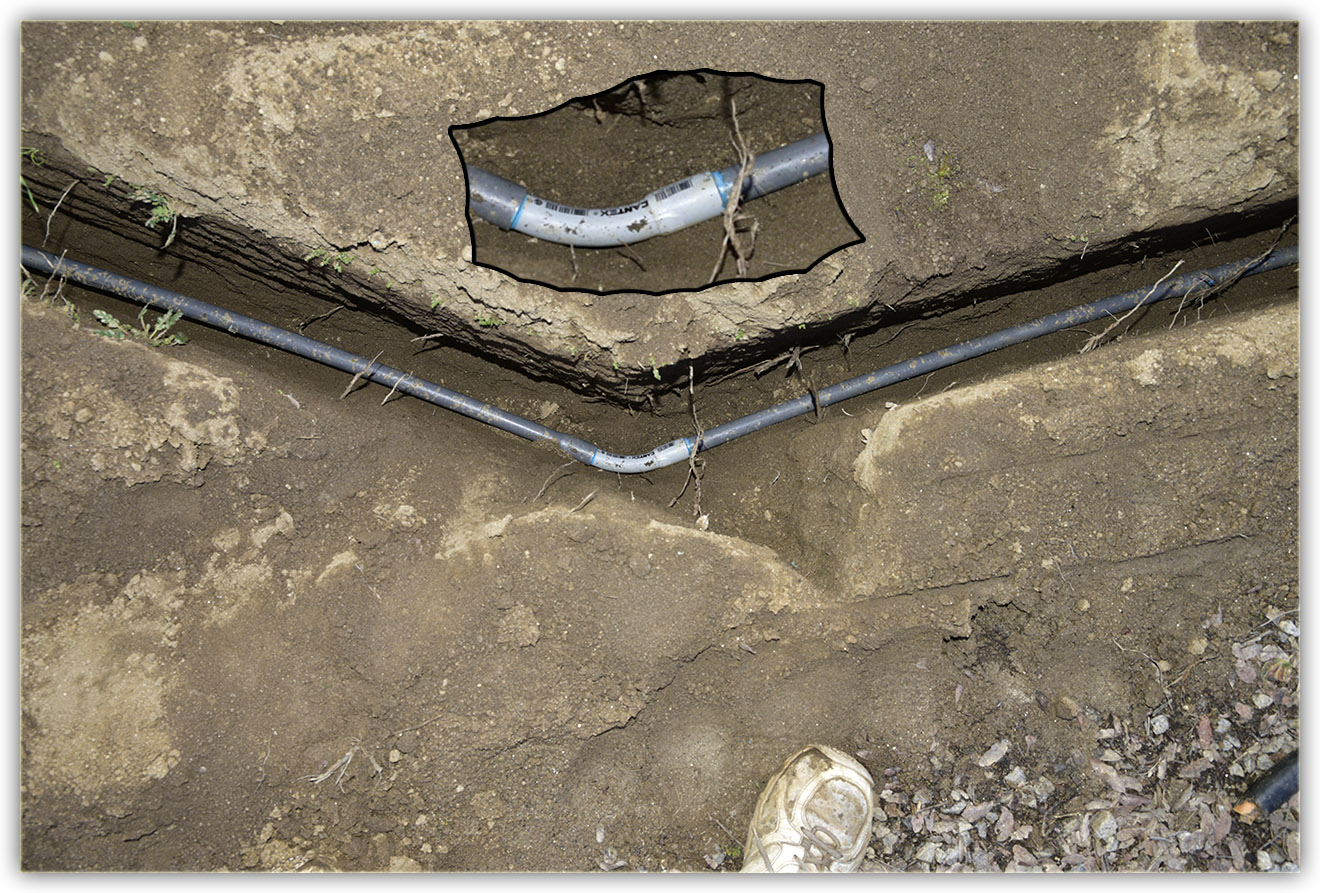
Sometines the PVC conduit won't bend far enough. Elbows are made for that.


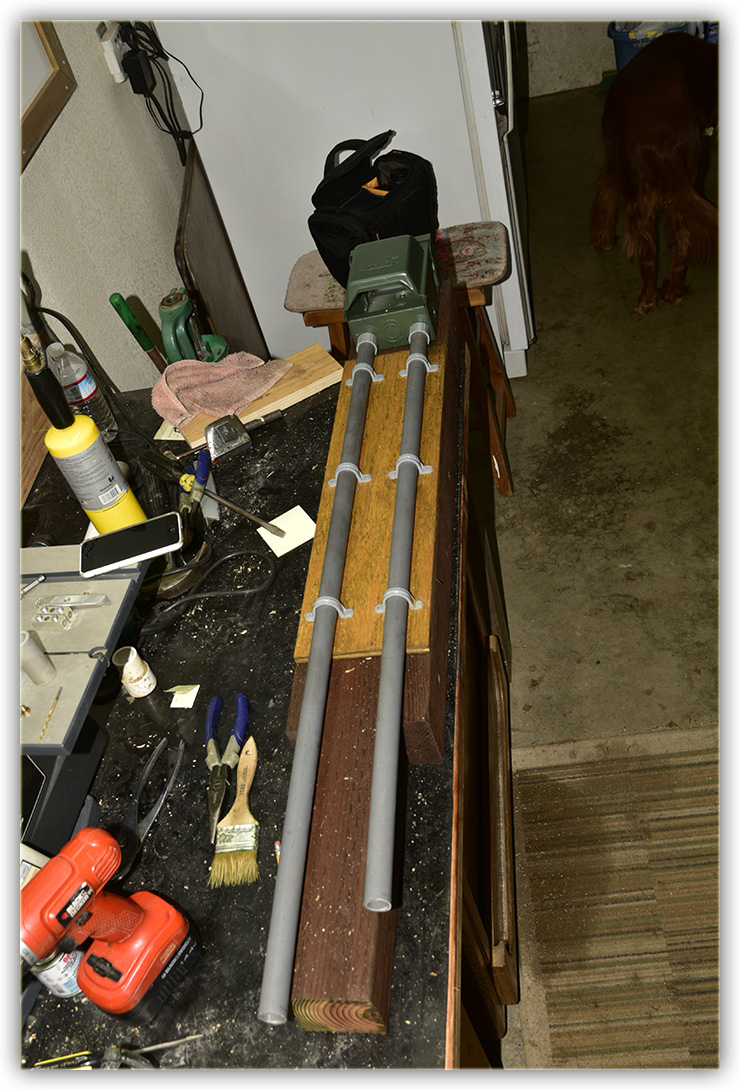
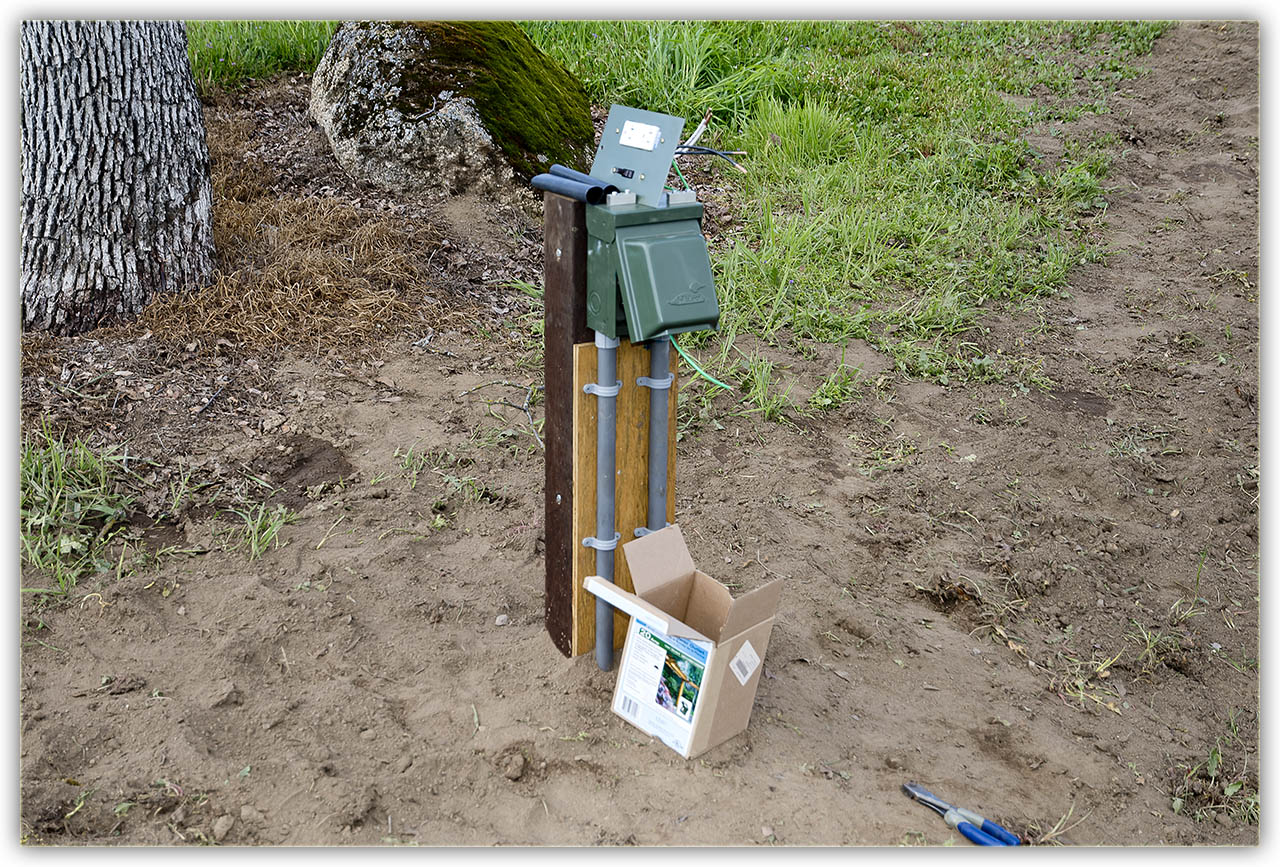
Everything is cut to length and I'm ready to build the post.


I'm prepared to expand this circuit further out towards the street.
One pipe is IN, the other is OUT. Eventually, the OUT pipe will be capped off.


Witrh the pipes all cut to length and glued, time to mount the post.


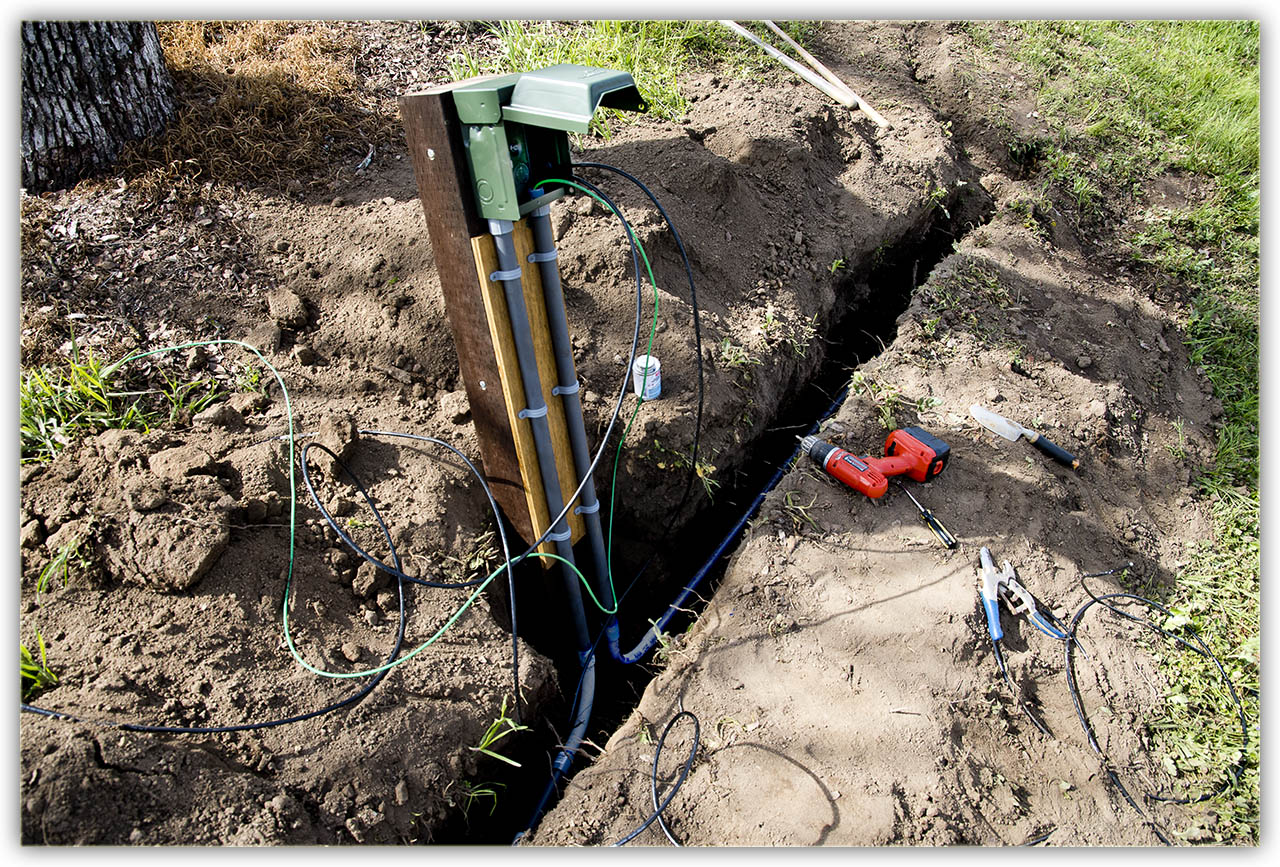
The wires are now cut to a workable length. Concreting the post in place is necessary.


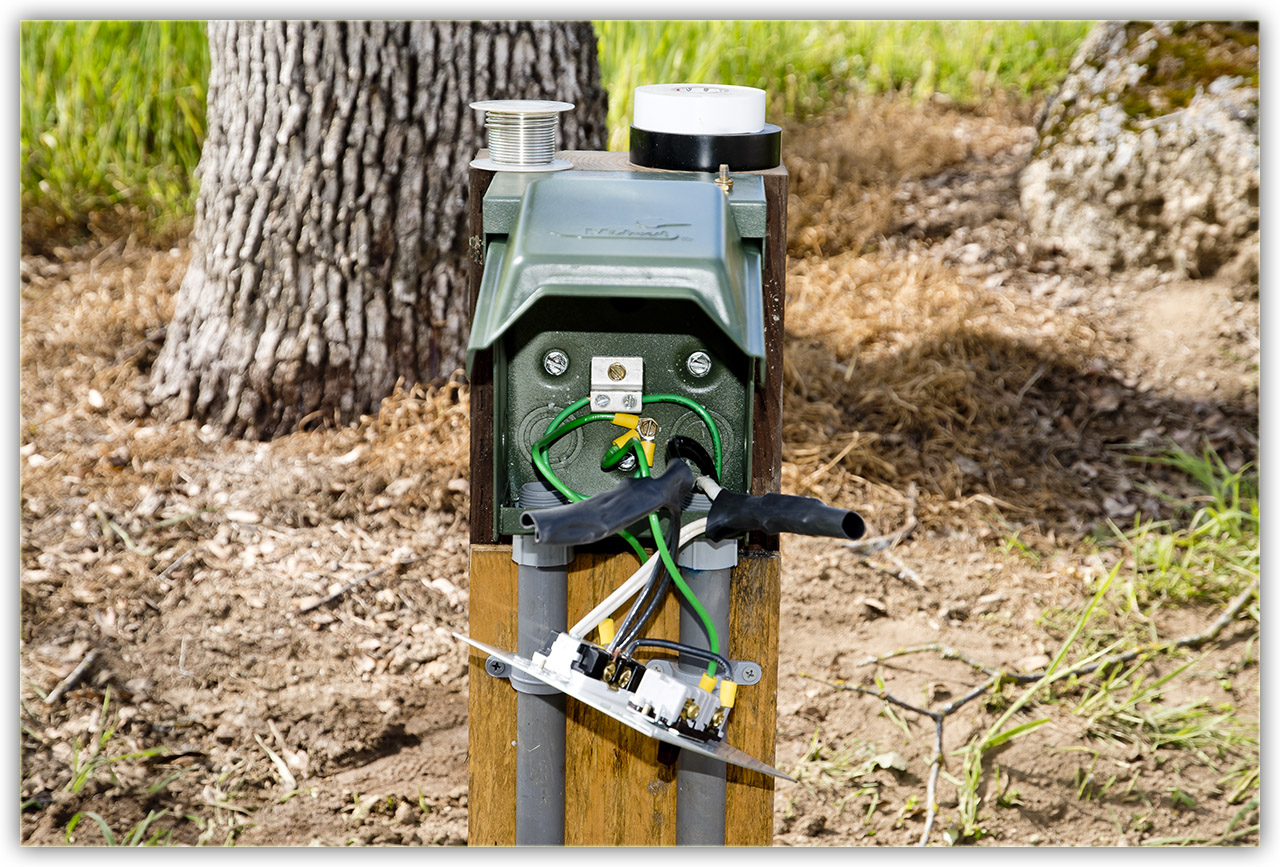
Time to wire up the outlet box.


Not difficult when you have the right parts.
The extra large shrink tubing is necessary because of the size of the connectors needed for 6 gauge wires.
I also doubled the wires in and out of the outlet so it wouldn't reduce the current like a fuse.

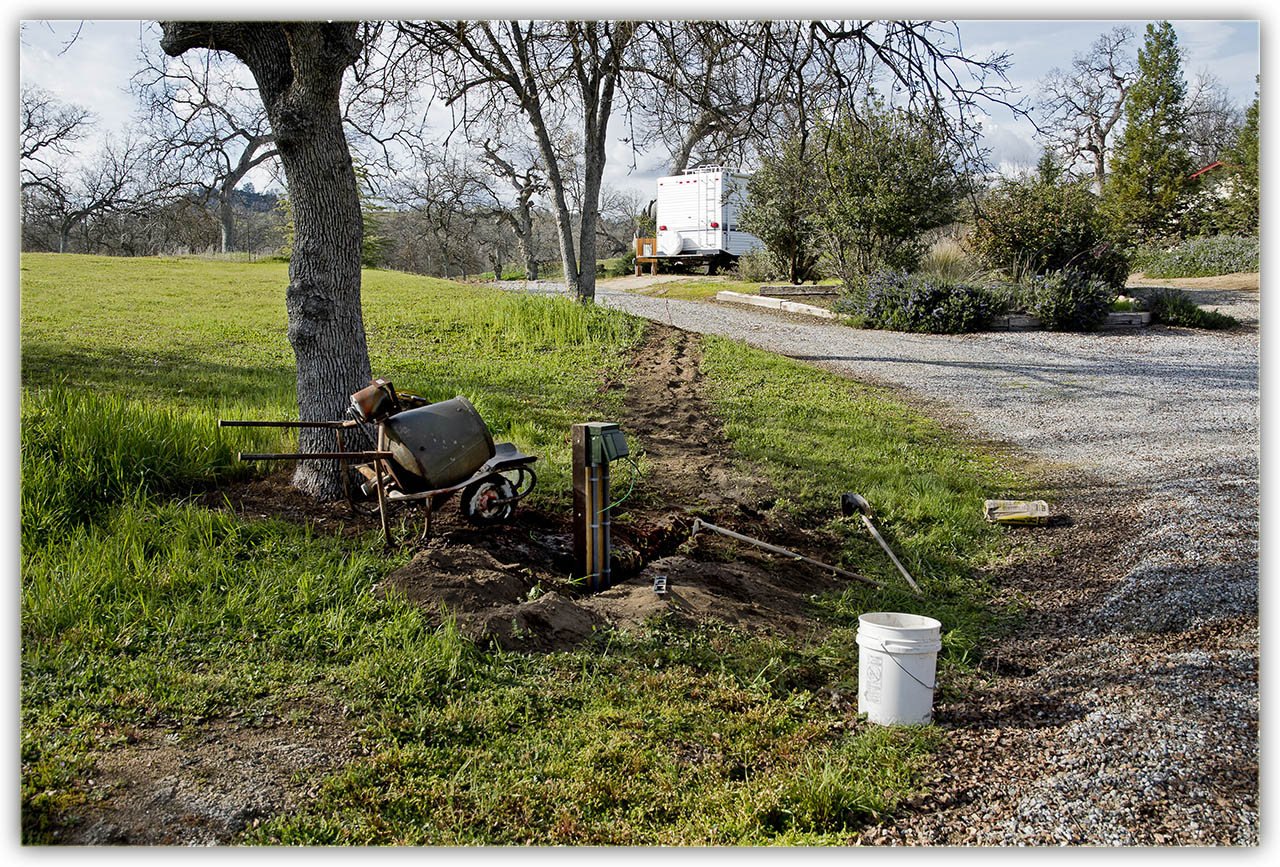
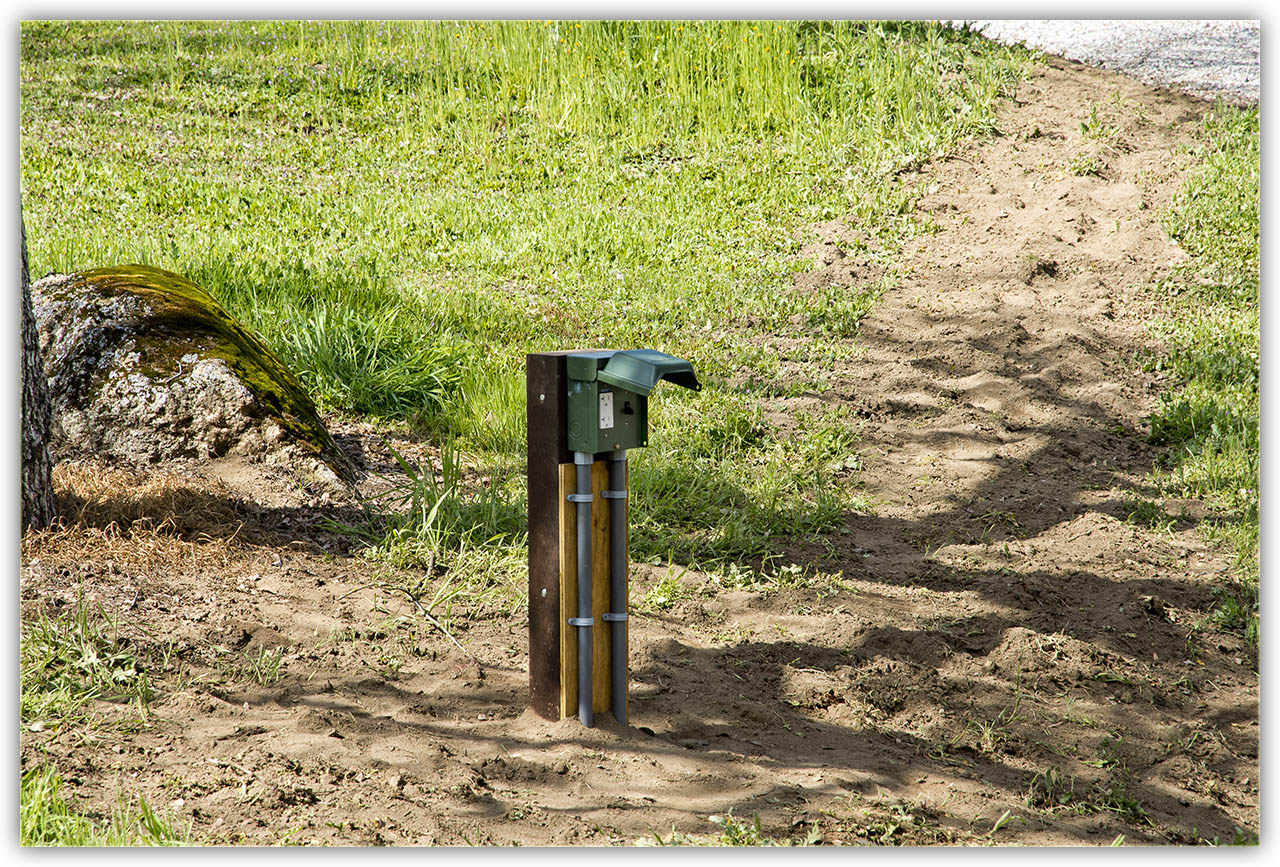
Done! And it works, too!


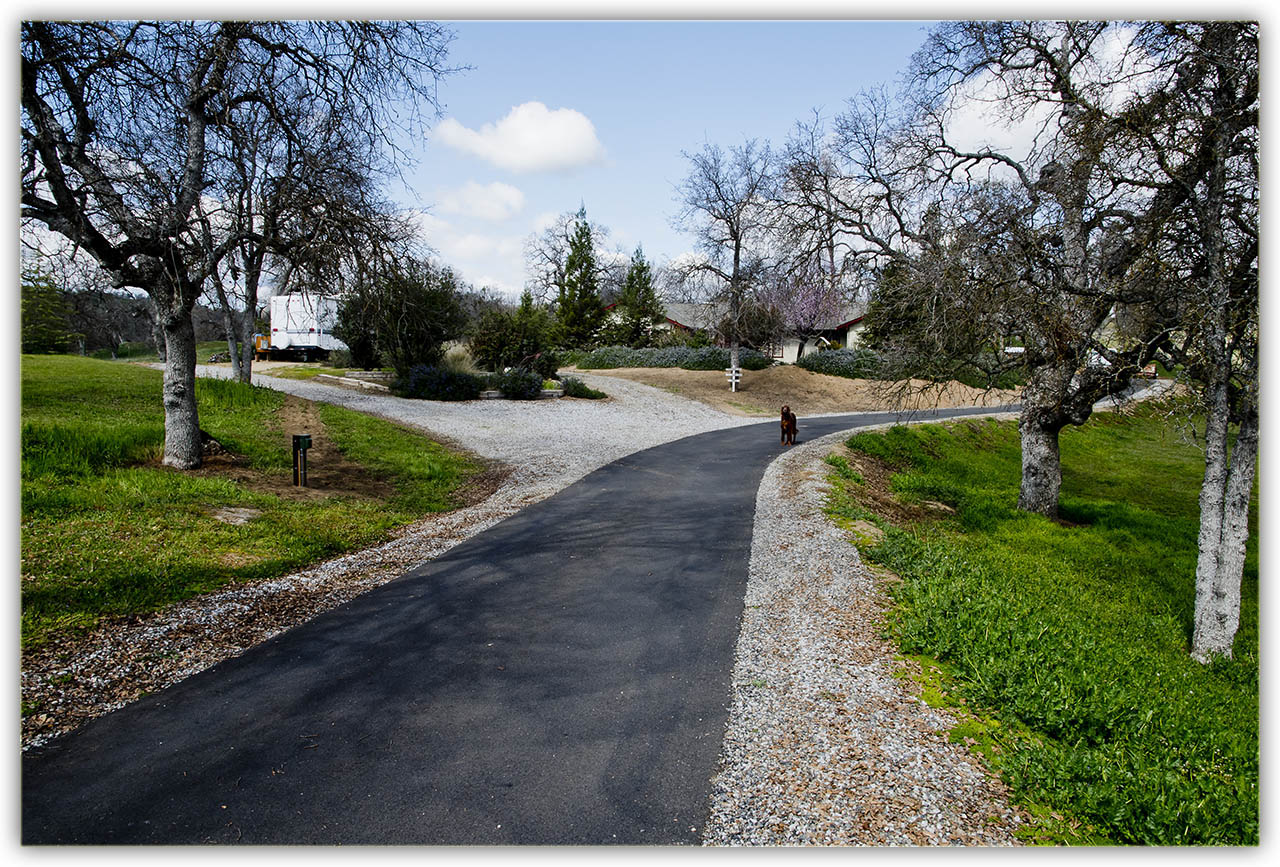
It has Athena's approval!