CB Base Station

About the Photo Sequence
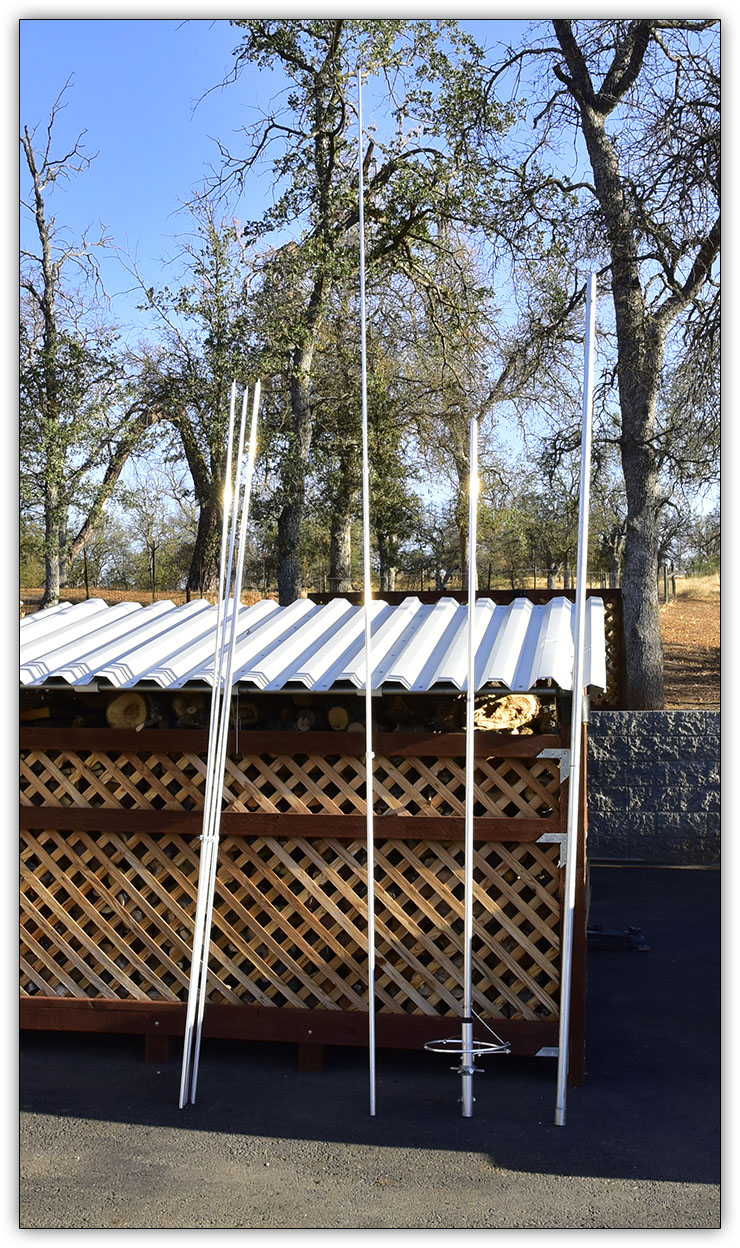
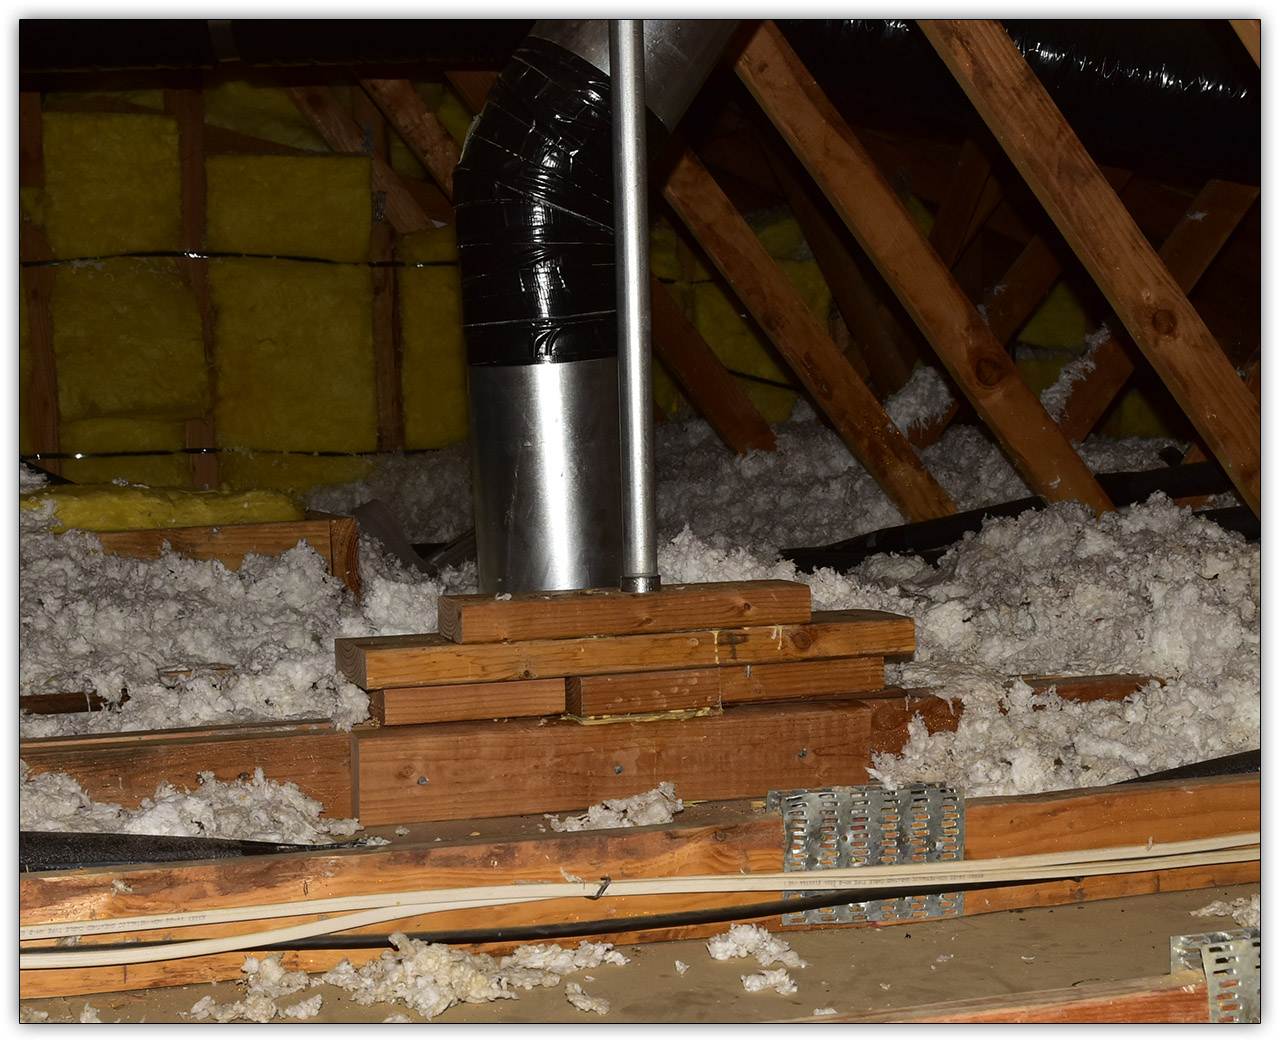
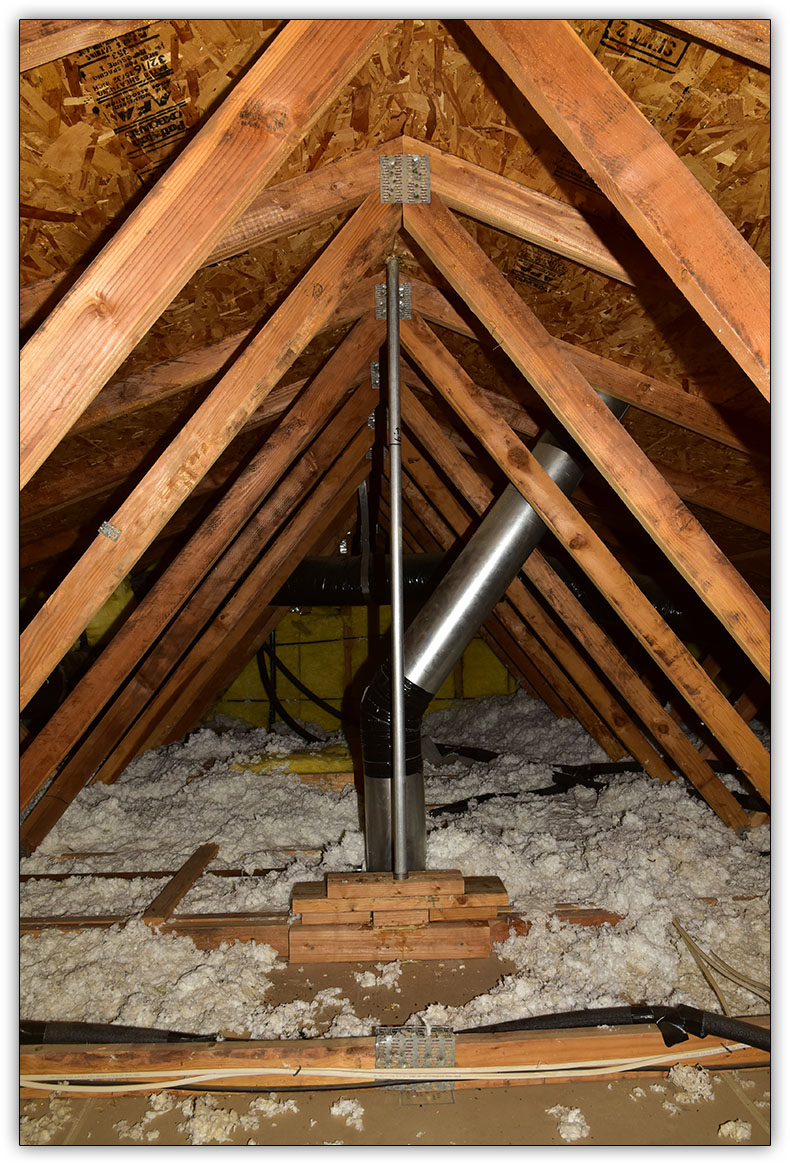
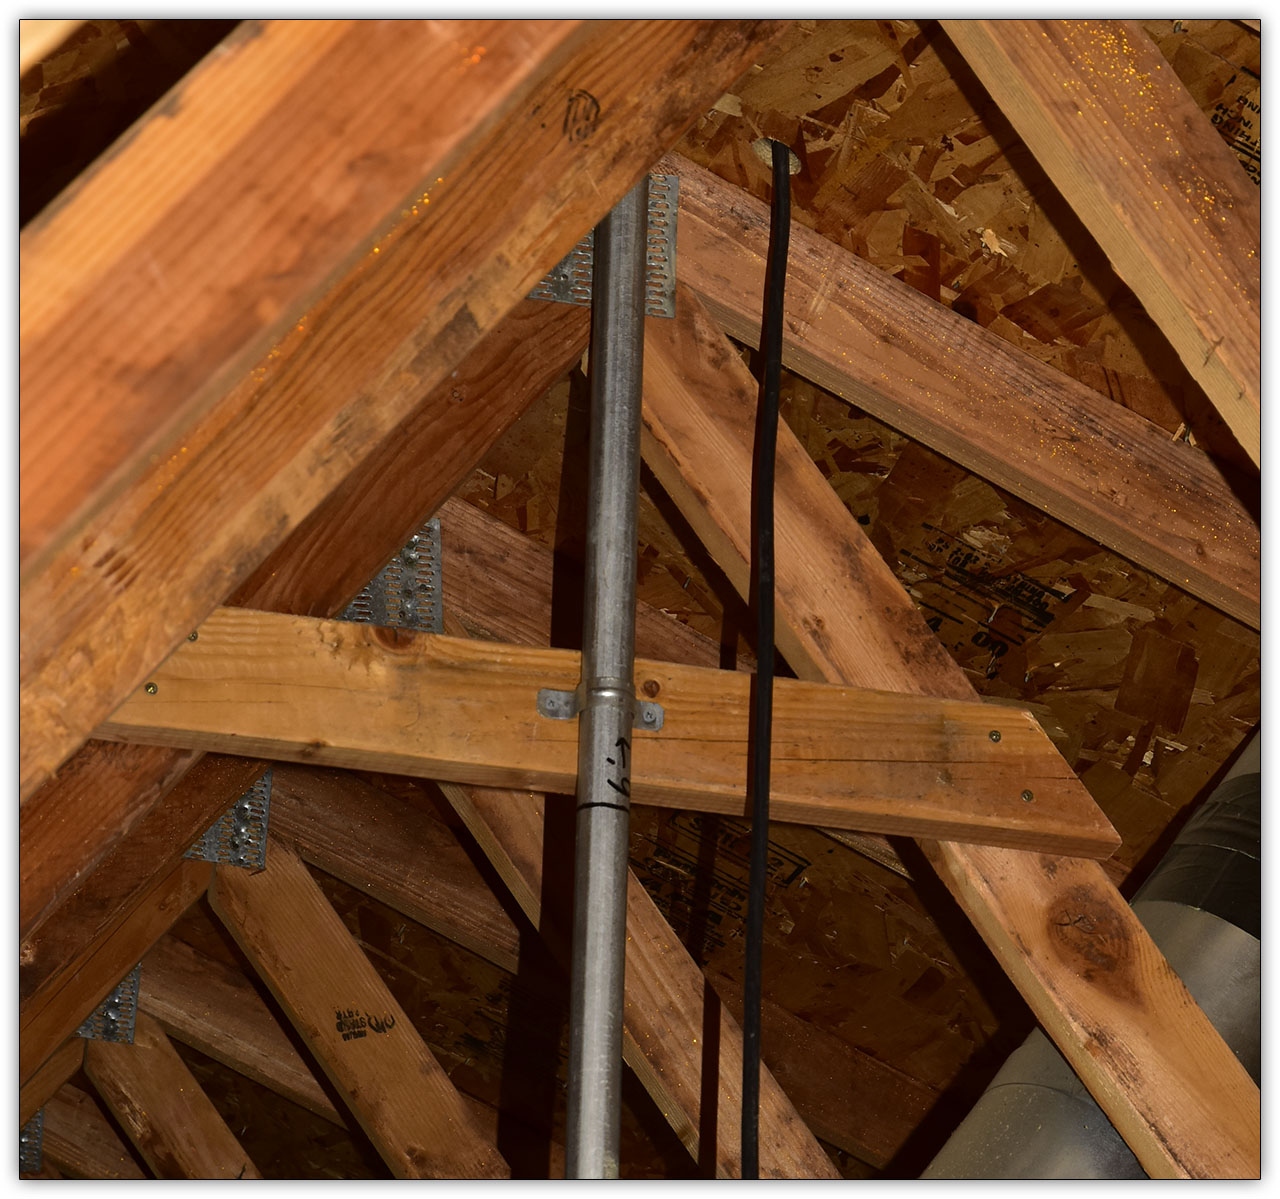
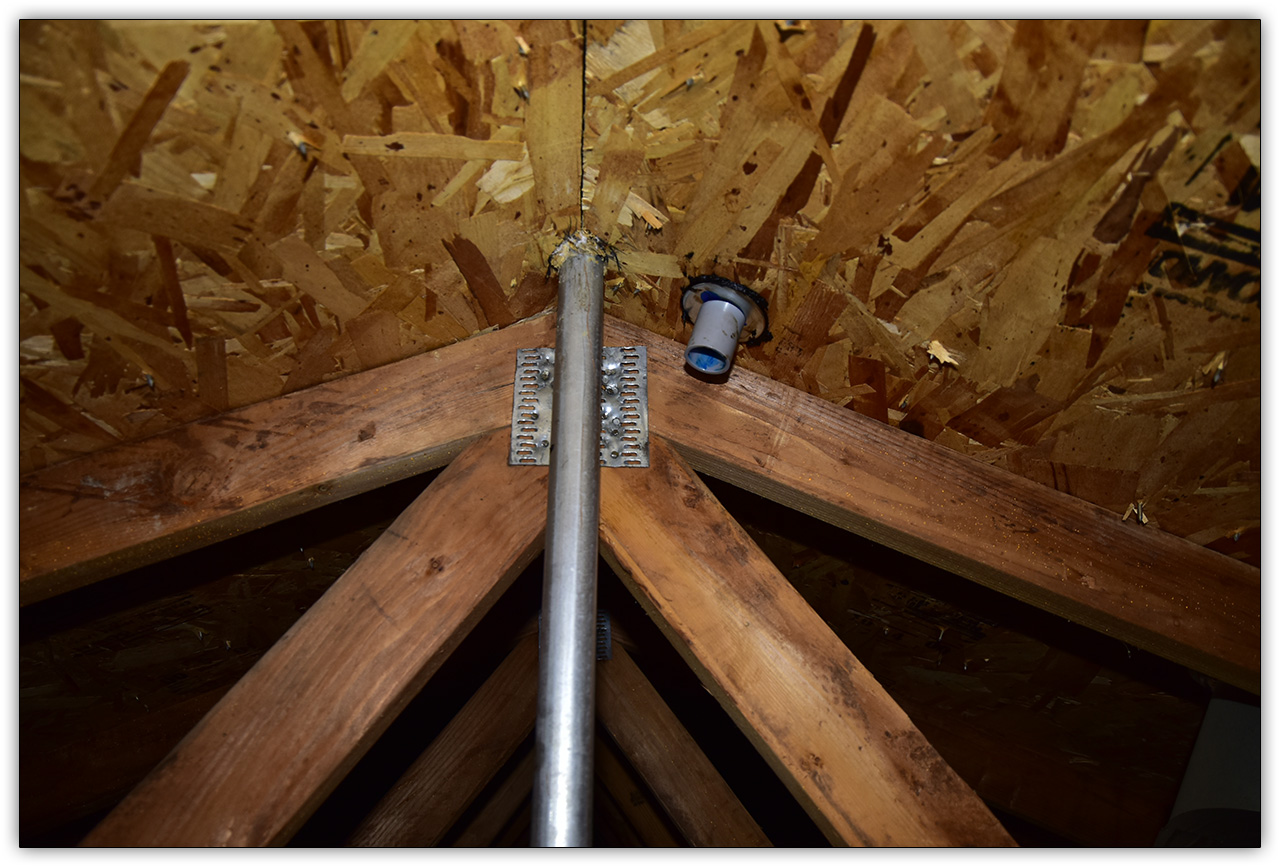
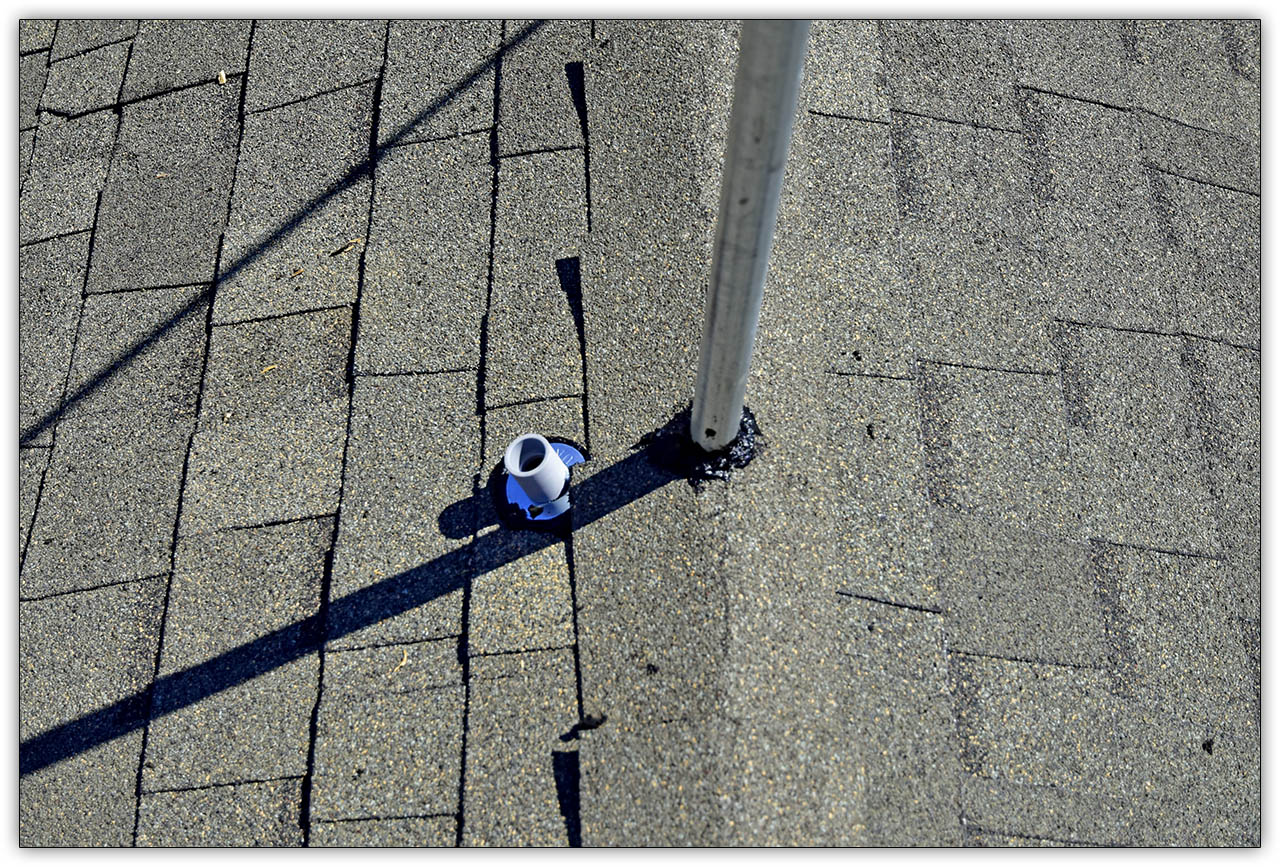
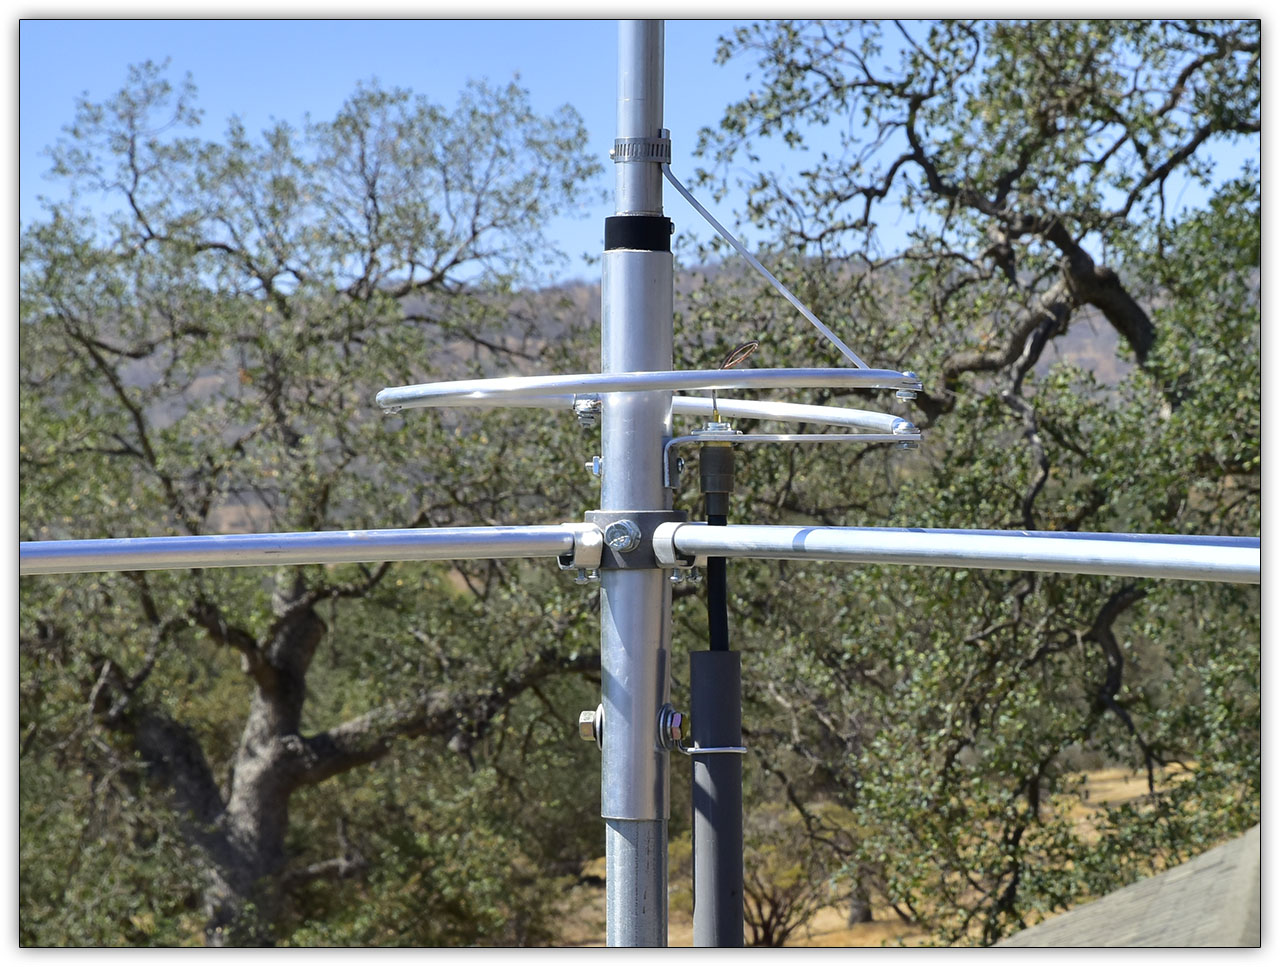
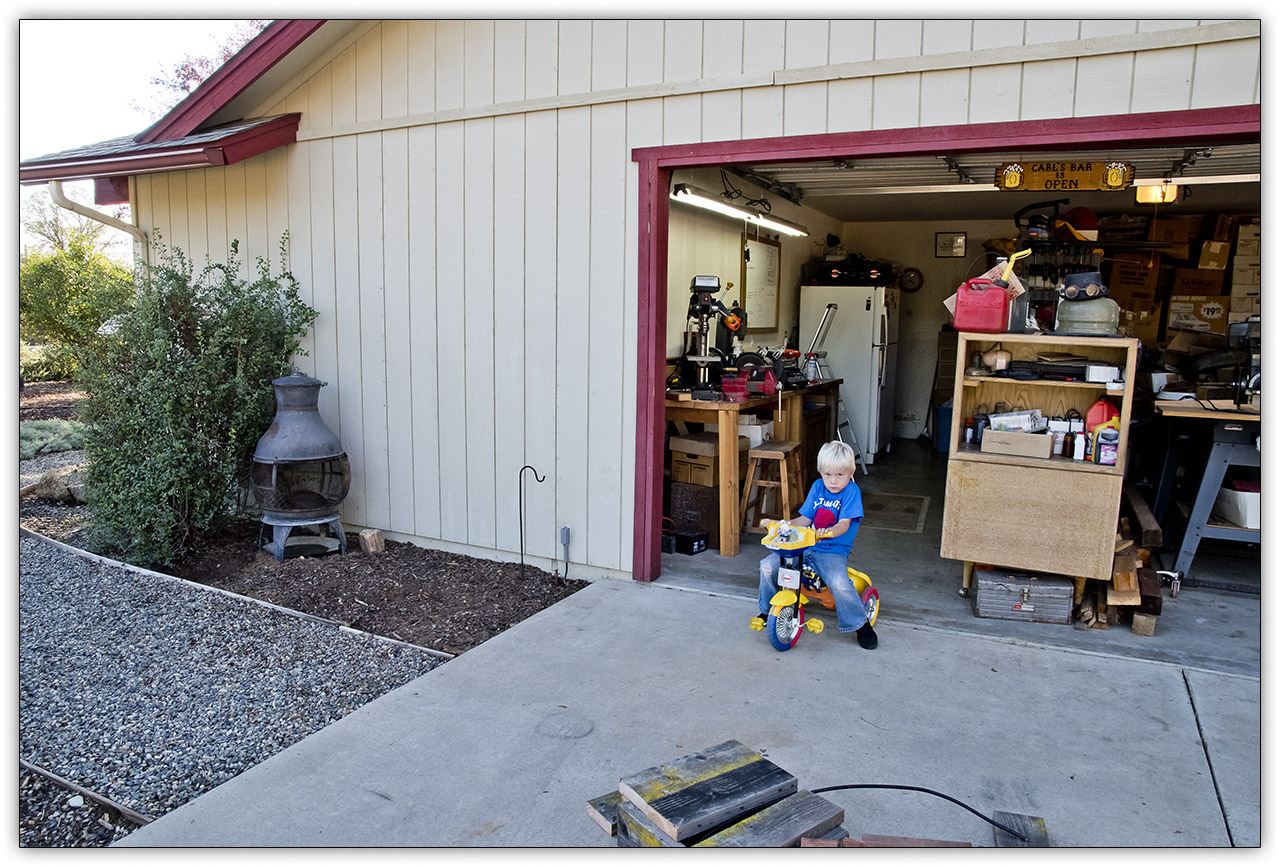
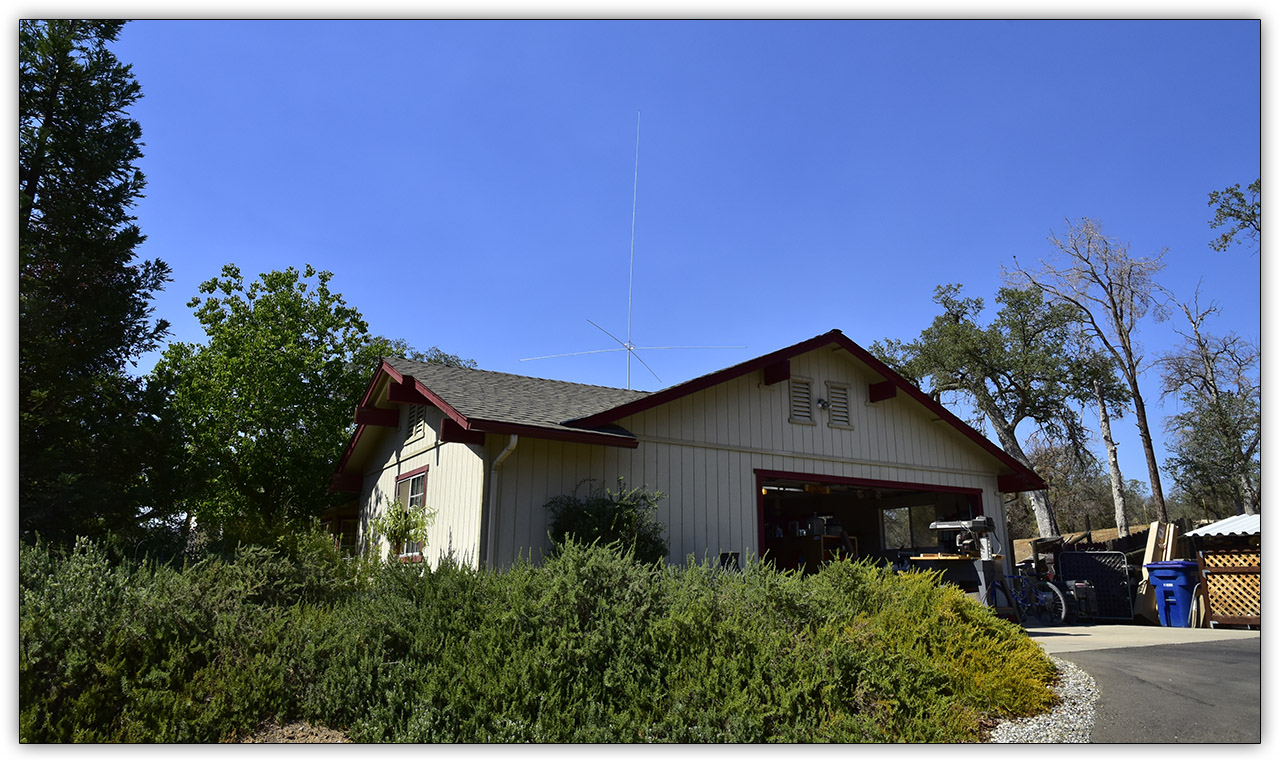
Ever since the CB craze of the 1970's, I've wanted a CB/Side Band base station radio. I also think it would be fun in the River Knolls Neighborhood if other neighbors would join and get "on the airwaves". So I bought the antenna, coaxial wire, and radio. This documents the build.

 
Photo Details
This photo sequence contains 12 frames. Each frame is a finite 1280 pixels wide but height was left to its own based on the crop. I based the picture size on an email program's display window asuming that the picture would not be automatically resized to fit. This technique kept the file size down, the largest being just less than 490k making it easy to send and receive through email. All photos were taken with a Nikon D810.

Download Photo Project


2015-09-CBBaseStation.zip - 4433748 bytes.


CB Base Station

Here's the Ground Plane CB antenna. Partially assembled.
It's made of "aircraft aluminum" and can withstand hurricane force winds.


The trick is to get it onto the roof without guy wires. Why? Because I hate them. So I'm stuck with it being
a bit short on the roof. I used 1" EMT conduit as the antenna pole. I started with a base directly above a
wall so there'd be no problems holding it's weight. Using left-over 2x4's and 2X6'S I drilled a hole on the
top board and used it as a guide. The other boards below the first handle the weight.


A weight on a string found the point from the apex of the roof to the base mount where I drilled the holes,
top and bottom. With the pole mounted and measured as vertical, I nailed the base guide board in place.


Considering the torque in the attic when the wind blows hard (not often out here in Coarsegold),
I mounted a support board and attached the pole. I then drilled the hole for the coax wire.


I used a short electrical PVC pipe, 2 fender washers, 2 connectors, and some roof sealant on both sides.
I had help from the roof side: I had my daughter stand on the connector to get good compression
and a good seal while I glued the connector in place on the inside.


On the rooftop, I sealed the holes with more roof sealant which worked very well.
Check the angle of the wire pipe. This created a new challenge.


I wanted the coax wire protected as much as possible so I mounted a PVC electrical conduit pipe
up to the connection to the antenna. All the elbow connectors available were the wrong angles.
With a large cooking pot I boiled some water, and dipped the pipe into it. The plastic was then able
to bend to any angle I needed. Same with the end of the long pipe. After the antenna was placed
on the EMT pole, and the wire was connected to it, the top of the conduit pipe was filled with "Dicor",
a very strudy RV roof sealant.


The antenna came with a sealant to mold around the antenna connector.


Not shown is the 6 gauge wire connected to the antenna pole inside the attic for grounding. That's
necessary in case of a lightning strike. Left of the garage is the grounding rod. That's an 8' copper rod
hammered into the ground. The wire is routed down the interior of the wall and out the gray connector.
The wire is then clamp-connected to the grounding rod. I also filled the exit pipe with "Dicor" to keep
the bugs out.


Here's a close-up of the grounding connection.


The antenna is mounted and all holes are sealed.
I ran the wire inside the south wall between the garage and my office.


I then mounted a junction box in the office wall, pulled the coax through it, and hooked it to the radio.
I'm broadcasting!
You'll find me (Zeus) on Channel 20 and sometimes the trucker's California channel 17.