Retaining Wall and Gate

About the Photo Sequence
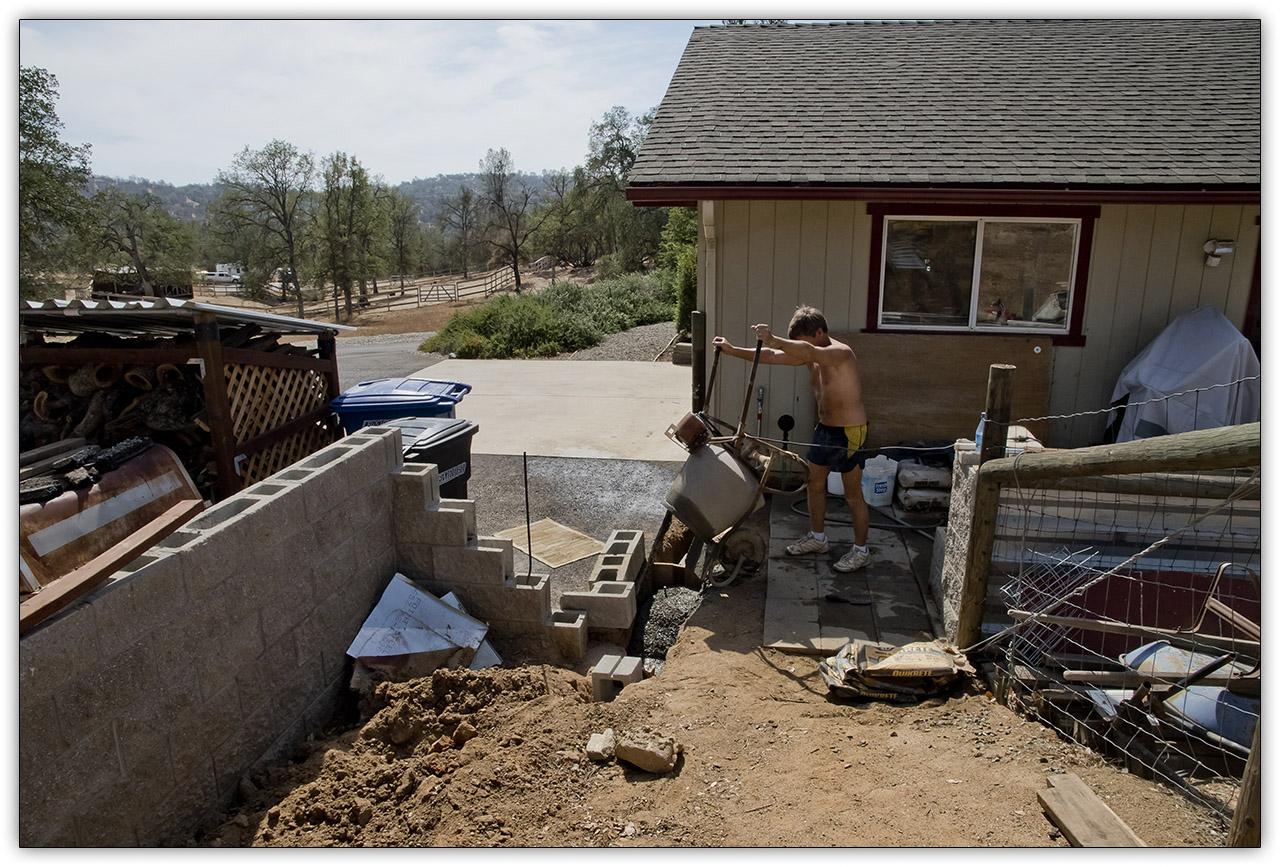
With the intent to complete the retaining wall, I got back to work on it. Procrastination is a fancy word for lazy so I got off my dead ass and got to work. I added a few rows of bricks and added a larger gate. Why a larger gate? To get the riding mower through it so I don't have to drive it all the way around the house. This documents the build.

 
Photo Details
This photo sequence contains 20 frames. Each frame is a finite 1280 pixels wide but height was left to its own based on the crop. I based the picture size on an email program's display window asuming that the picture would not be automatically resized to fit. This technique kept the file size down, the largest being just less than 545k making it easy to send and receive through email. All photos were taken with a Nikon D810.

Download Photo Project


2015-11-RetainingWallAndGate.zip - 8715518 bytes.


Retaining Wall and Gate

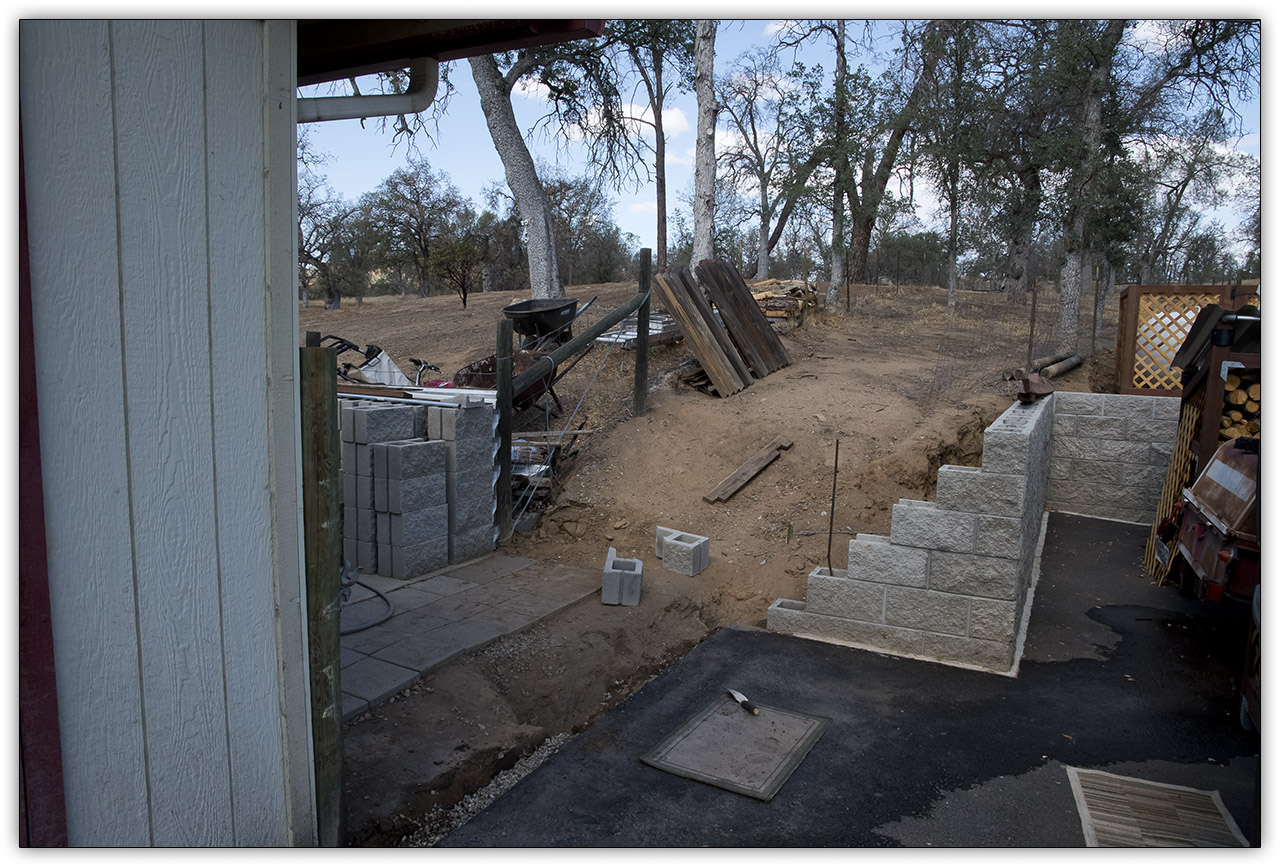
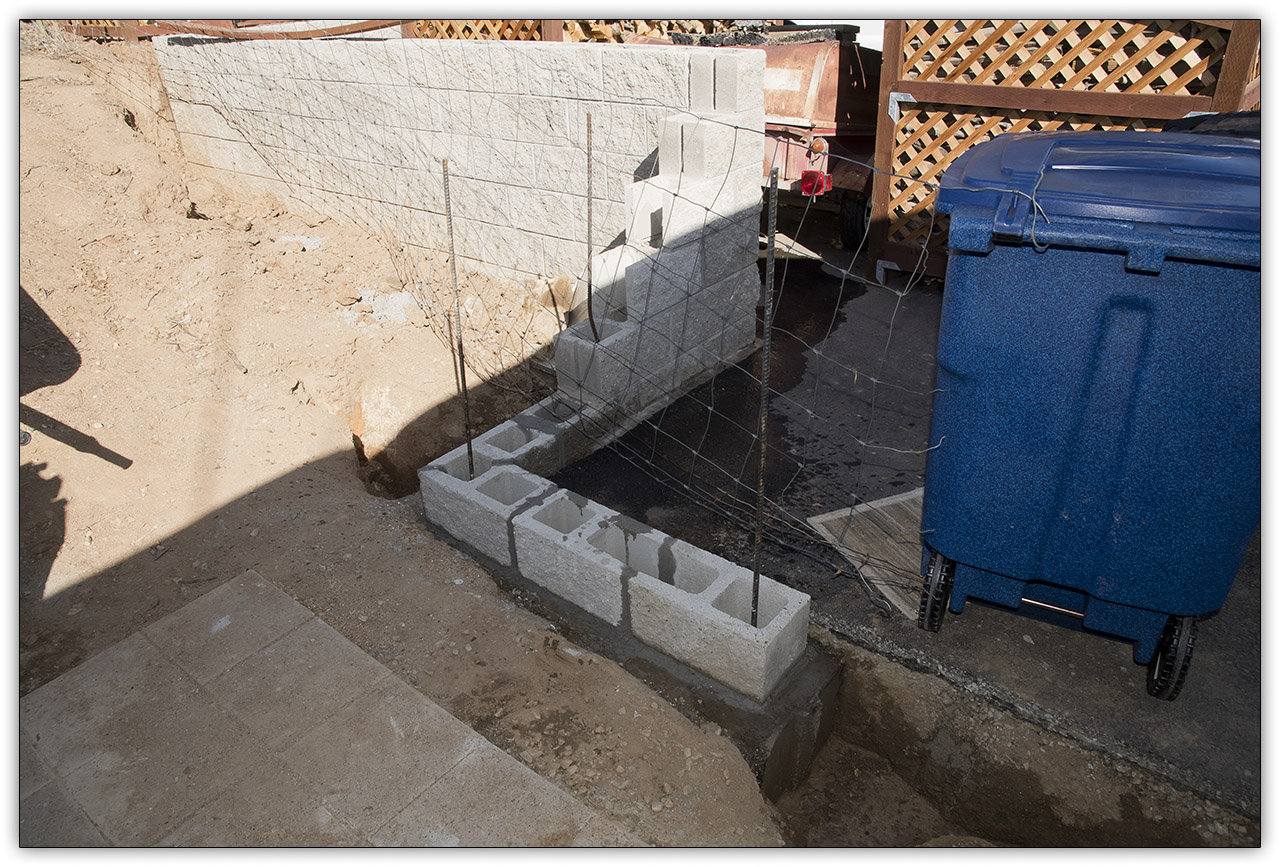
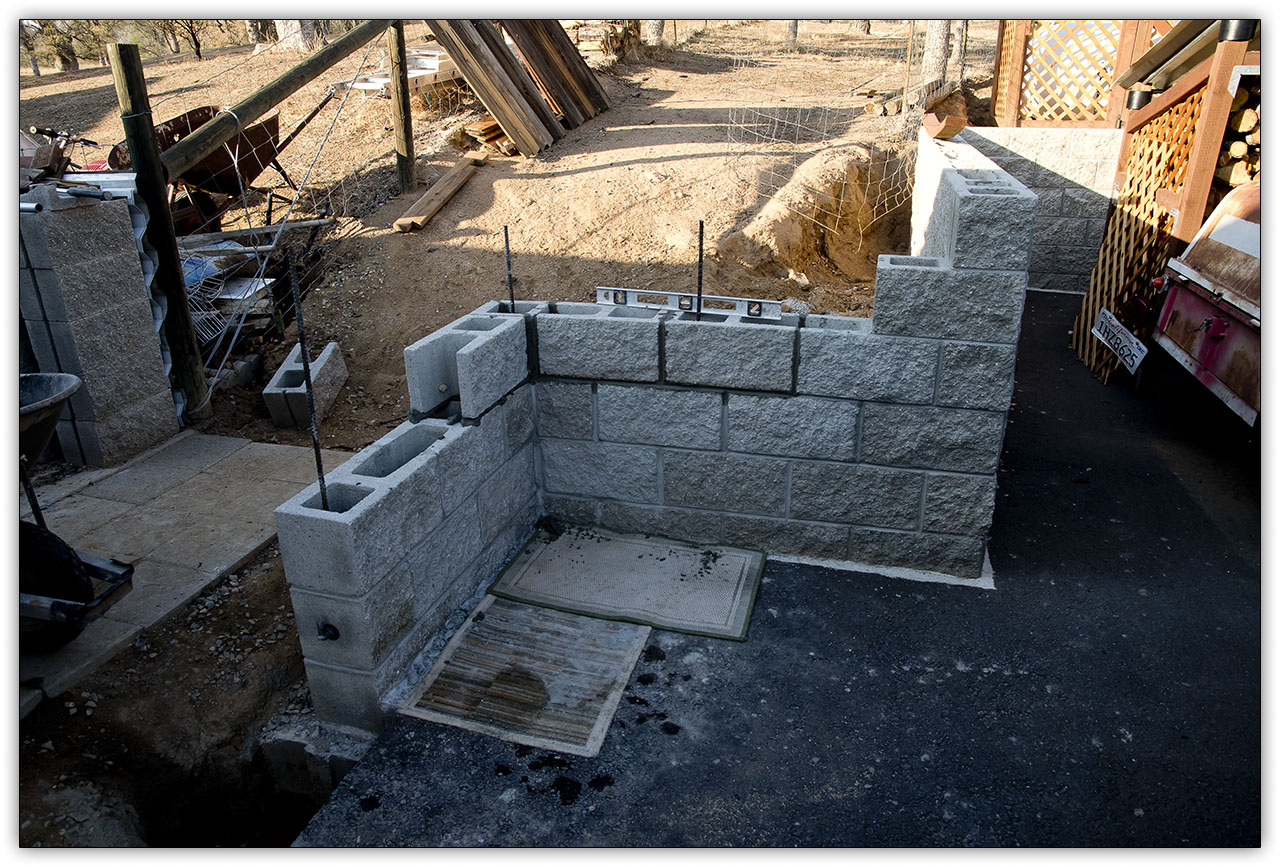
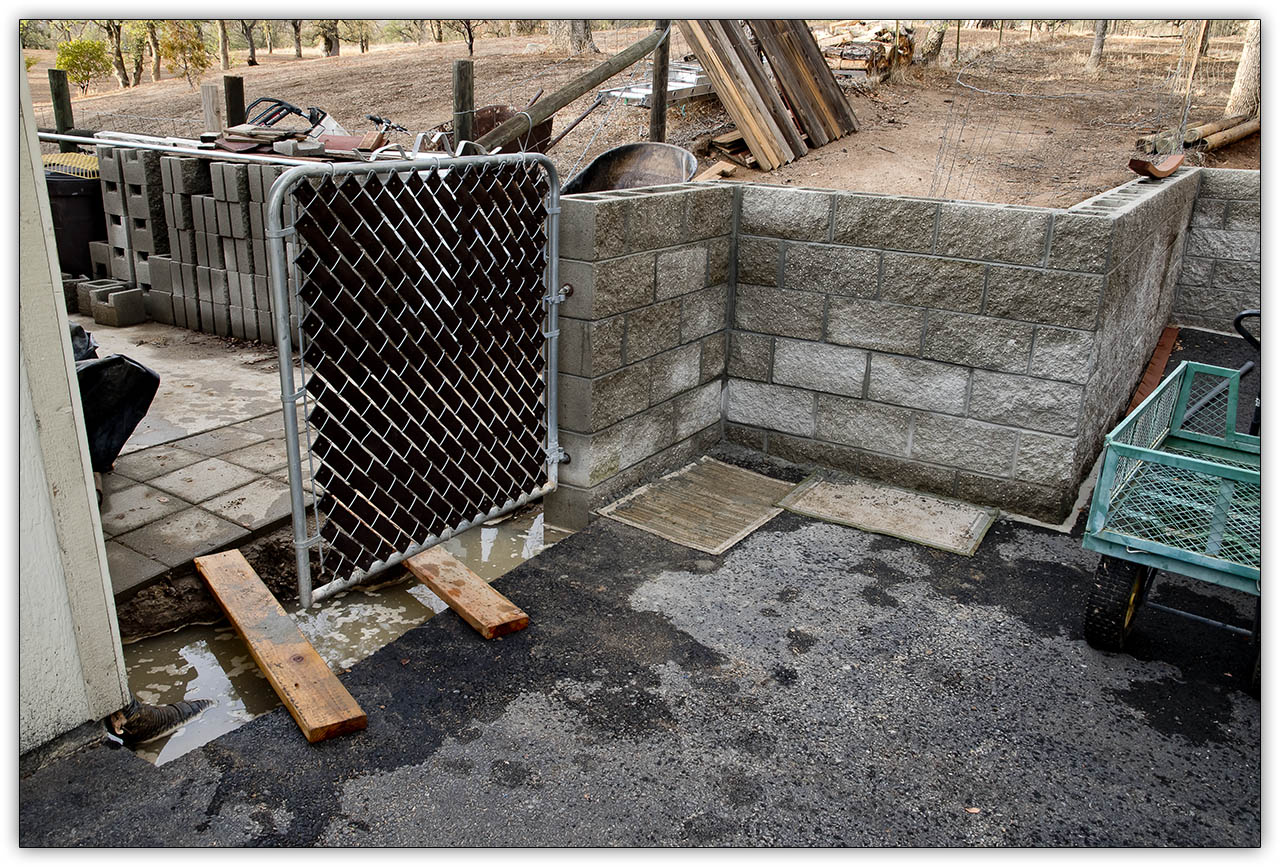
The wall has been sitting like this for too long. This one was mentally challenging. I had to
turn the corner and finish the wall, then drill the end for gate hangers. I also decided to
have a wider opening, meaning a larger gate was needed.


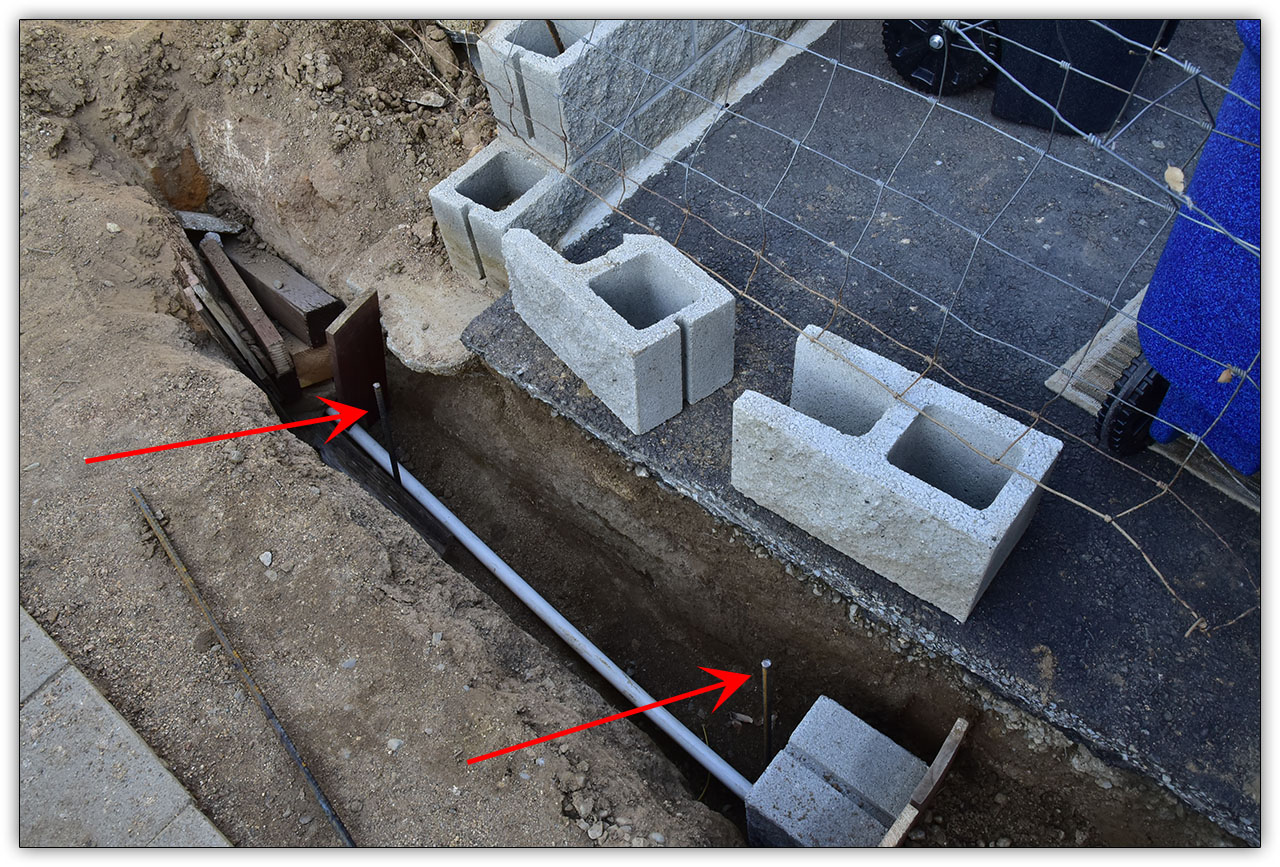
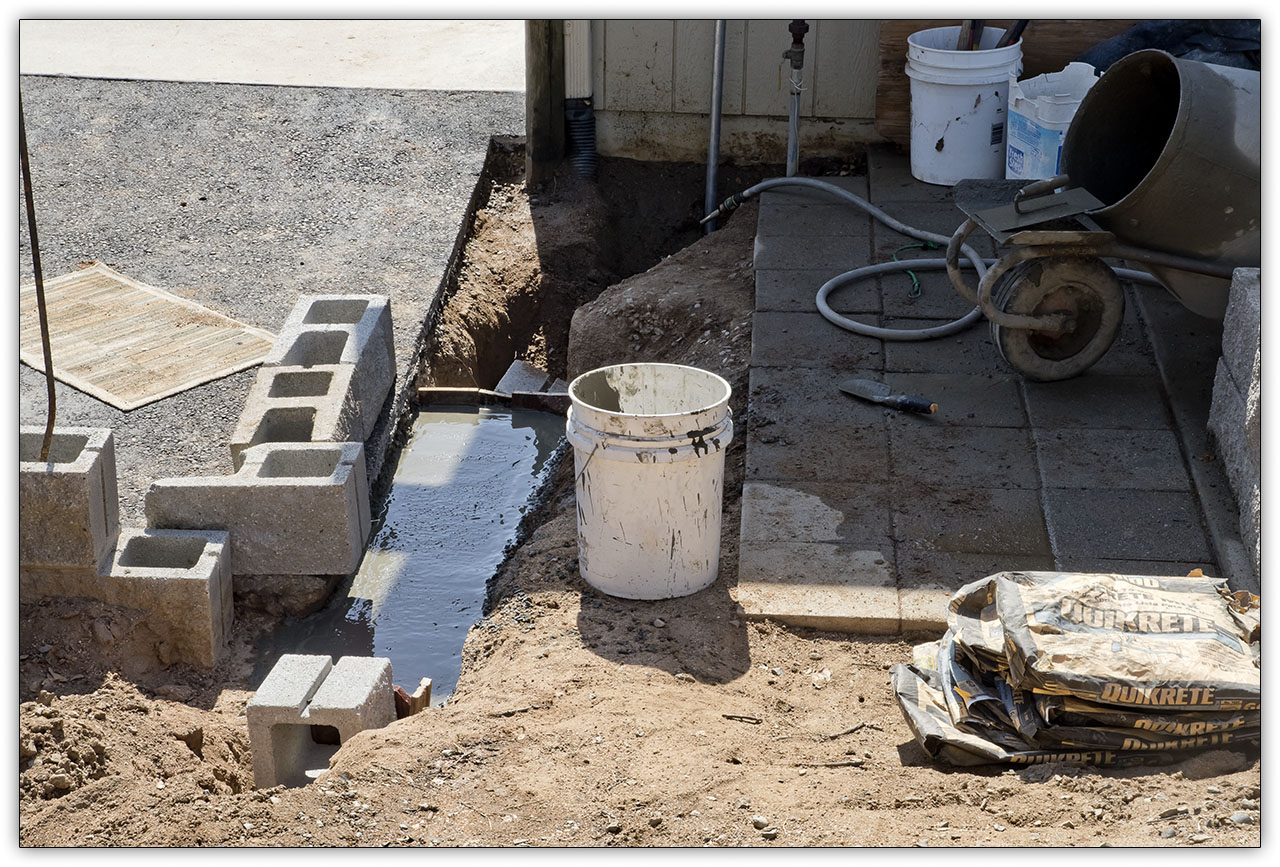
I dug the foundation trench to at least the minimum depth of 18". Then I mounted rebar like nails. The top
of the rebar is measured to be level, and the concrete will be poured only that high. That will be the floor
of the foundation.


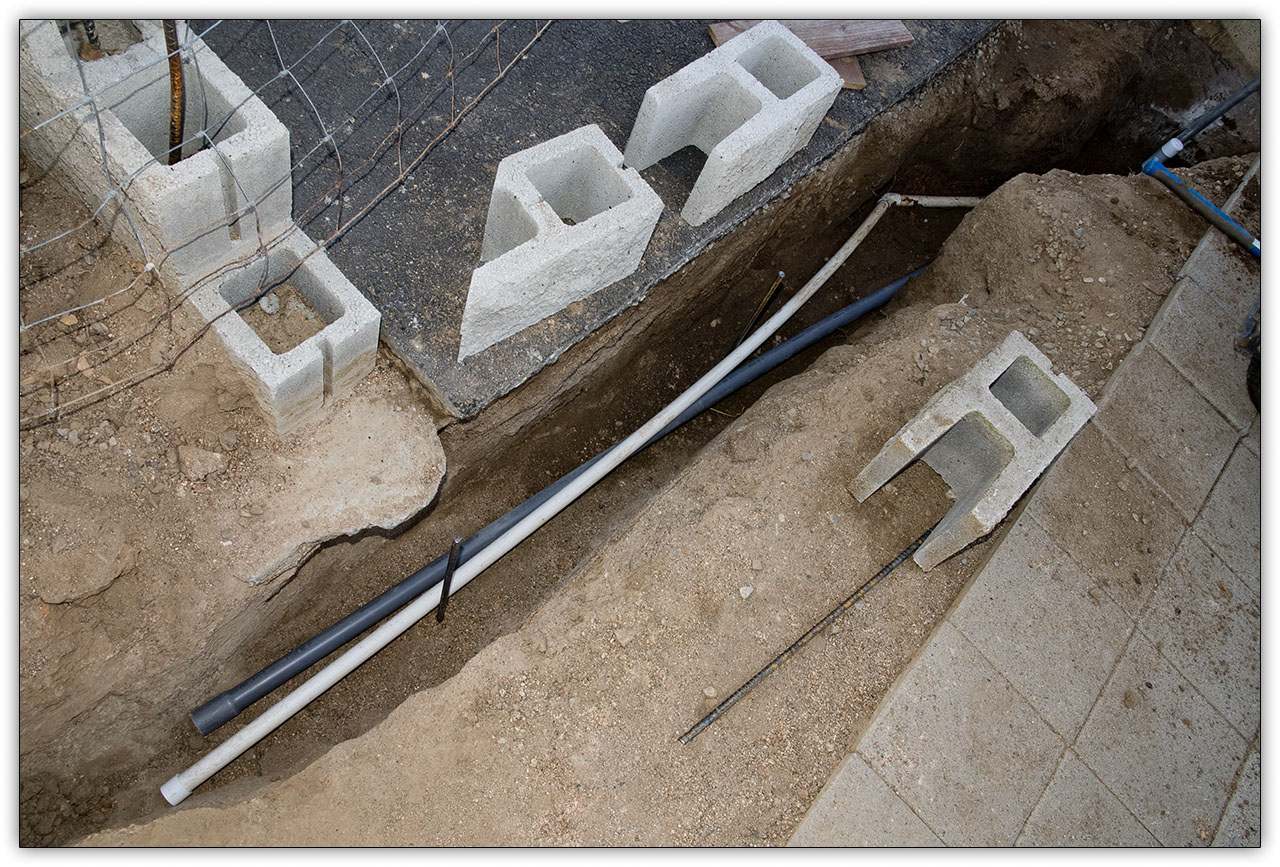
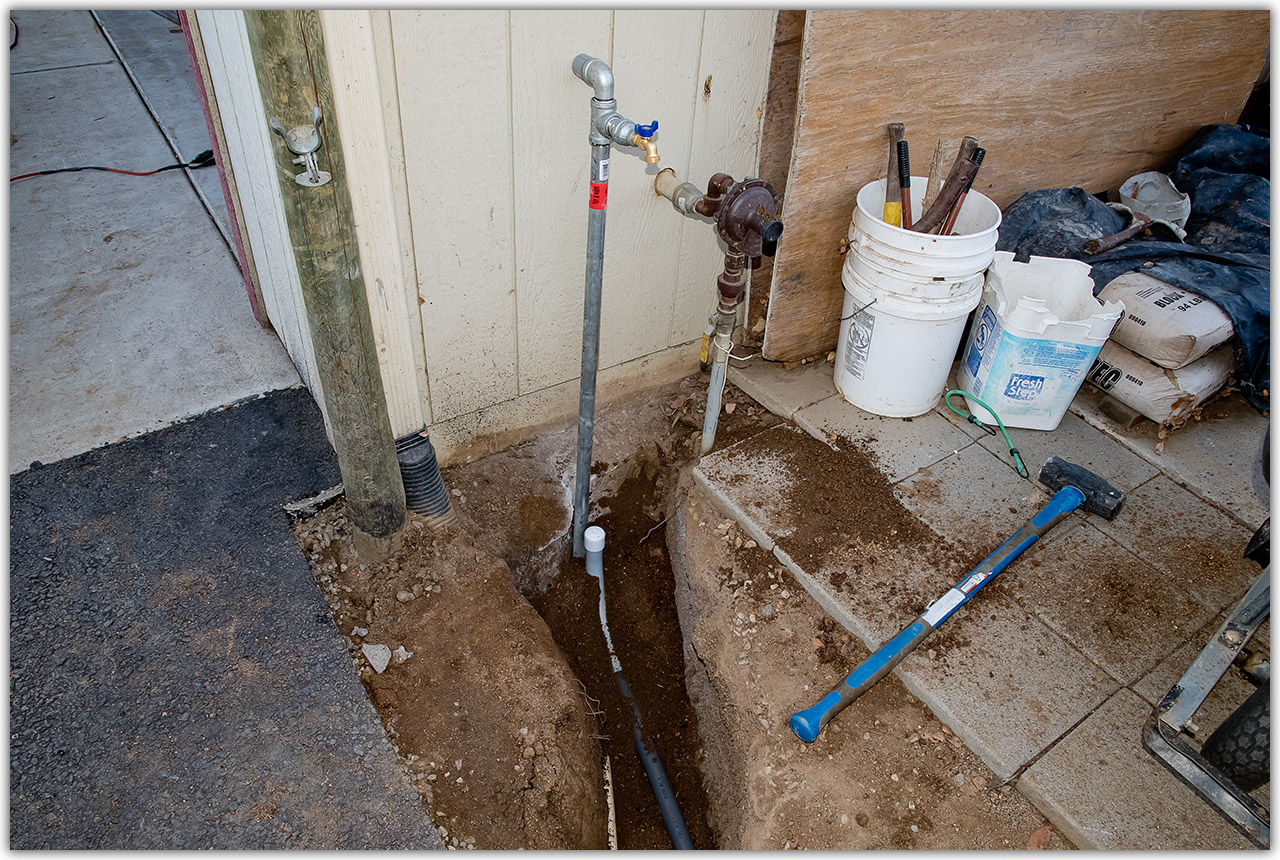
I try to stay ahead of the game so I made an addition: I placed a 1" water pipe and a 1 1/4" electrical pipe
into the trench for future projects.


They're not yet hooked up. I'll climb that mountain when I get to it.


Eventually it will be quite functional.


Lets pour the concrete!


You can't tell, but the top of the rebar is just at the surface.


The first row is placed!


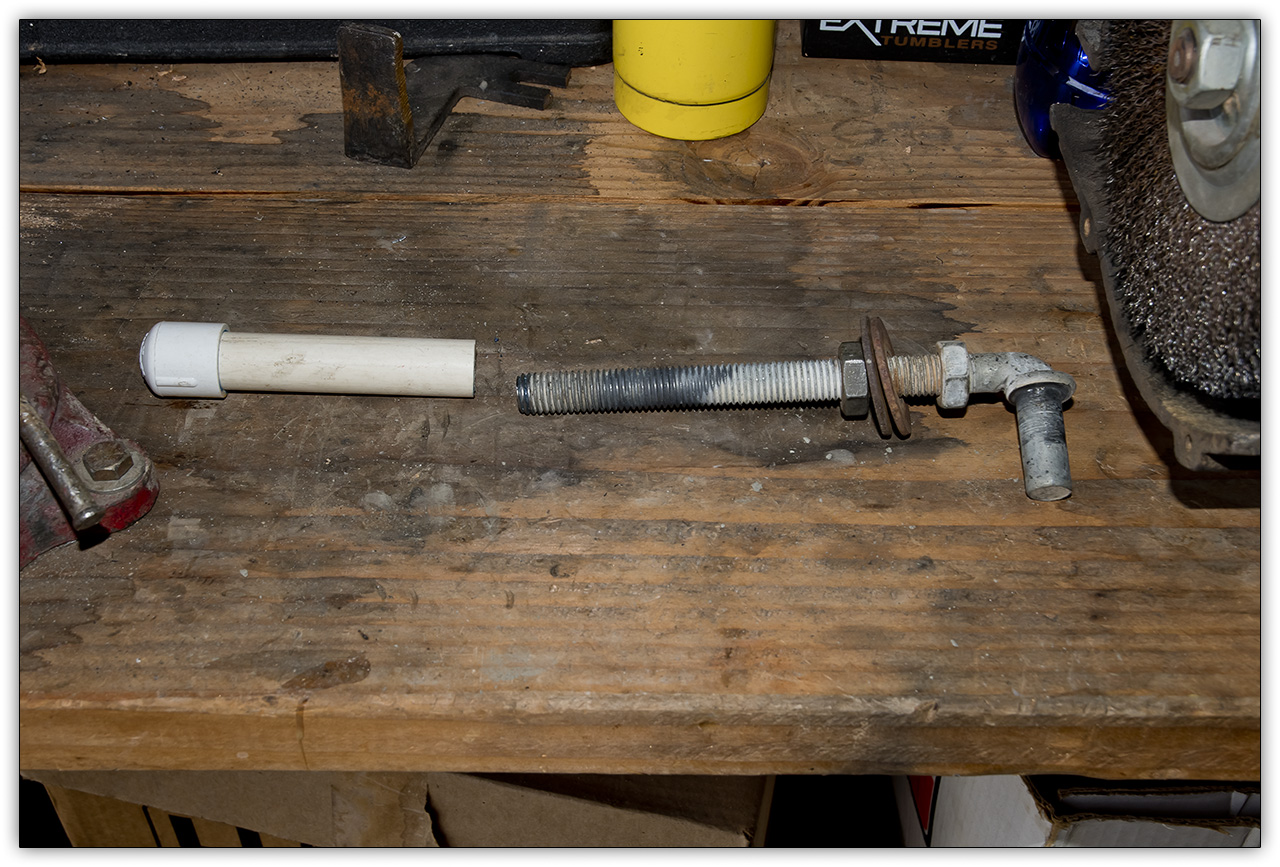
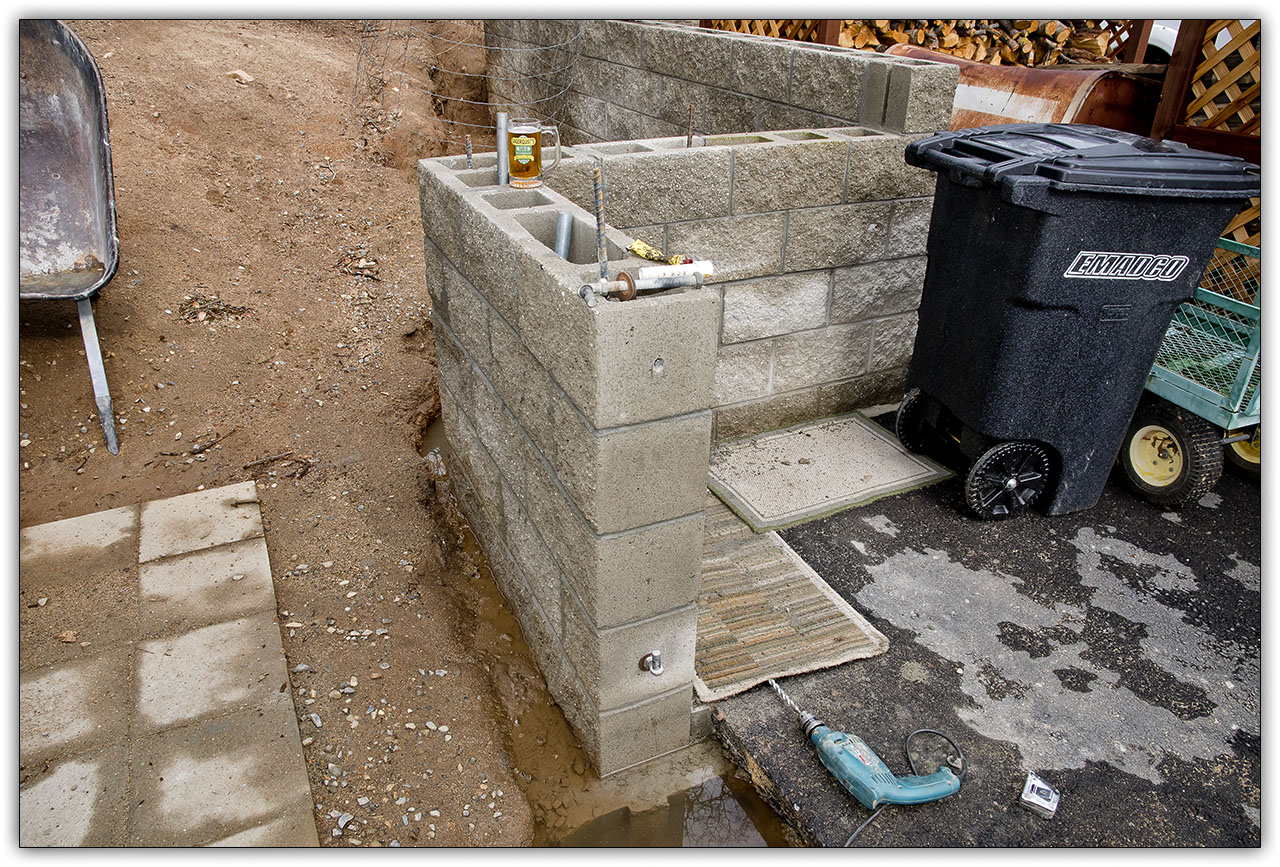
After completing the second row, it was time to place the first (lower) gate hanger. I wanted the hangers to
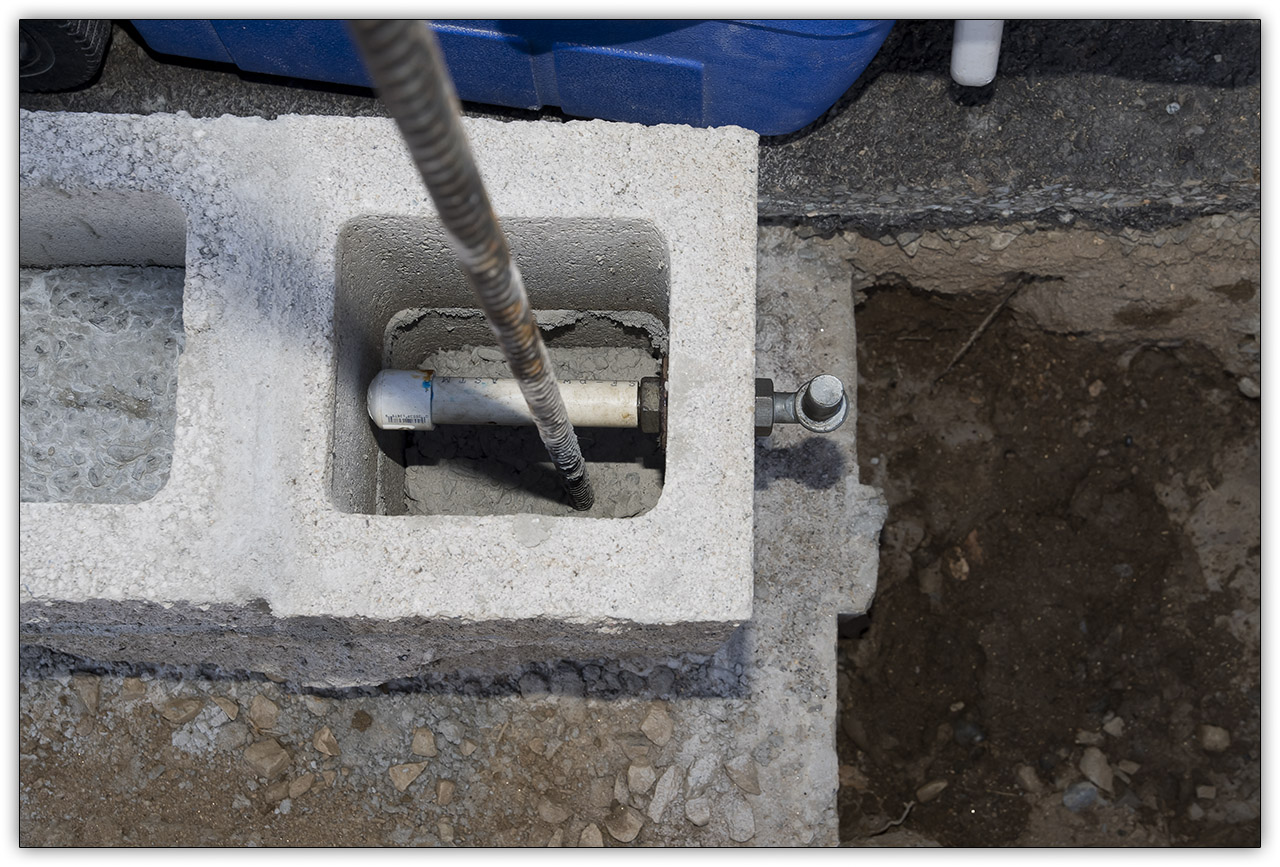
be adjustable even after I pour concrete around it. I used a 1/2" PVC water pipe to protect the threads.


It took some work to make the hanger fit into the pipe.
I put some grease on the threads and got it positioned.
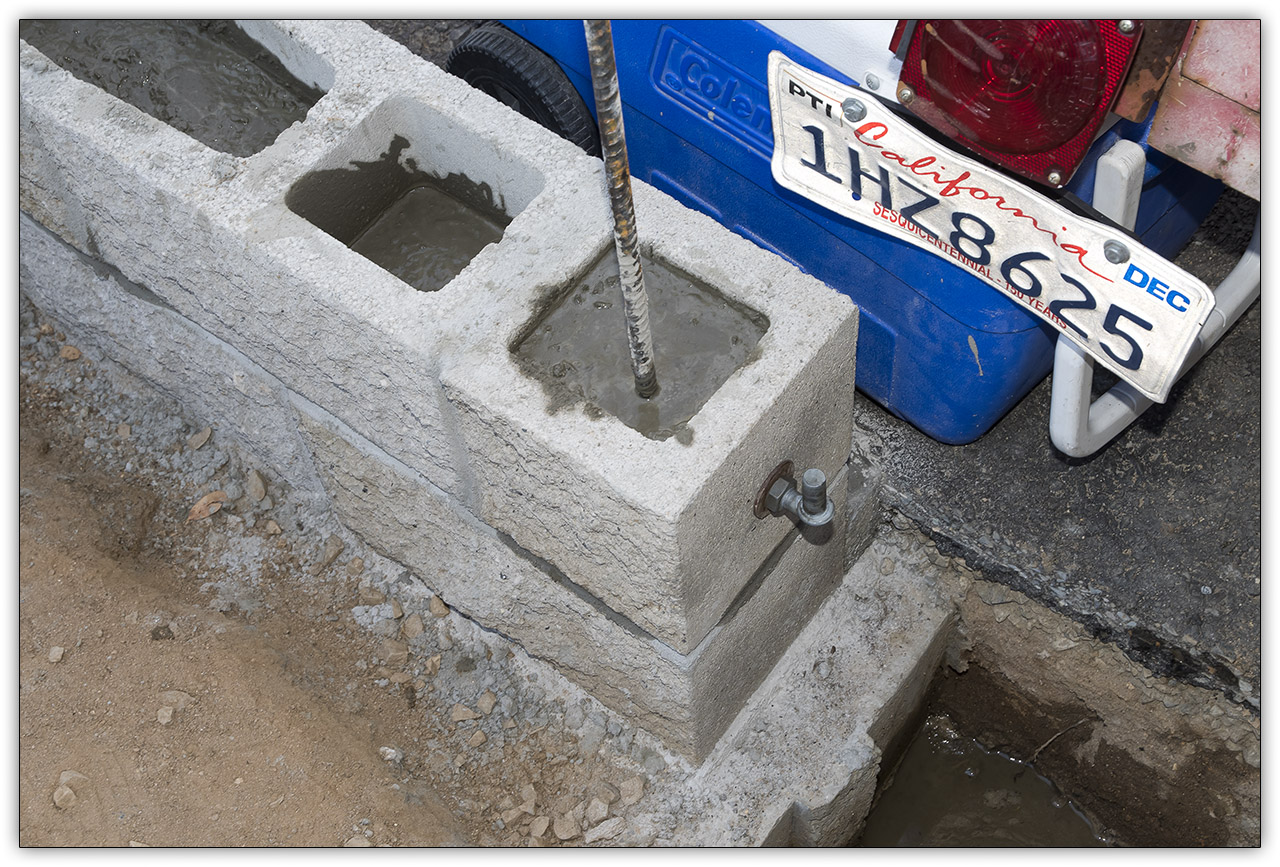
The concrete will hold the nut in place.


All sealed up.


3rd and 4th rows.


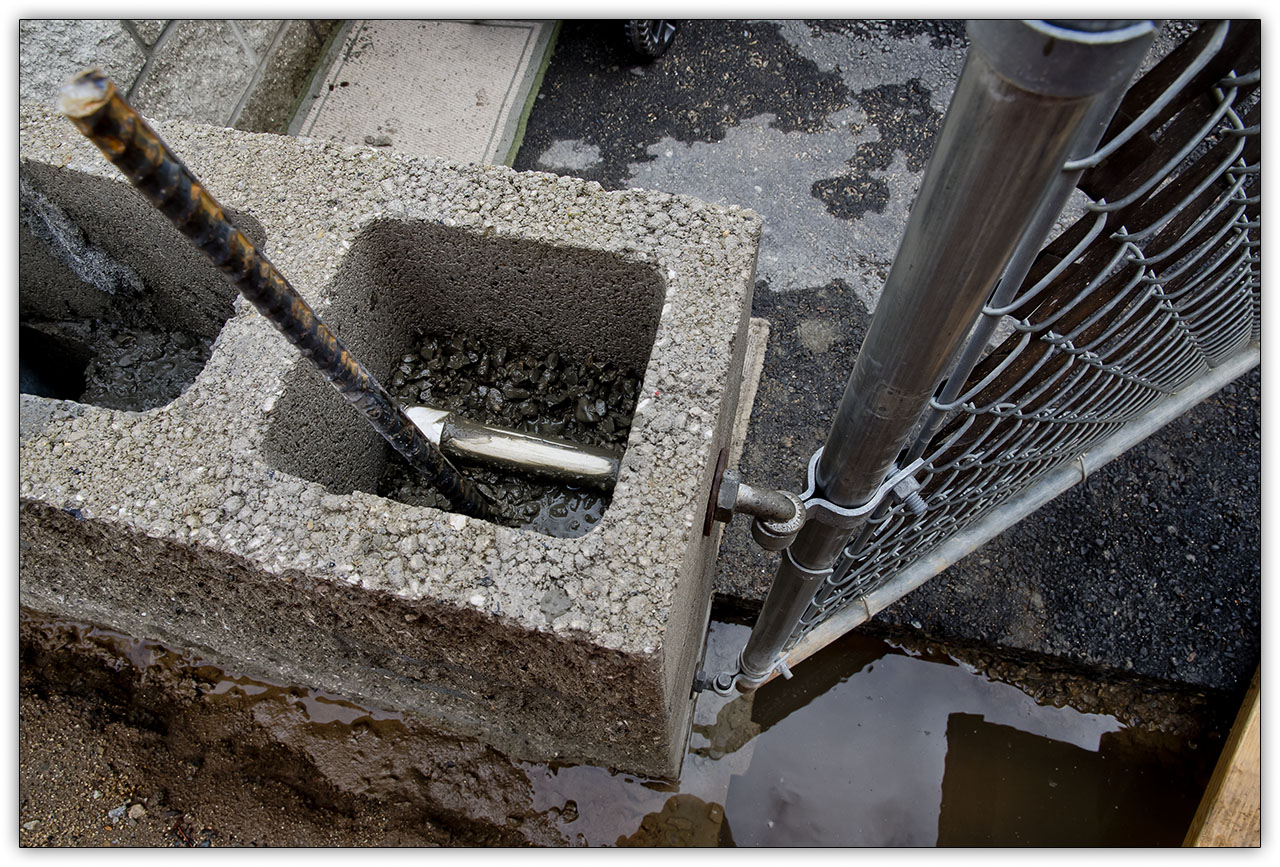
Same method on the 5th row, to mount the upper gate hanger.


Once in place, again, the concrete will hold the nut from turning and the plastic
pipe will protect the hanger from getting locked in place. So I can adjust it.


It worked! But the old gate is too small. Another one is on order.


The new gate fits. I had to improvise the house wall to put the gate latch in place.


OOPS! I missed this one.
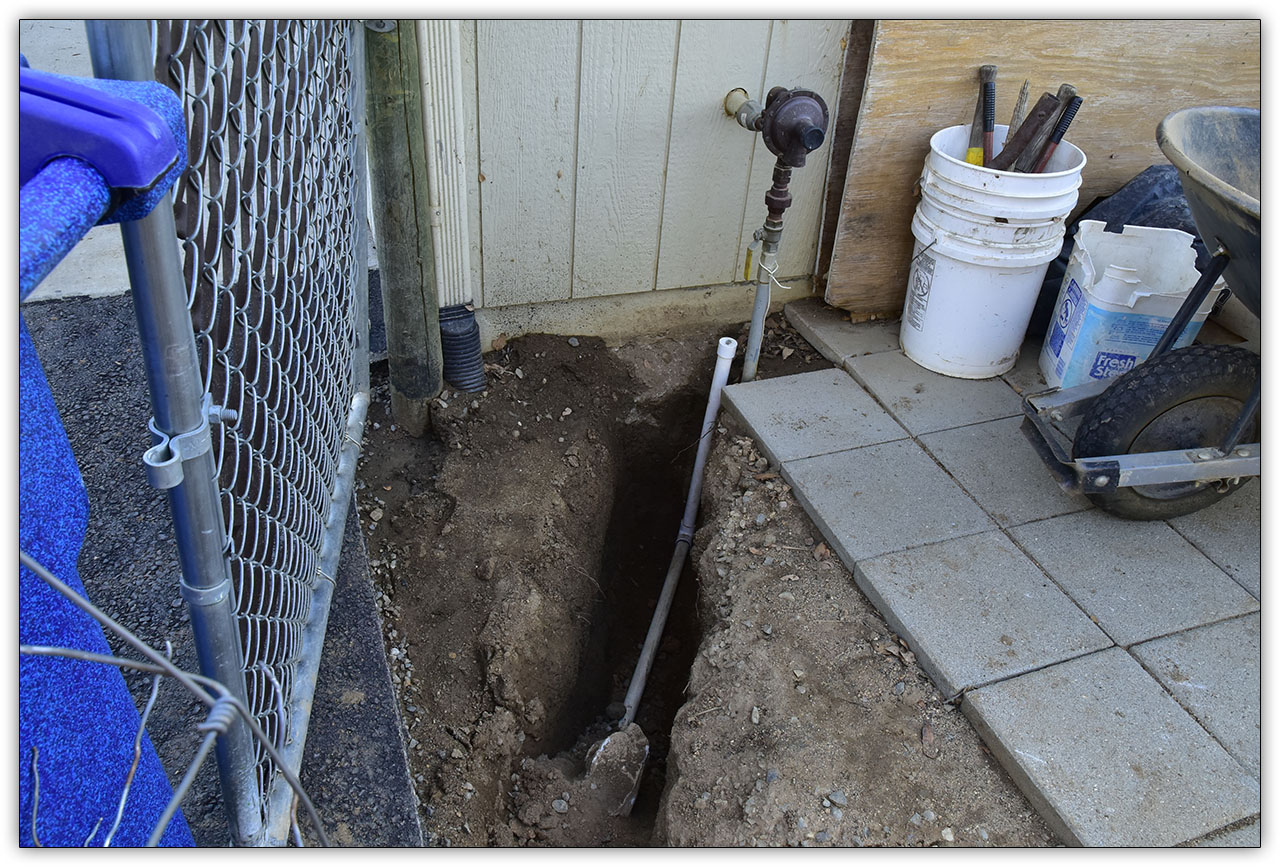
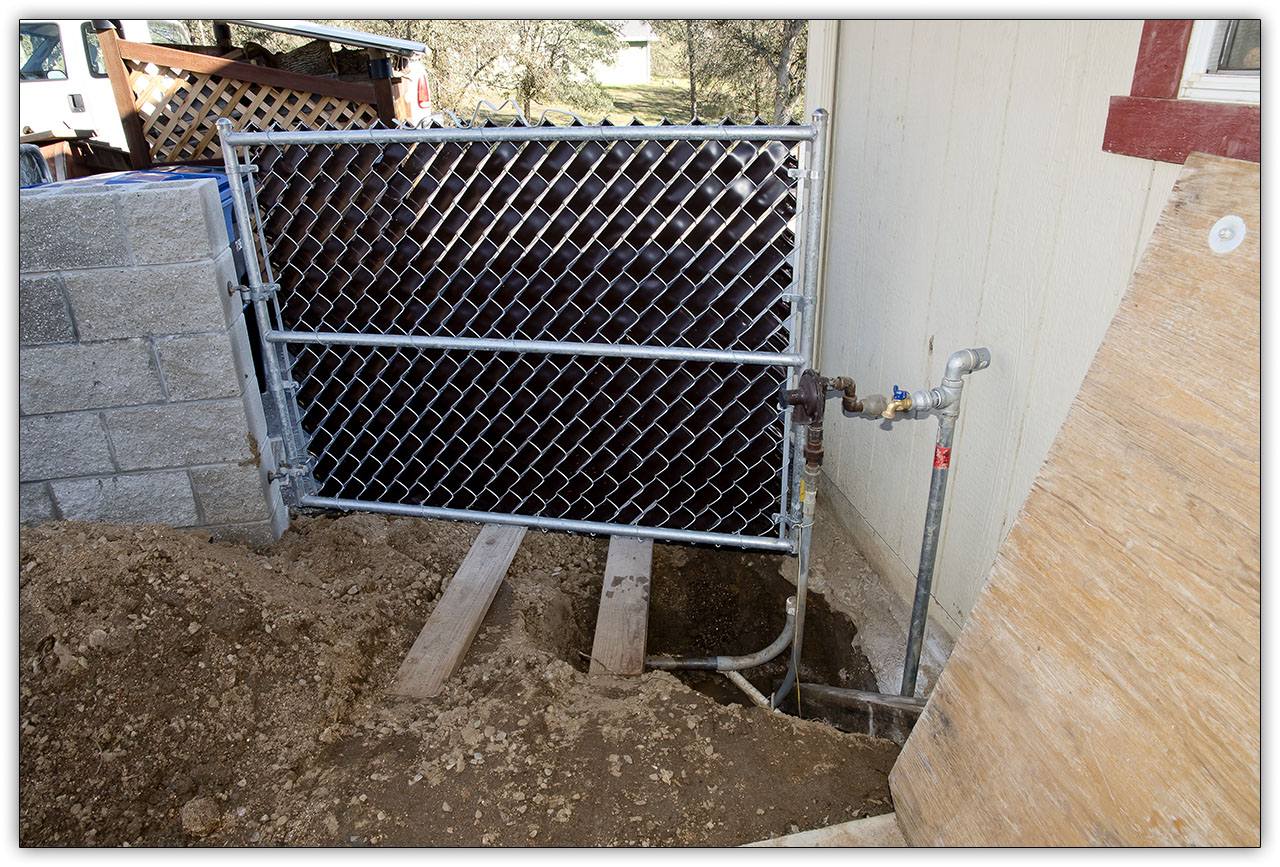
I had to move the empty water pipe or the gate would hit it. But the propane regulator is still in the way!

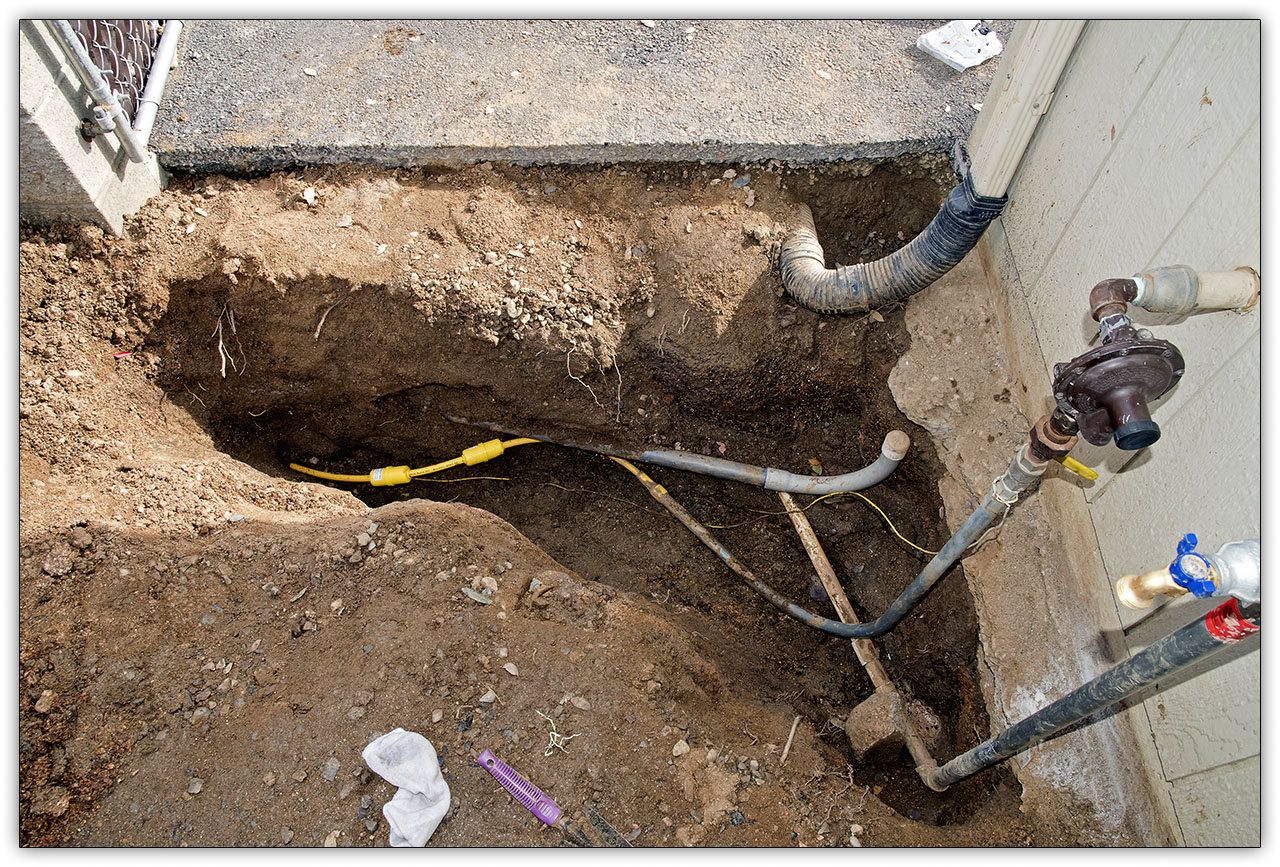
The regulator was turned 90 degrees and now the gate misses it. But to make this happen,
the gas company had to splice in 12" of pipe. Then test it for leaks. It wasn't cheap either.


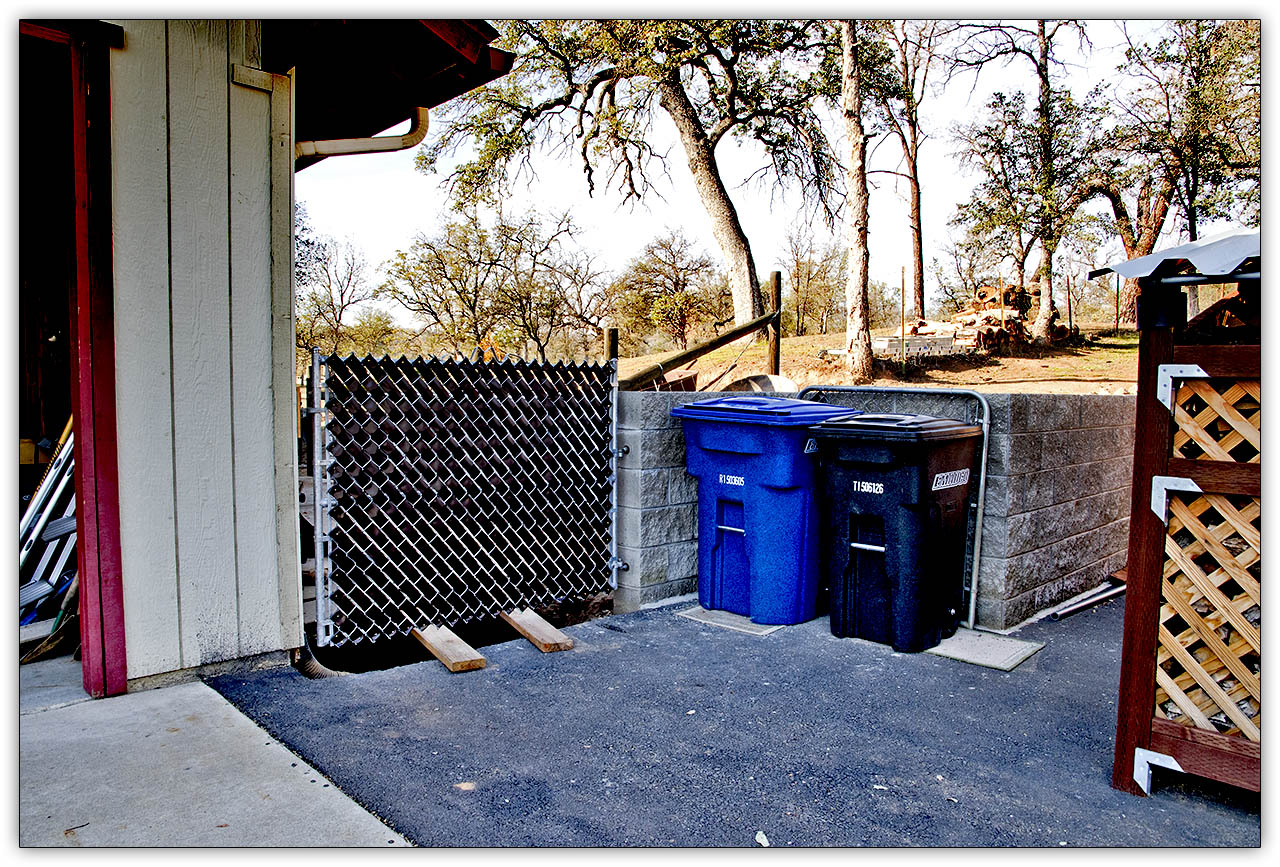
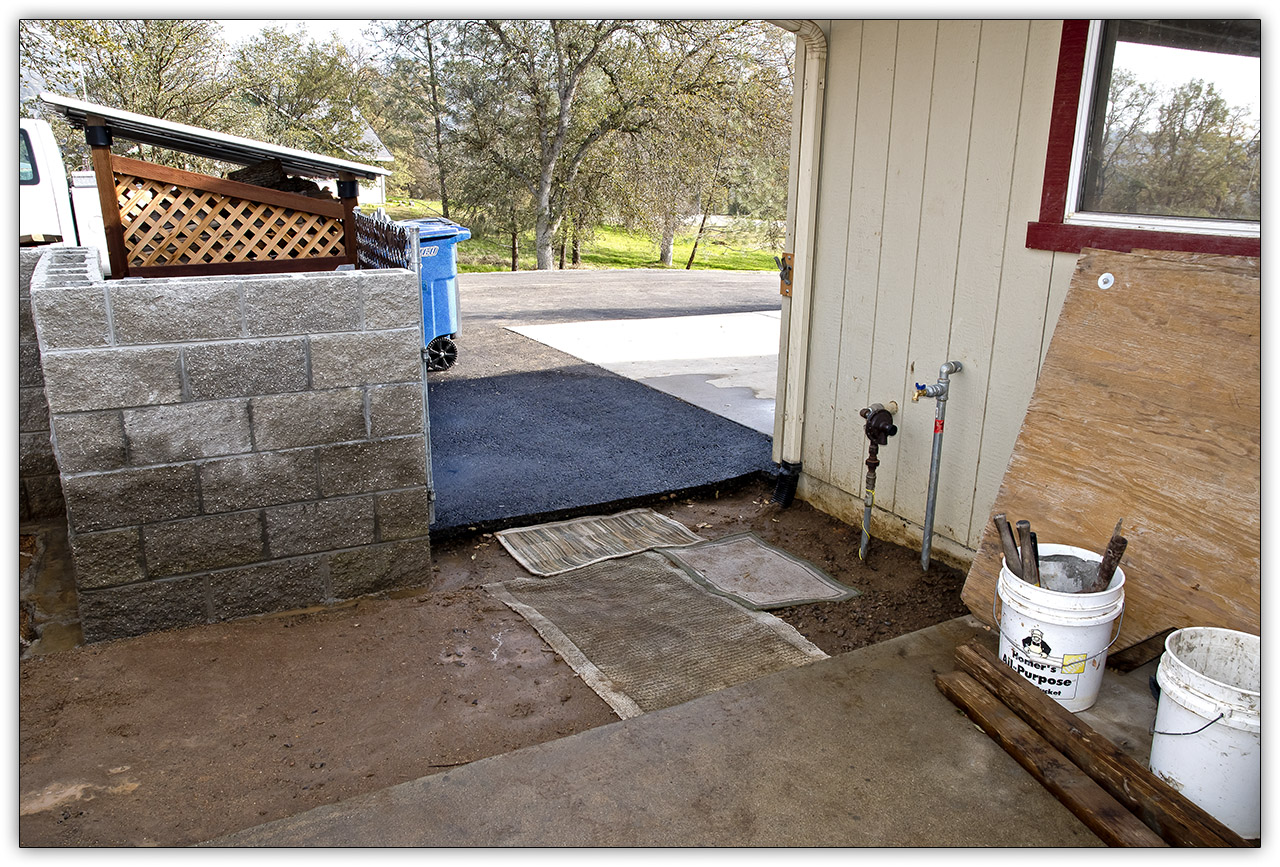
Looks good and it's functional.


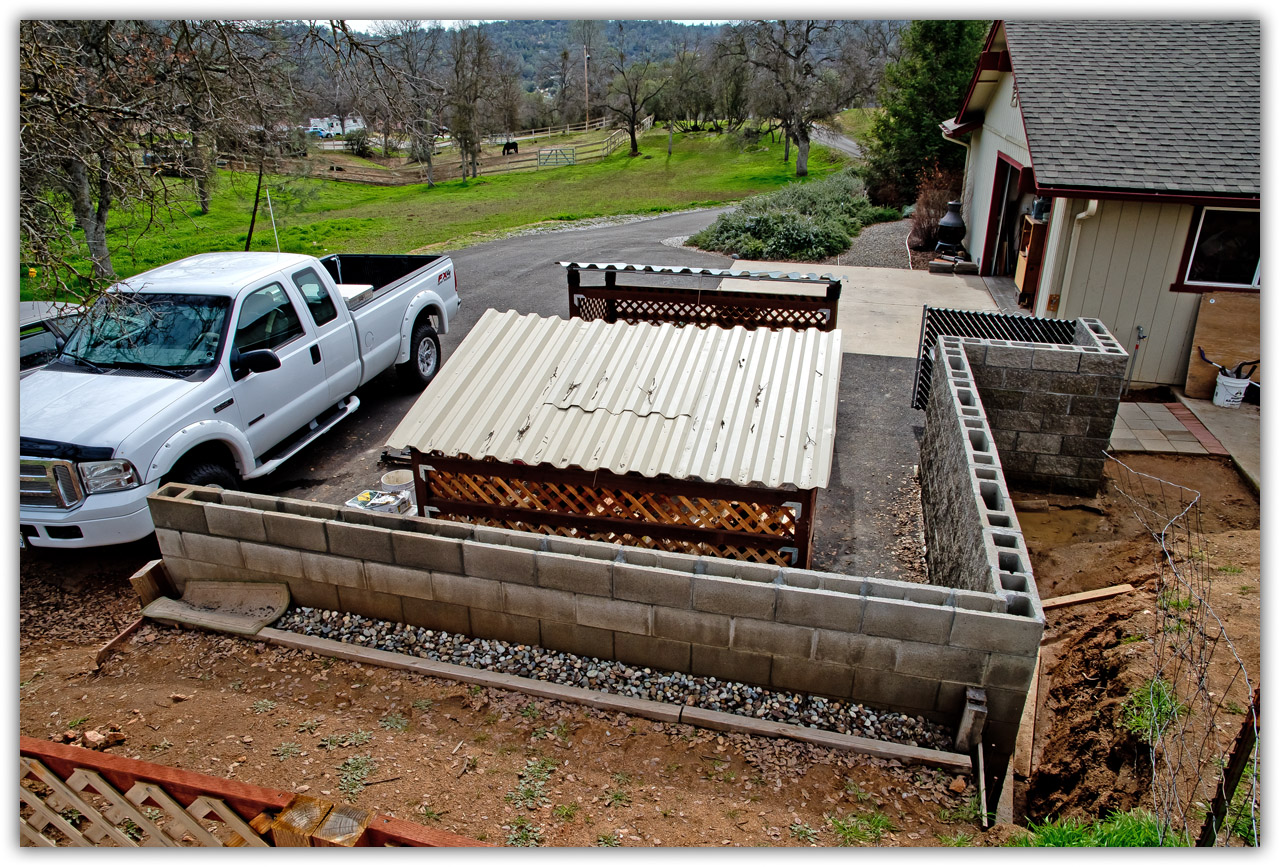
7th and final row of blocks in place and I'm done for now.