Heat Distribution System
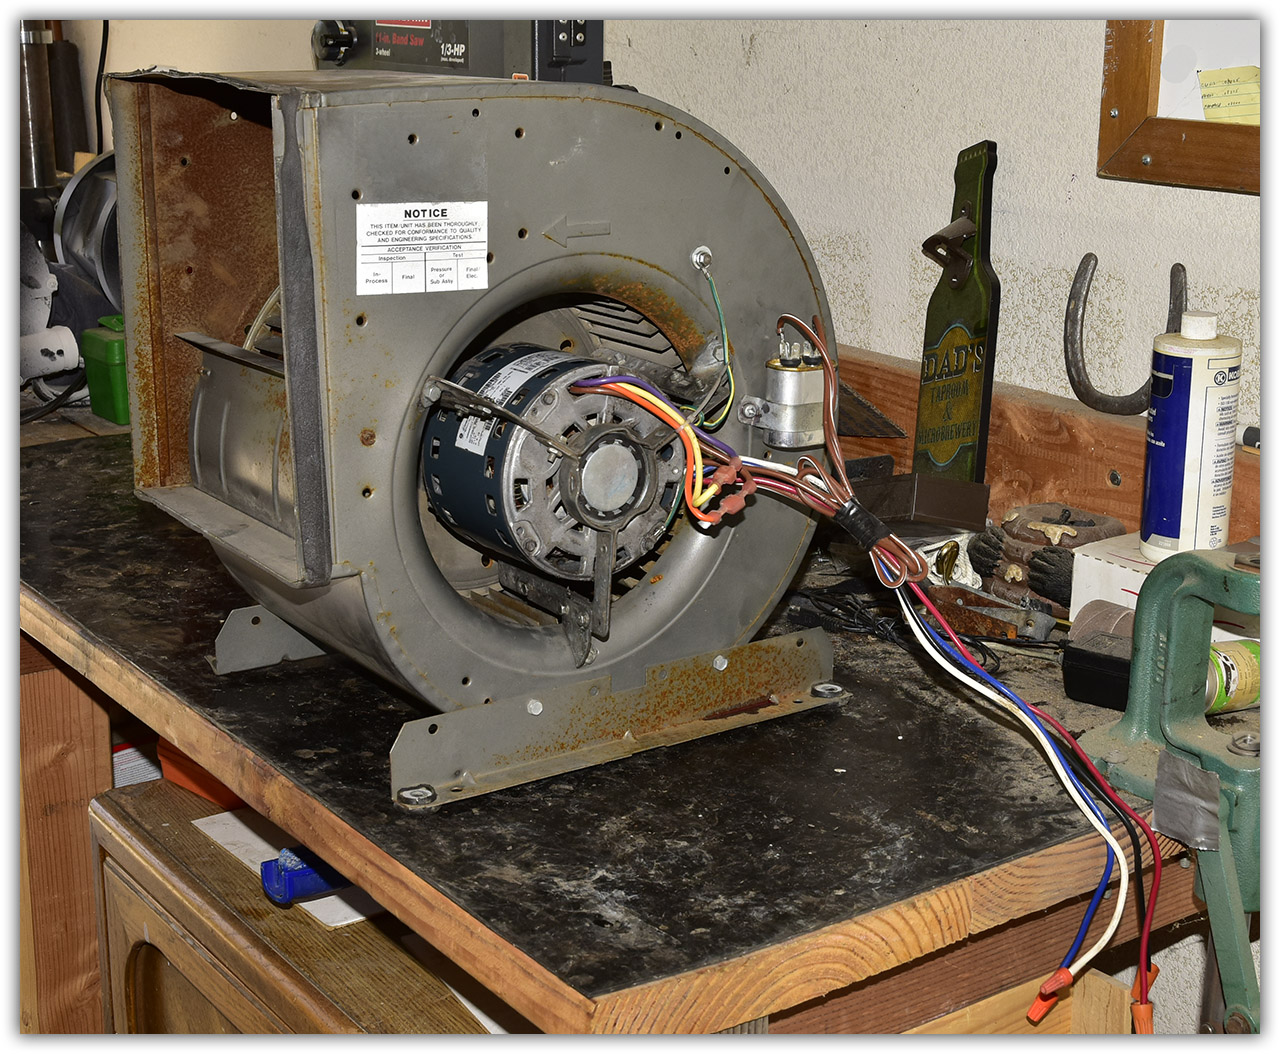
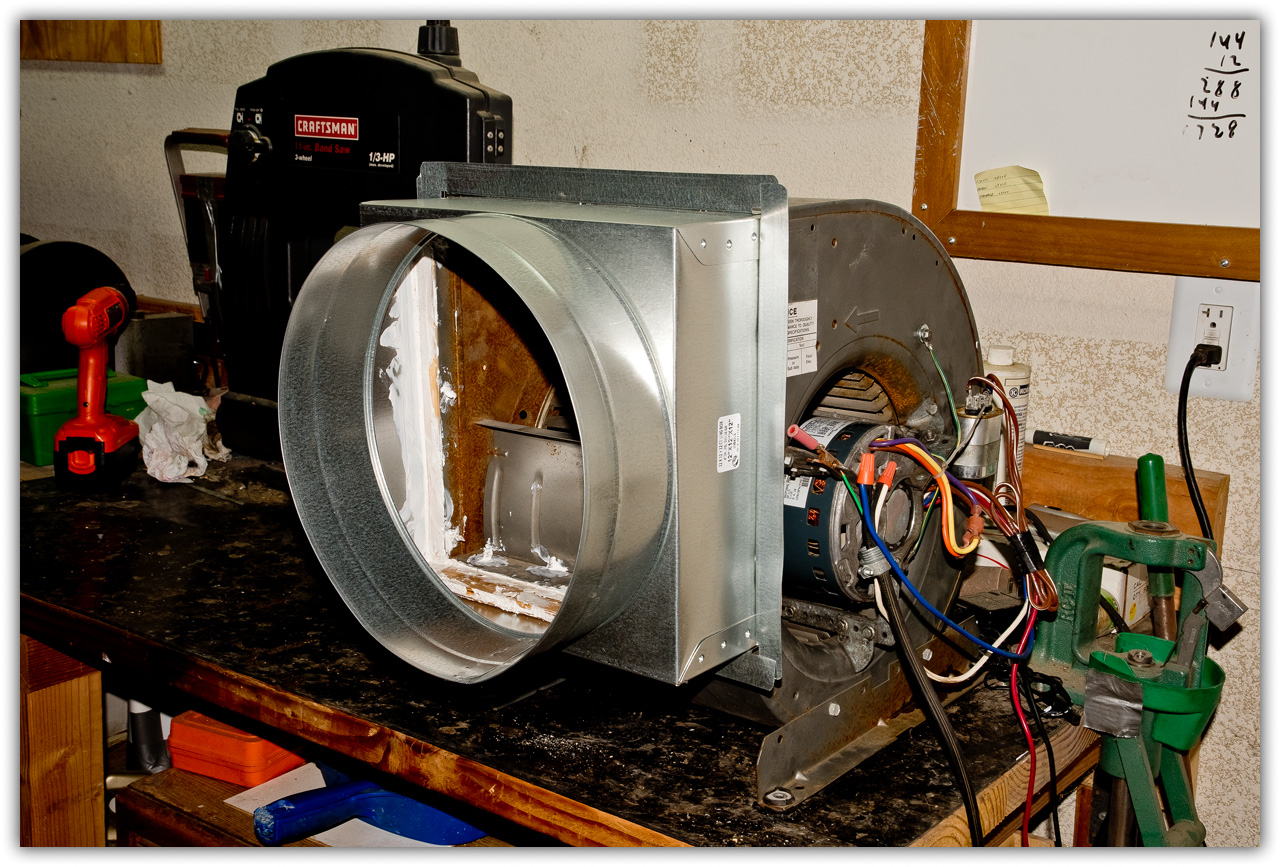
Step 2
Fan Preparation

About the Photo Sequence
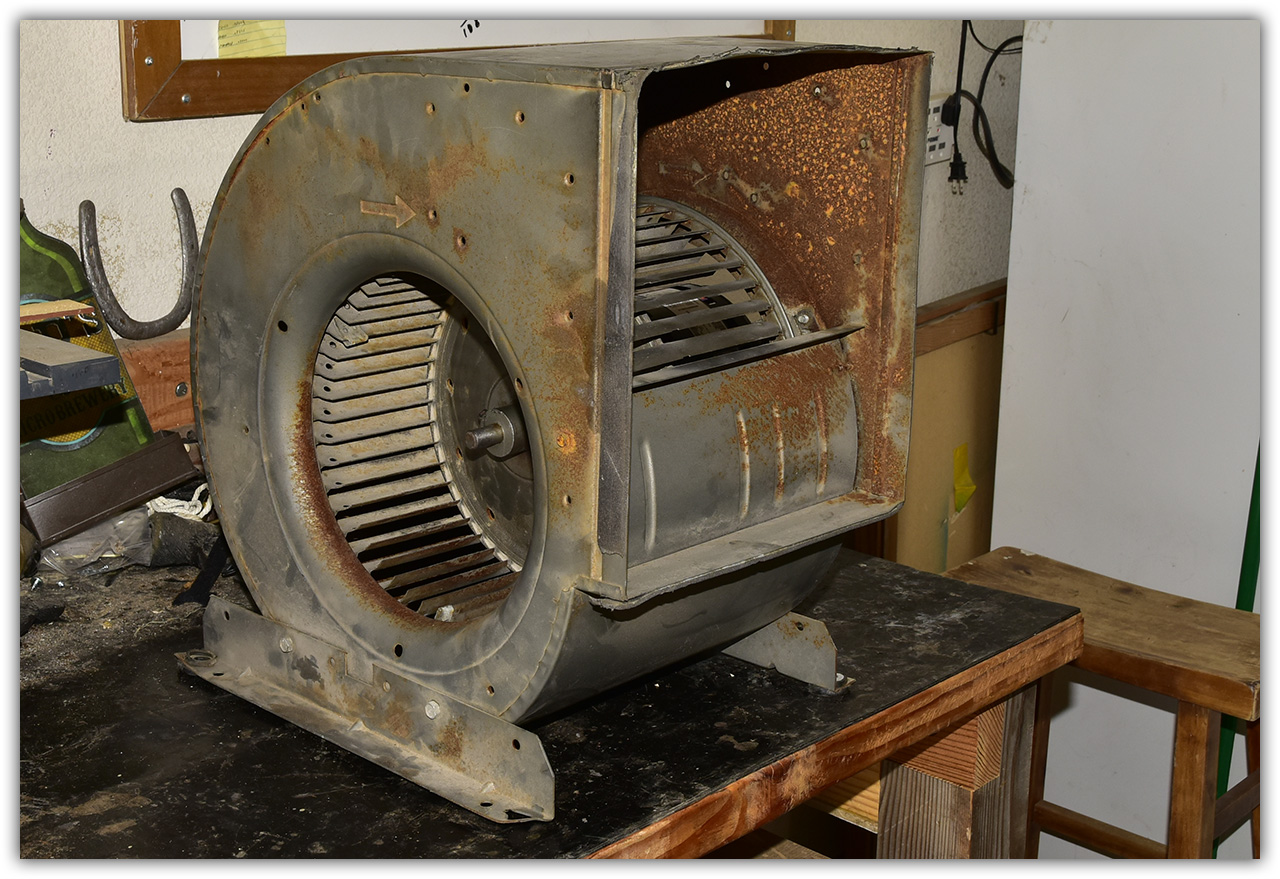
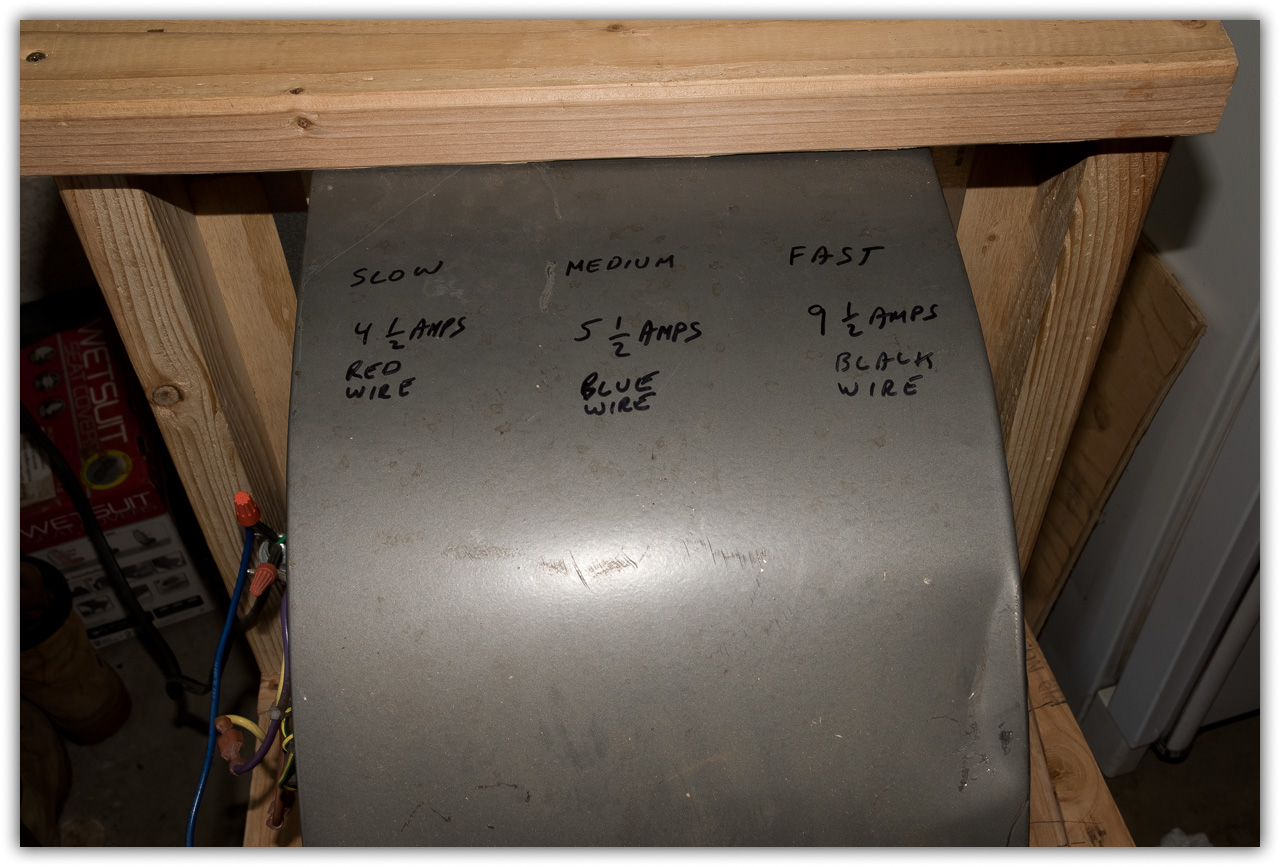
The concept of moving hot air from the living room has been in mind since the fireplace was installed. What kick-started the project was a trip to Skee's Recycling in Fresno. When the metal I delivered was in the bin and I was waiting my turn, I saw a bunch of swamp coolers stacked in their yard. I asked if I could buy one. The response was unexpected: "You brought us a lot of metal, you can leave with "this metal" and we're even. So in trade, I came home with a 3 speed swamp cooler fan. It runs, too! All three speeds.

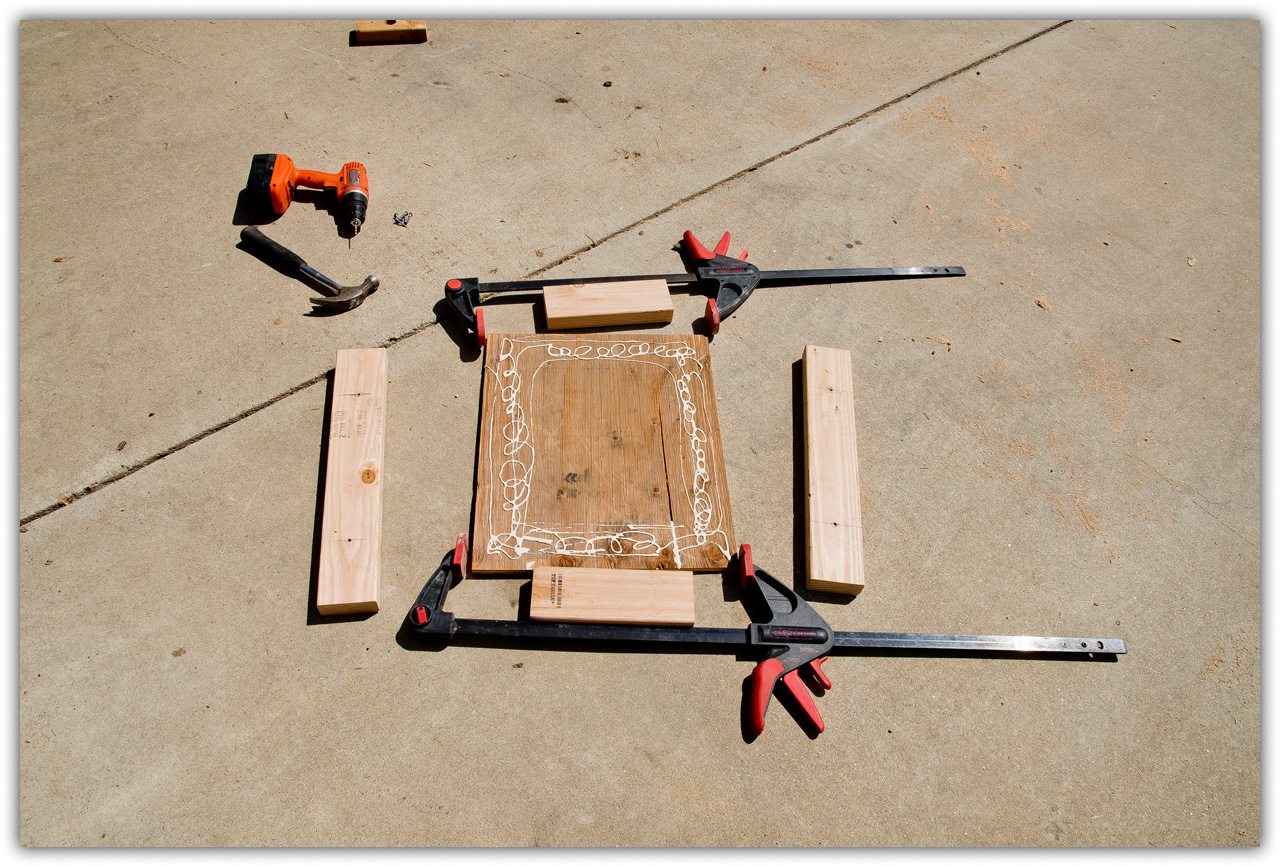
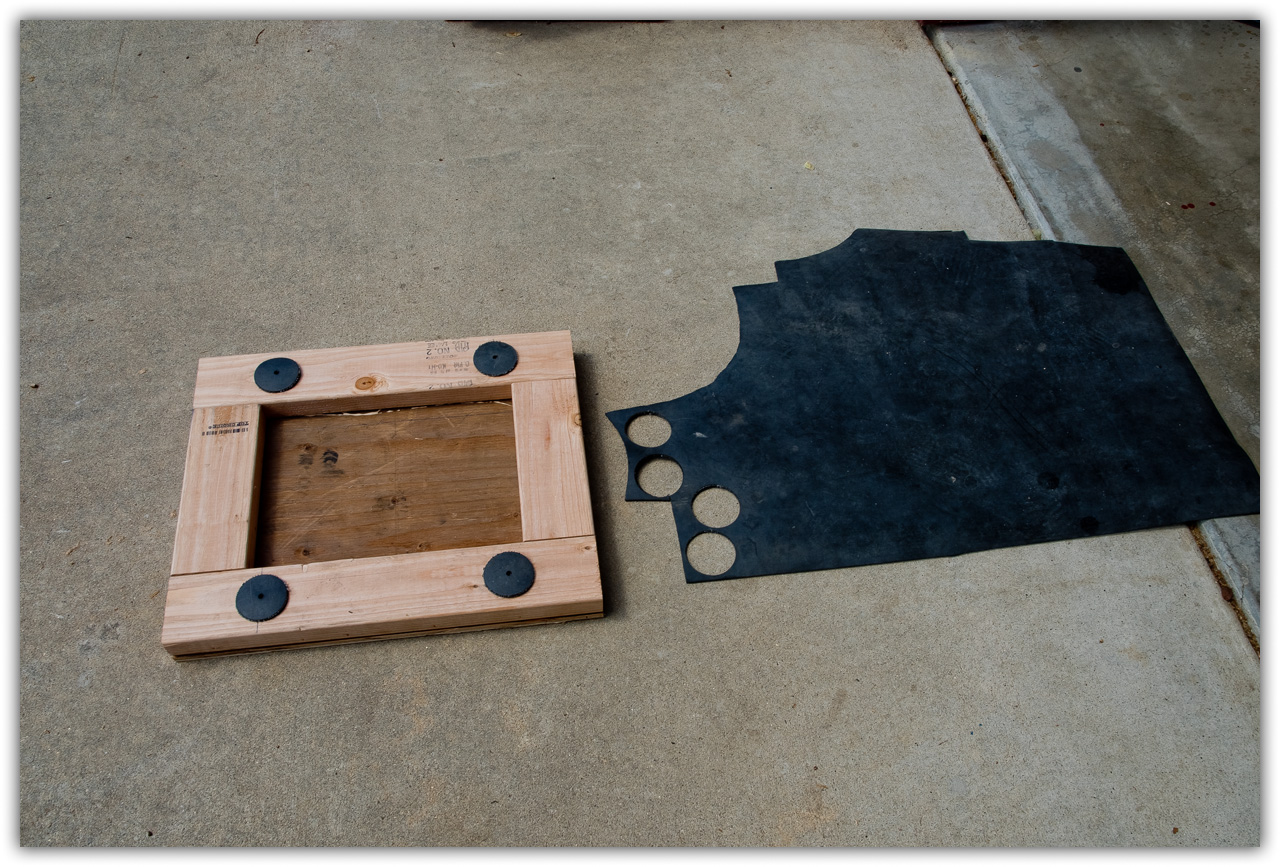
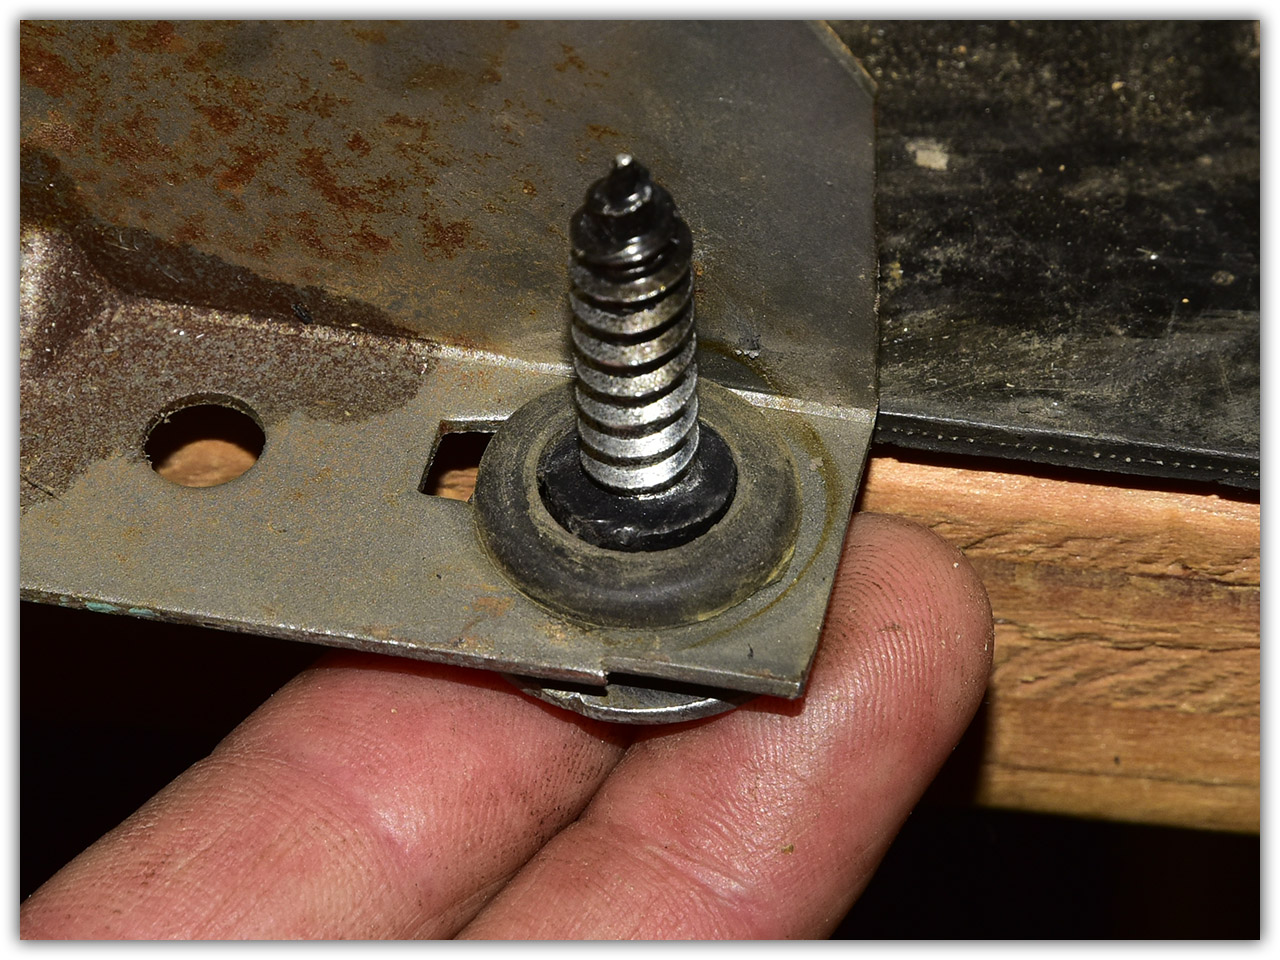
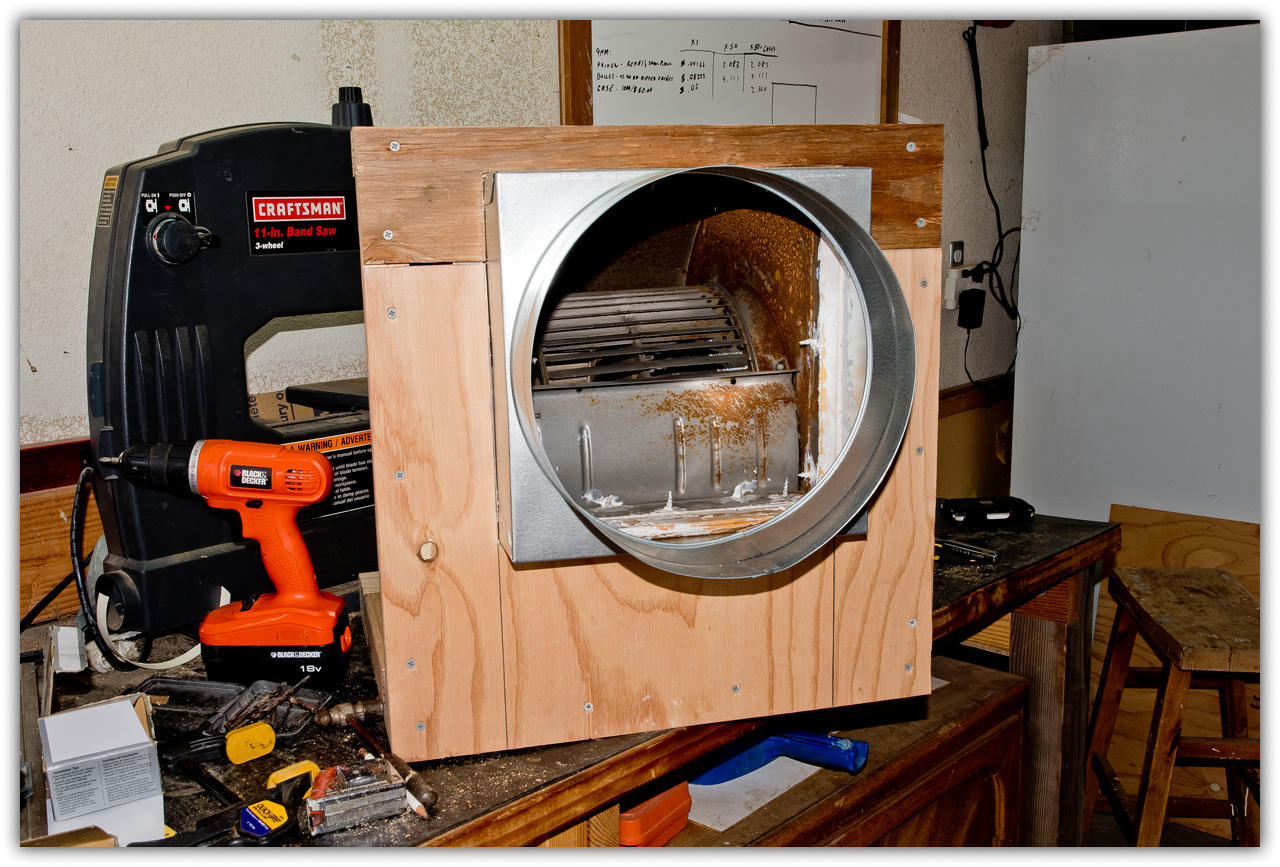
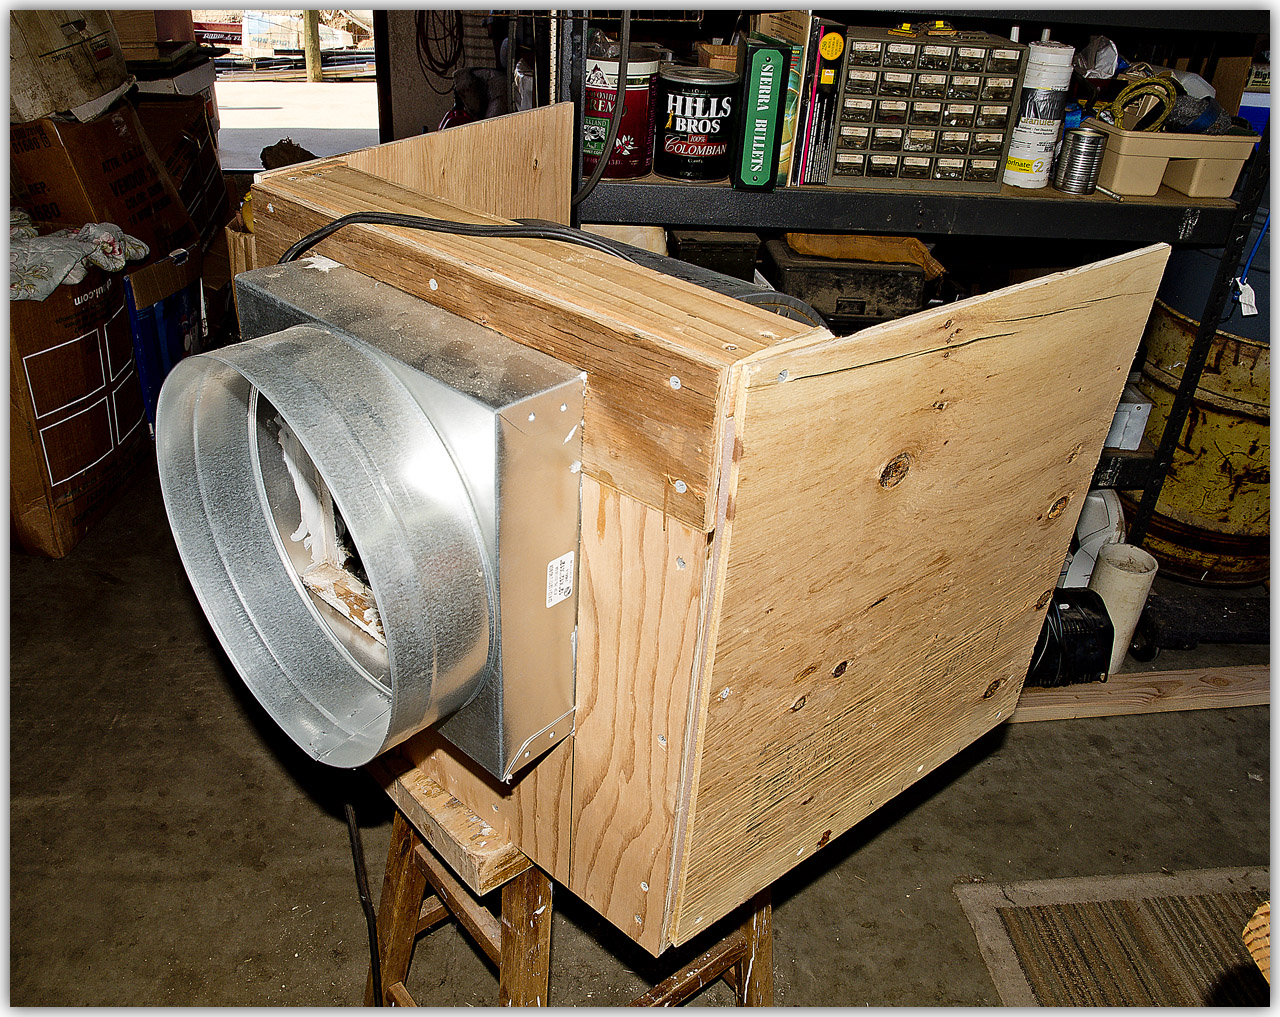
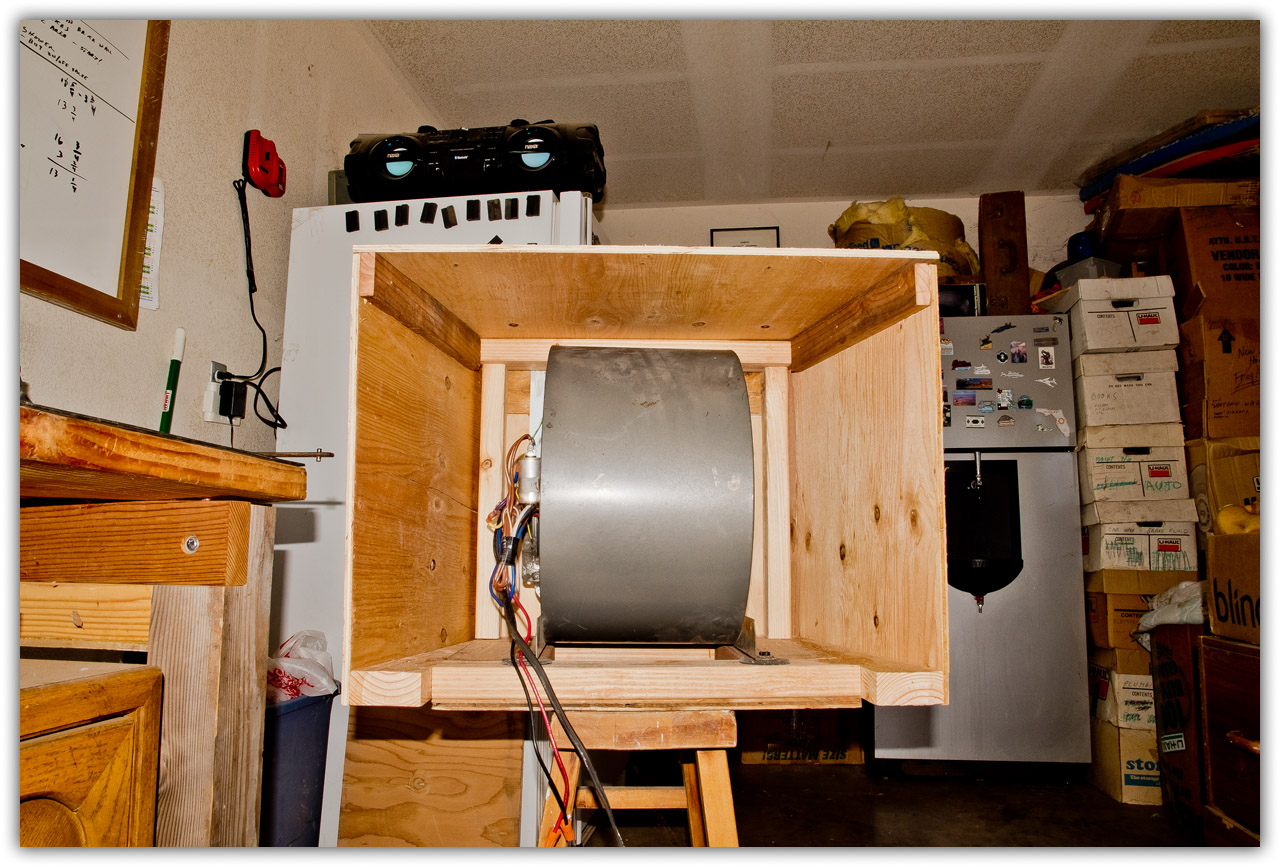
It was quite a project in itself to build a housing for it that will draw hot air from the ceiling area of the living room and blow it into the three bedrooms. That's the plan. This displays the build of the fan housing, prior to placement into the attic.

 
Photo Details
This photo sequence contains 12 frames. Each frame is a finite 1280 pixels wide but height was left to its own based on the crop. I based the picture size on an email program's display window asuming that the picture would not be automatically resized to fit. This technique kept the file size down, the largest being just less than 658k making it easy to send and receive through email. All photos were taken with a Nikon D810.

Download Photo Project


2016-04-HDS-FanPrep.zip - 5397094 bytes.


Heat Distribution System
Step 2
Fan Preparation

This is the fan, as I received it from Skee's Recycling in Fresno, CA. It tested fine,
all three speeds. I was a bit worried that the volume of air would be excessive.


The wiring was entact, including the start capacitor.


After measuring the opening, I bought a square to 12" round adapter. The fan will eventually
connect to a 12" insulated duct pipe. The challenge here was to build up the square opening
of the fan with wood to the size of the duct adapter. Then sealing it. I used Dicor RV roof sealant.
It did a fine job.


More measuring and cutting, I built the base. Yeah, I used all
leftover wood from other projects. This is why I save leftovers.


With the base built, I used a hole cutting drill bit to cut rubber pads to be placed
between the base and the frame of the fan. The intent is to absorb any vibration.


The bolts and grommets were also saved from things I "parted out" before
throwing away. The rubber gormmets will also help to reduce any vibration.


Bolted to the base and sealed the gaps.


Notice the base side boards. The intent is to widen the suction side to reduce resistance in
the air flow. Yeah, if I thought about that earlier, I would have built the base that way.


The front is in place. Notice how all the screws are counter sunk.


All but the top are in place.


I wrote the power draw on the unit. The slow speed will be used, 4 1/2 amps at 120 volts.


The sides and top are in place.
Now it's ready to be placed in the attic.
Unfortunately, life got in the way and I didn't touch this project until a year later.