Firewood Canopy
and Garage

About the Photo Sequence
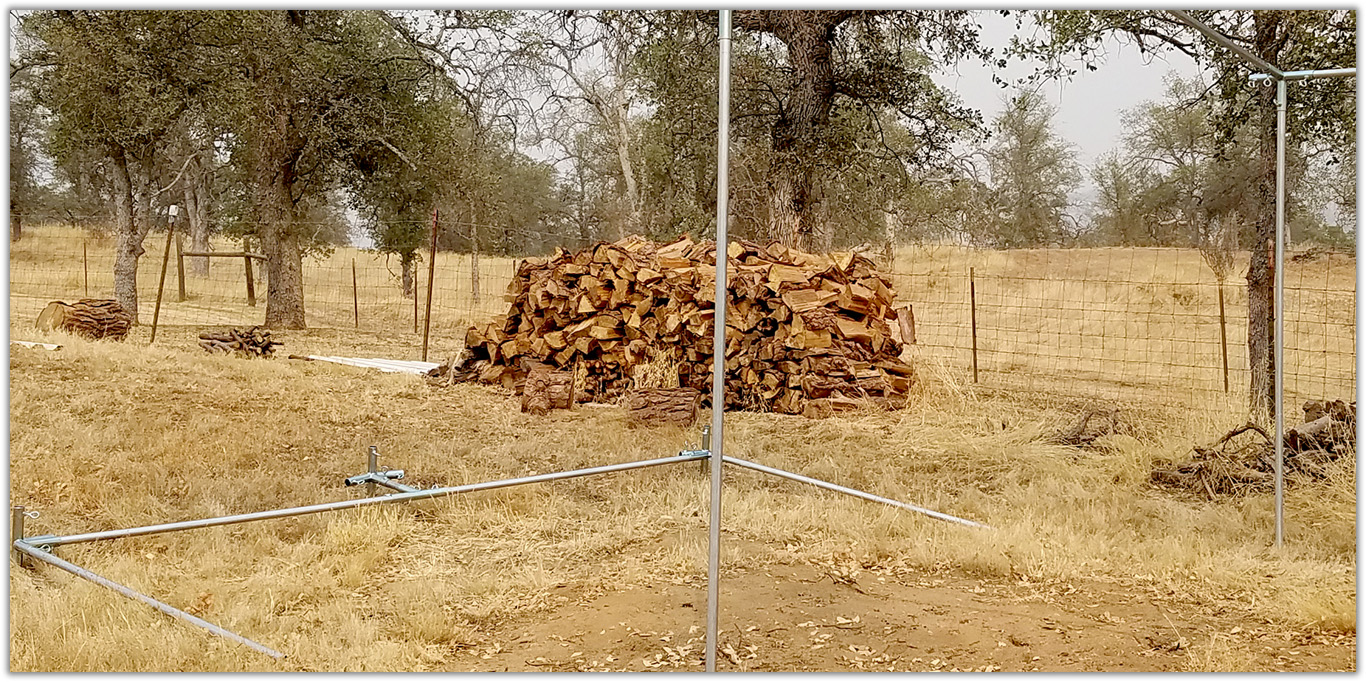
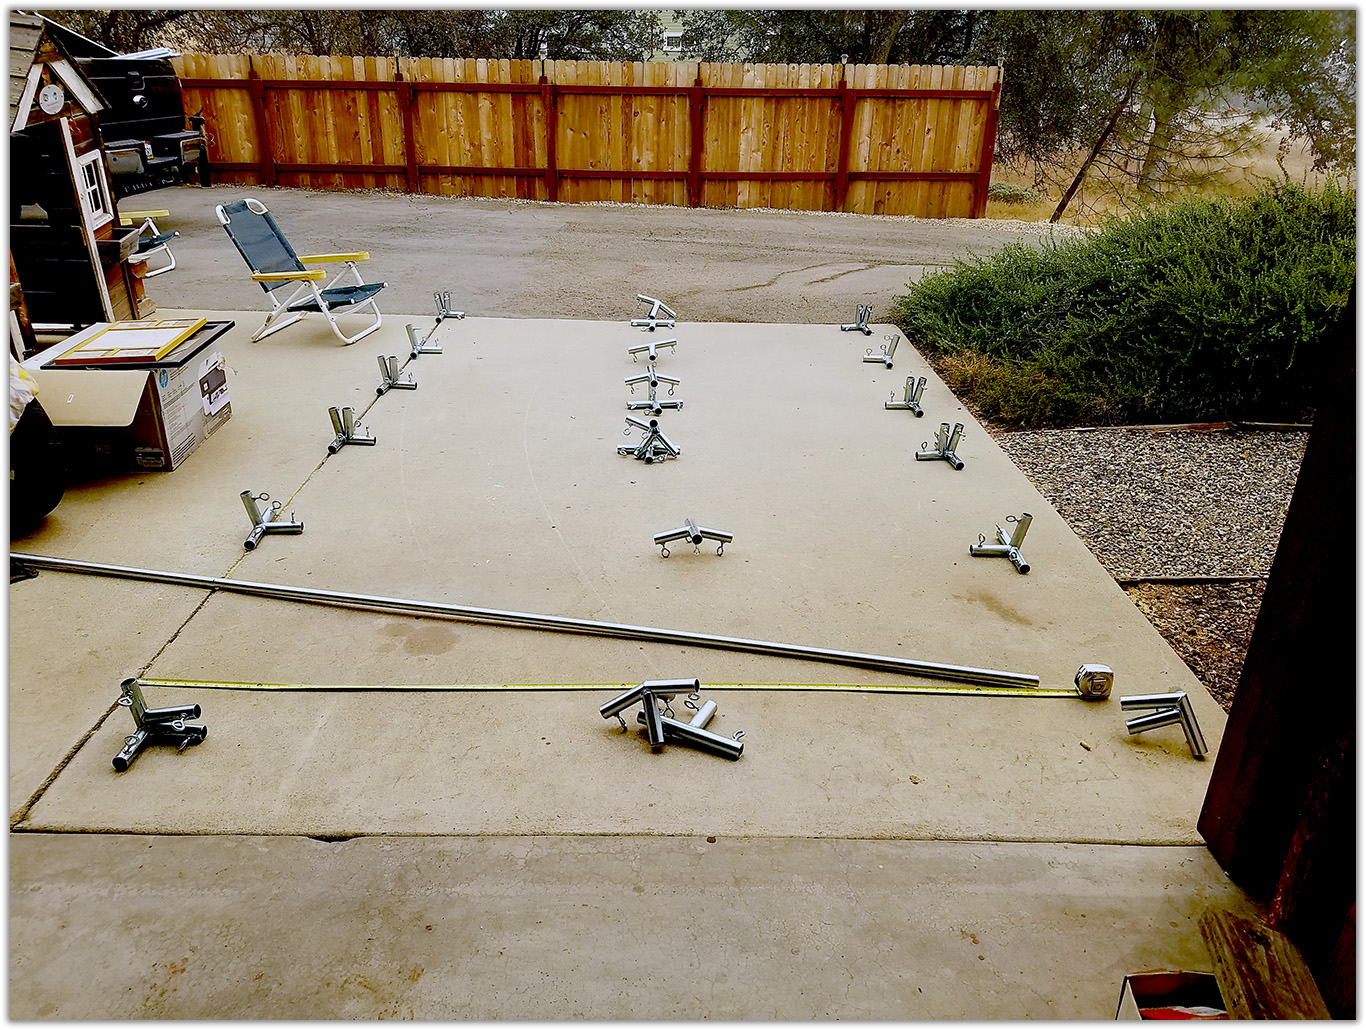
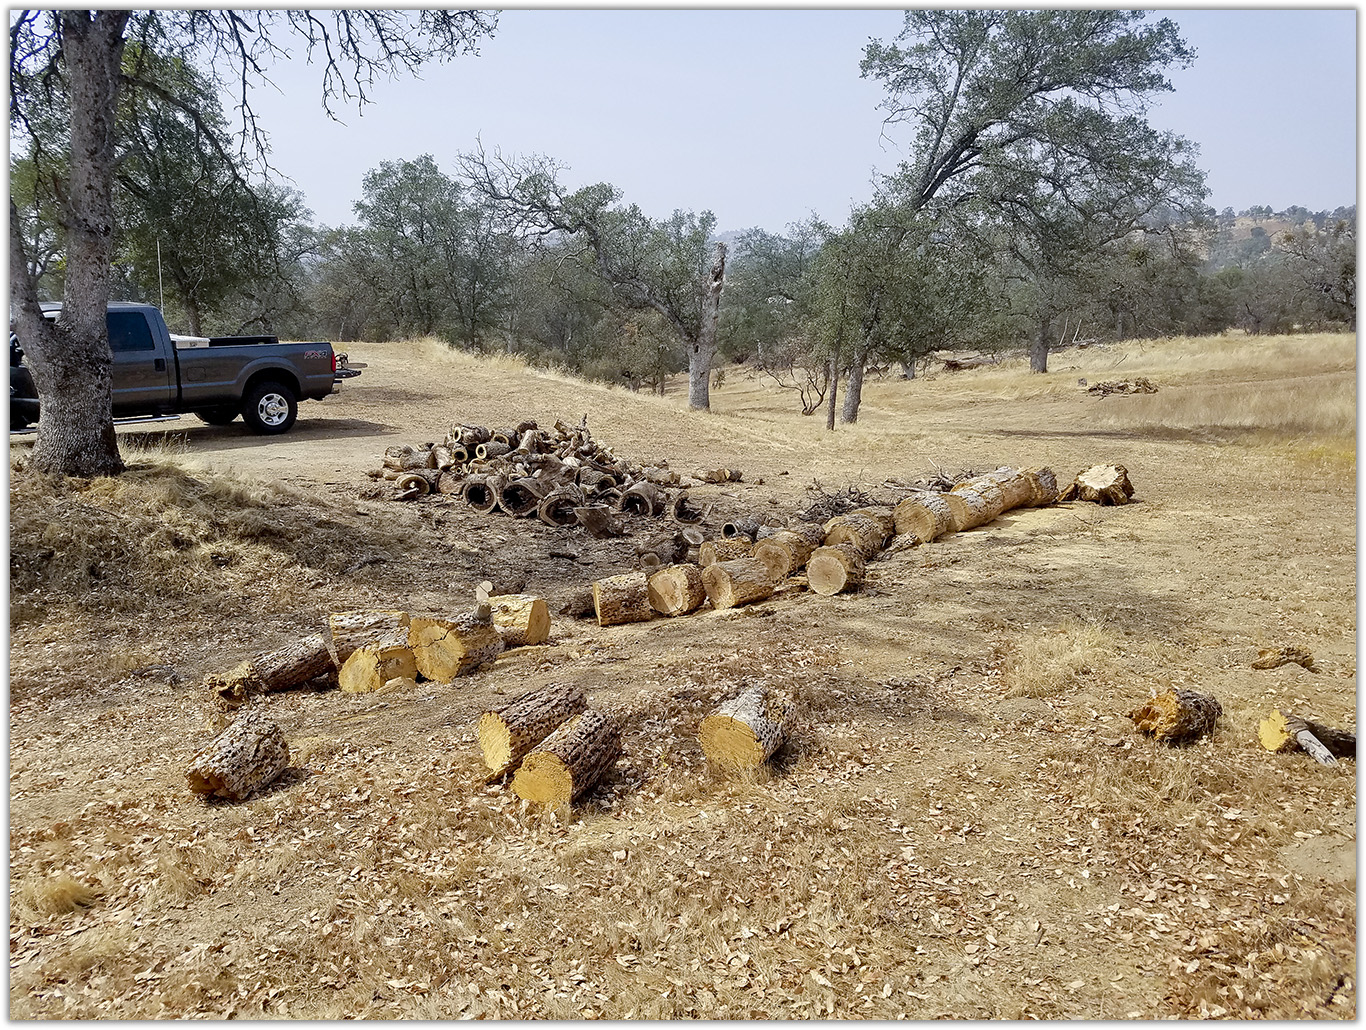
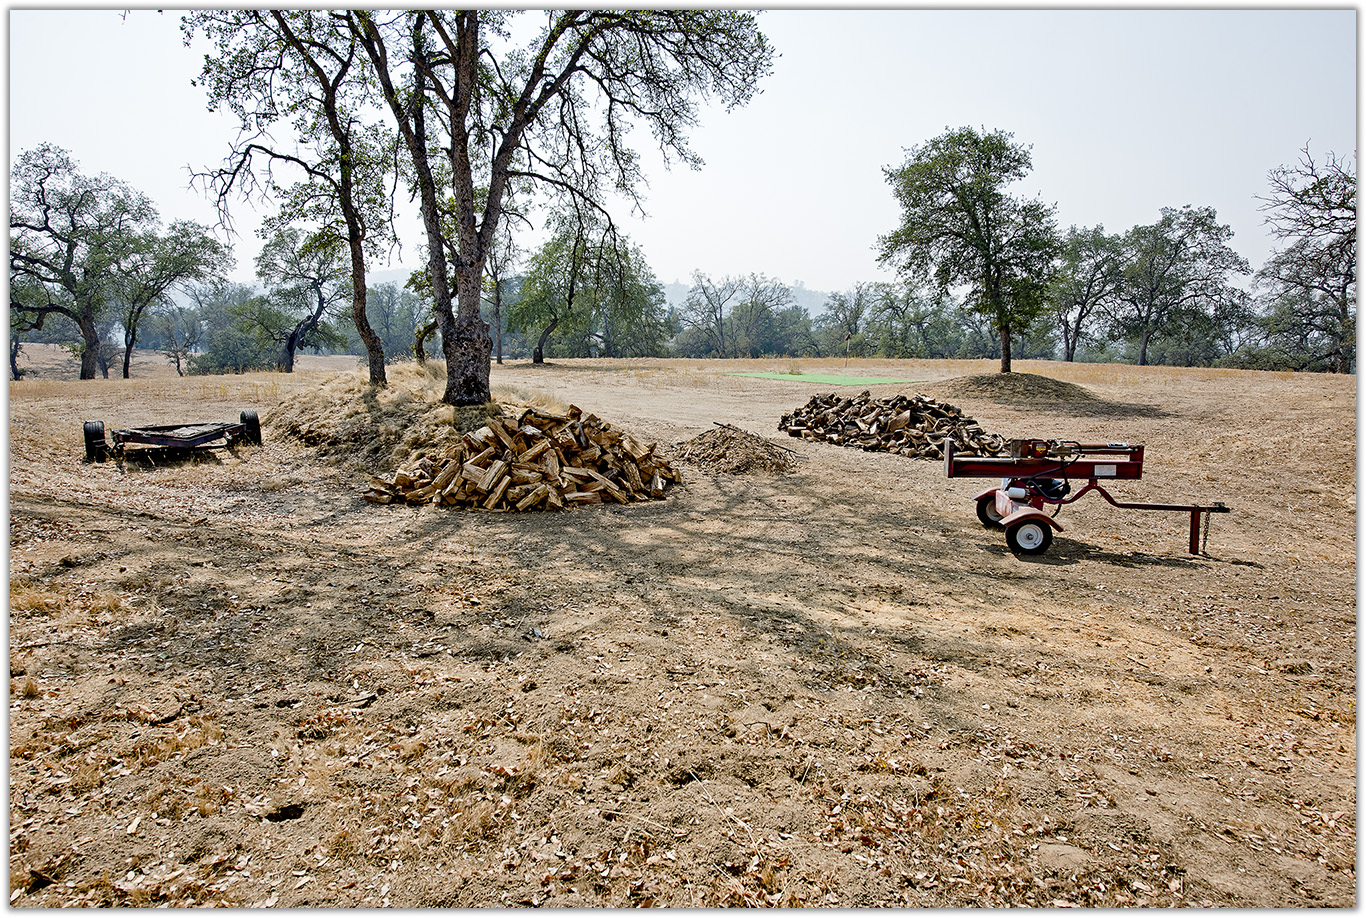
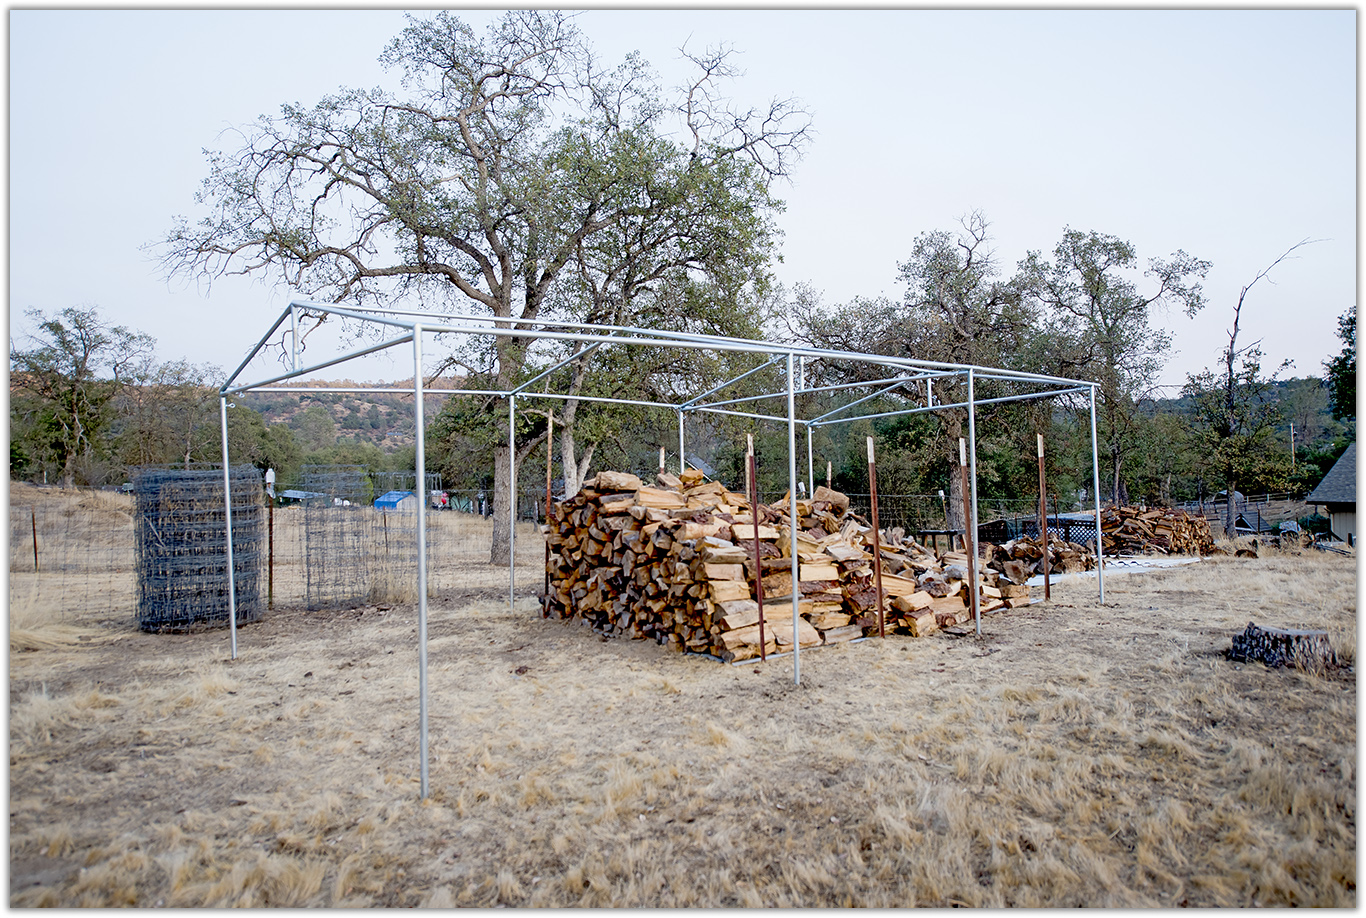
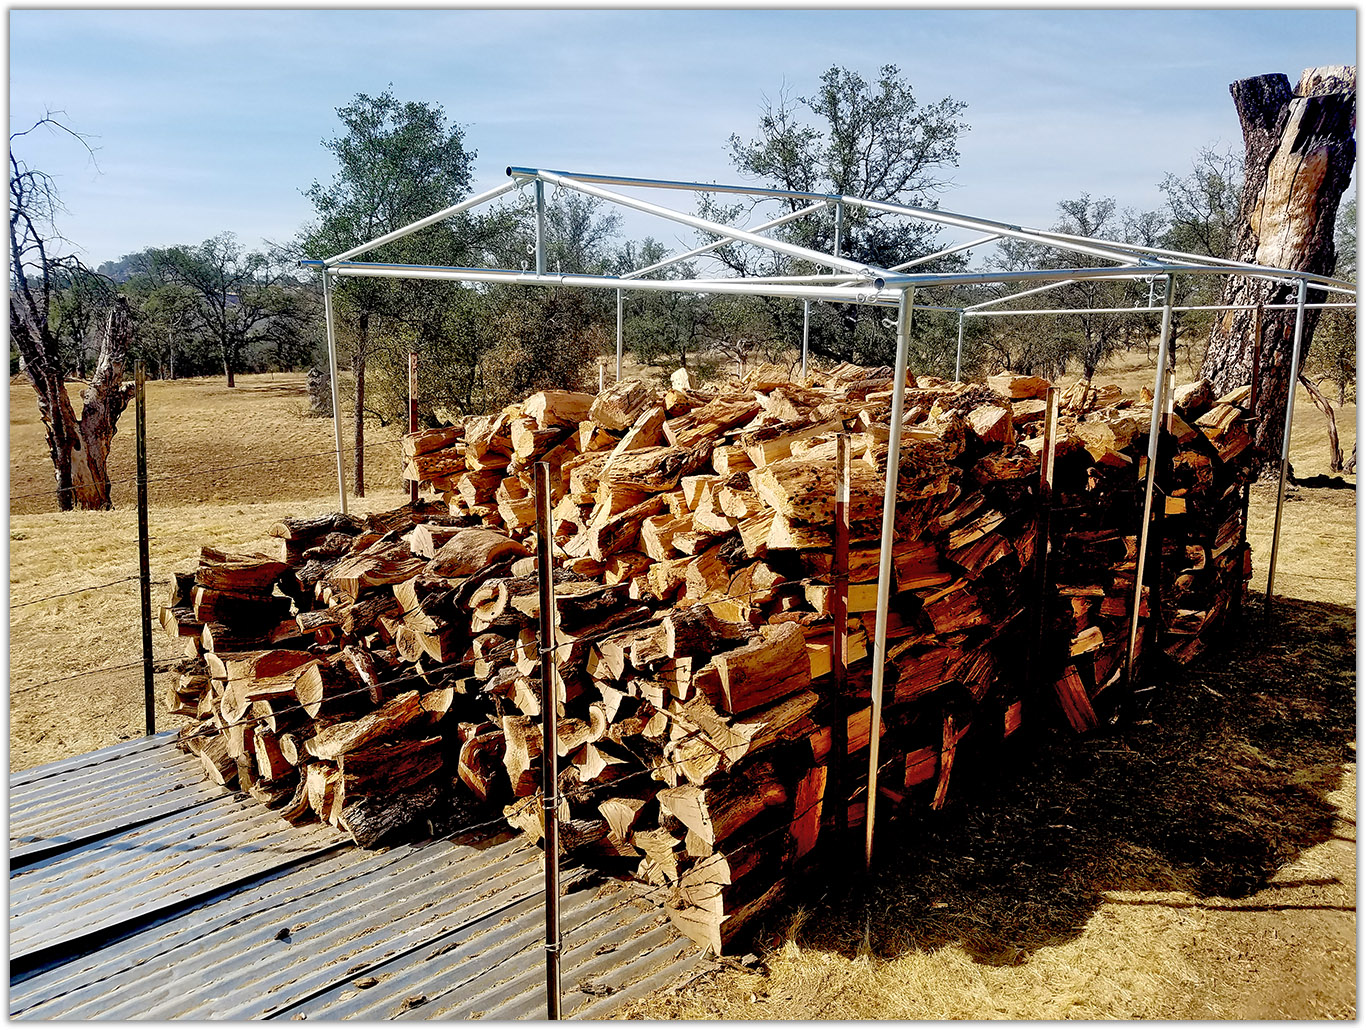
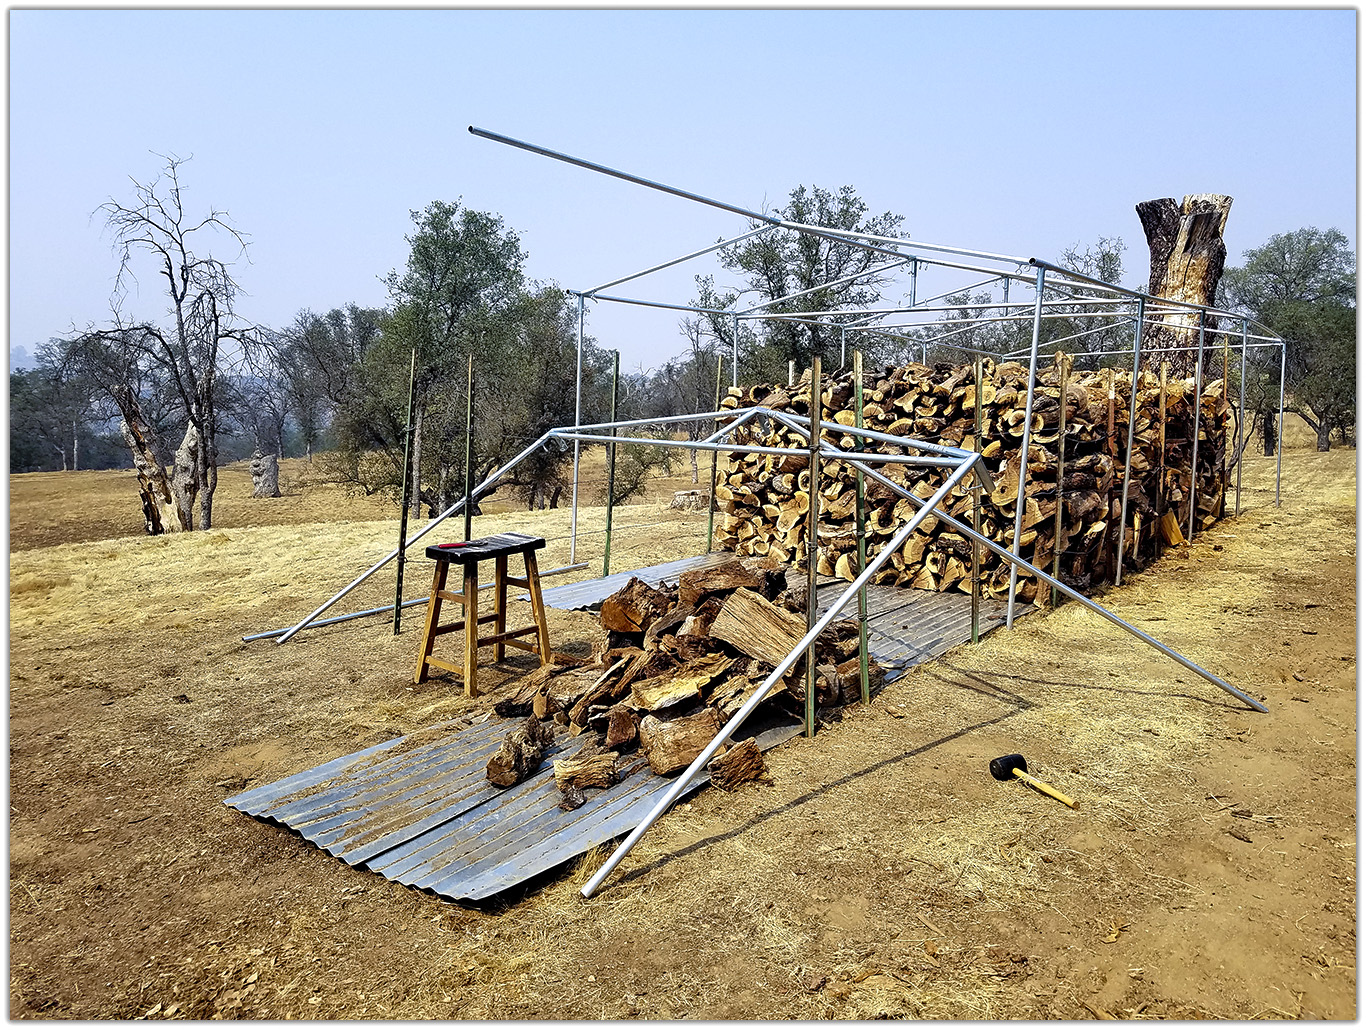
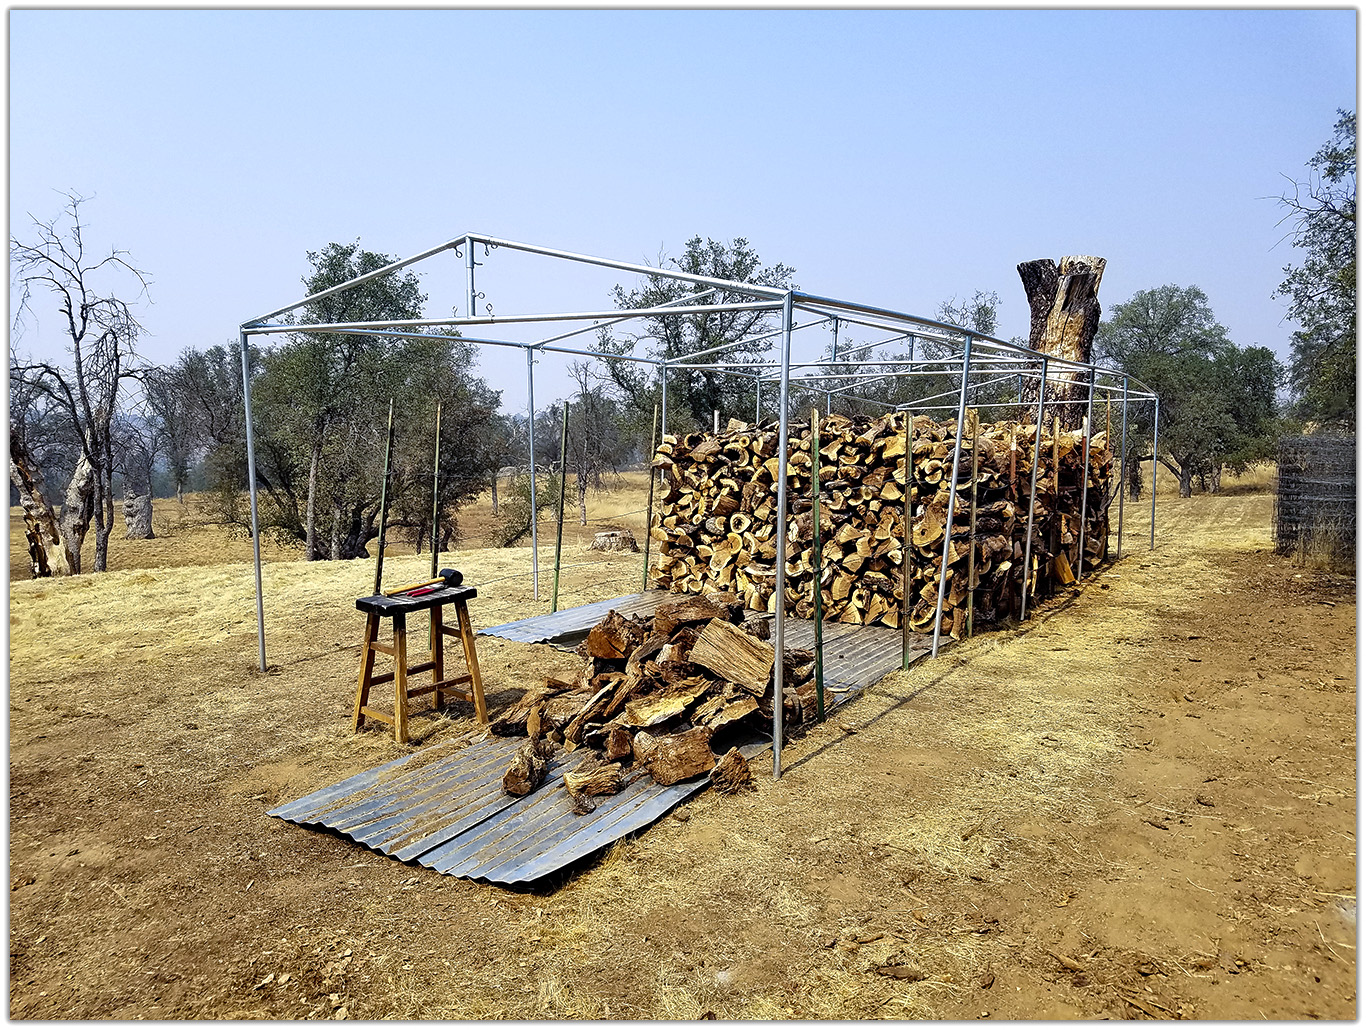
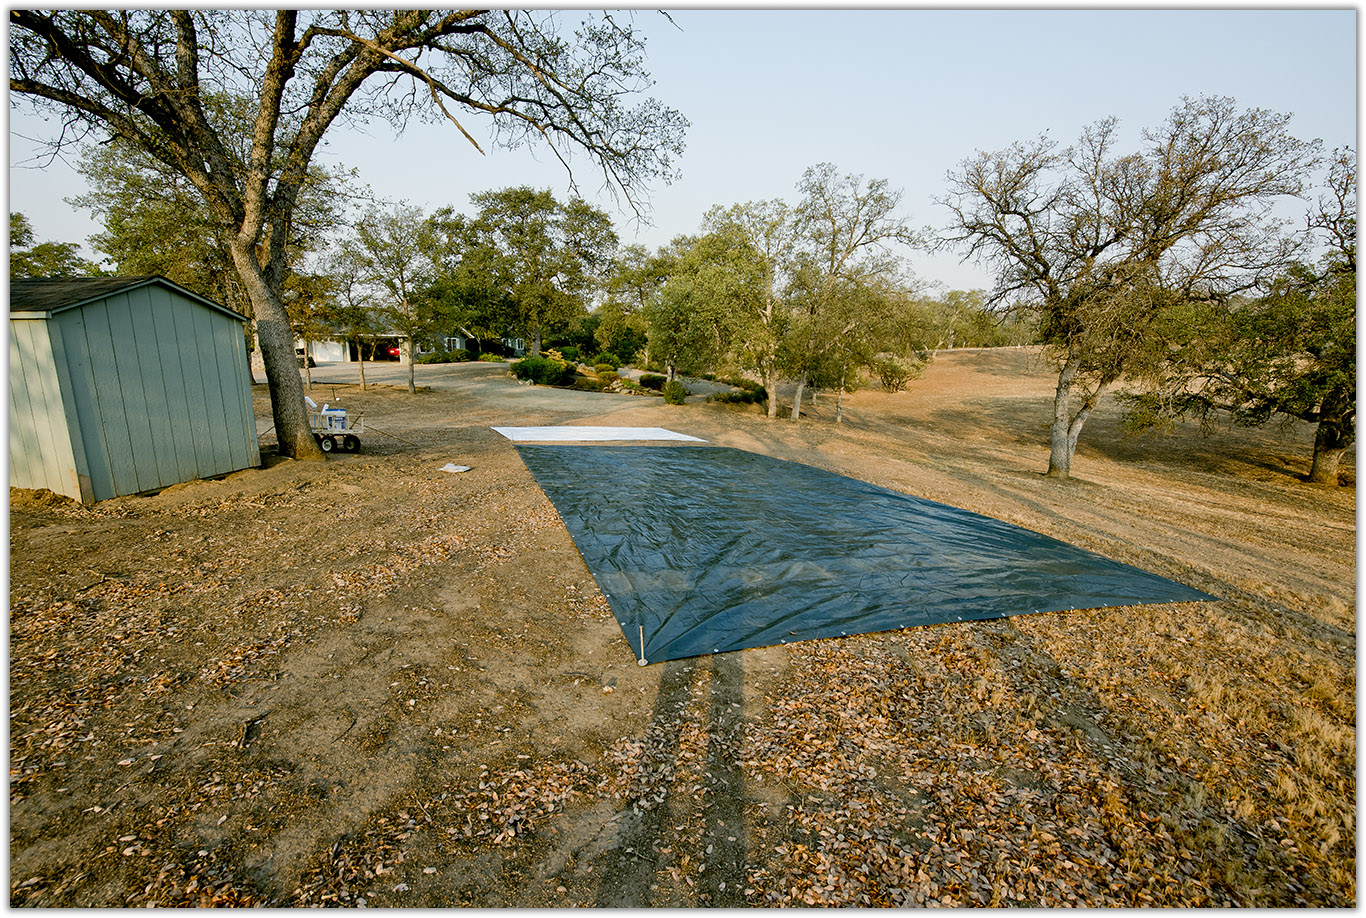
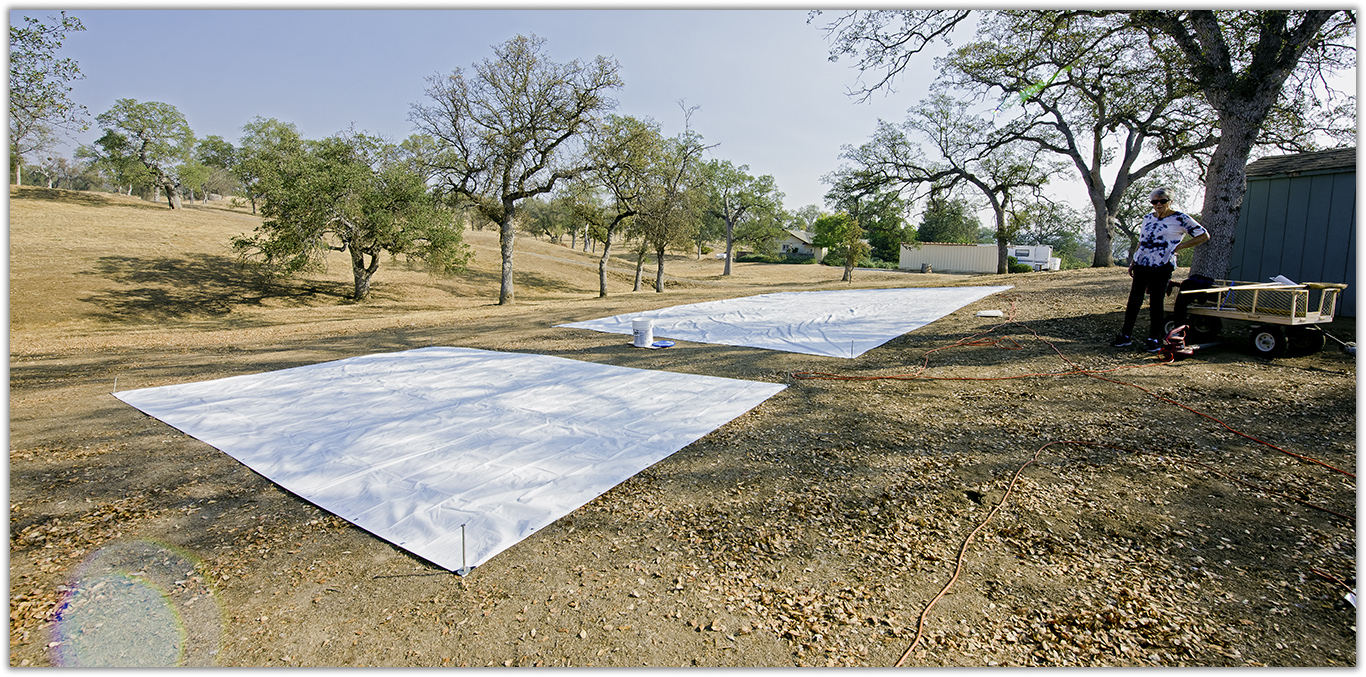
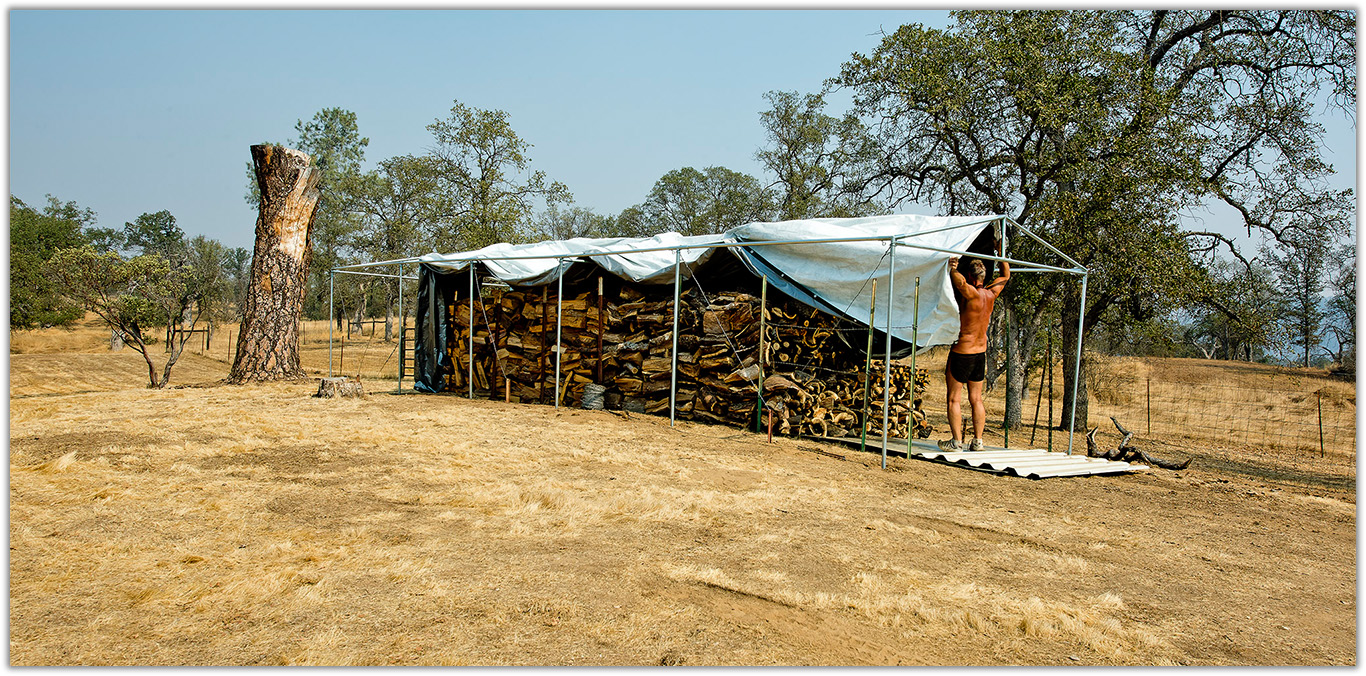
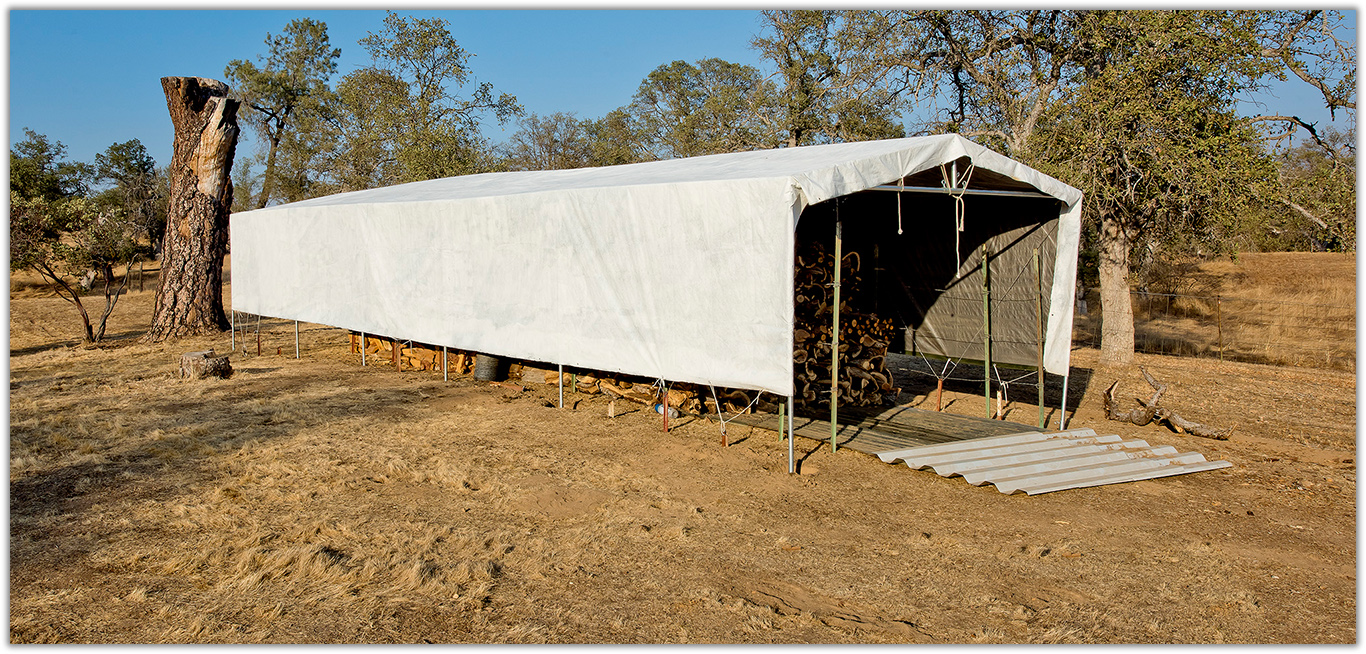
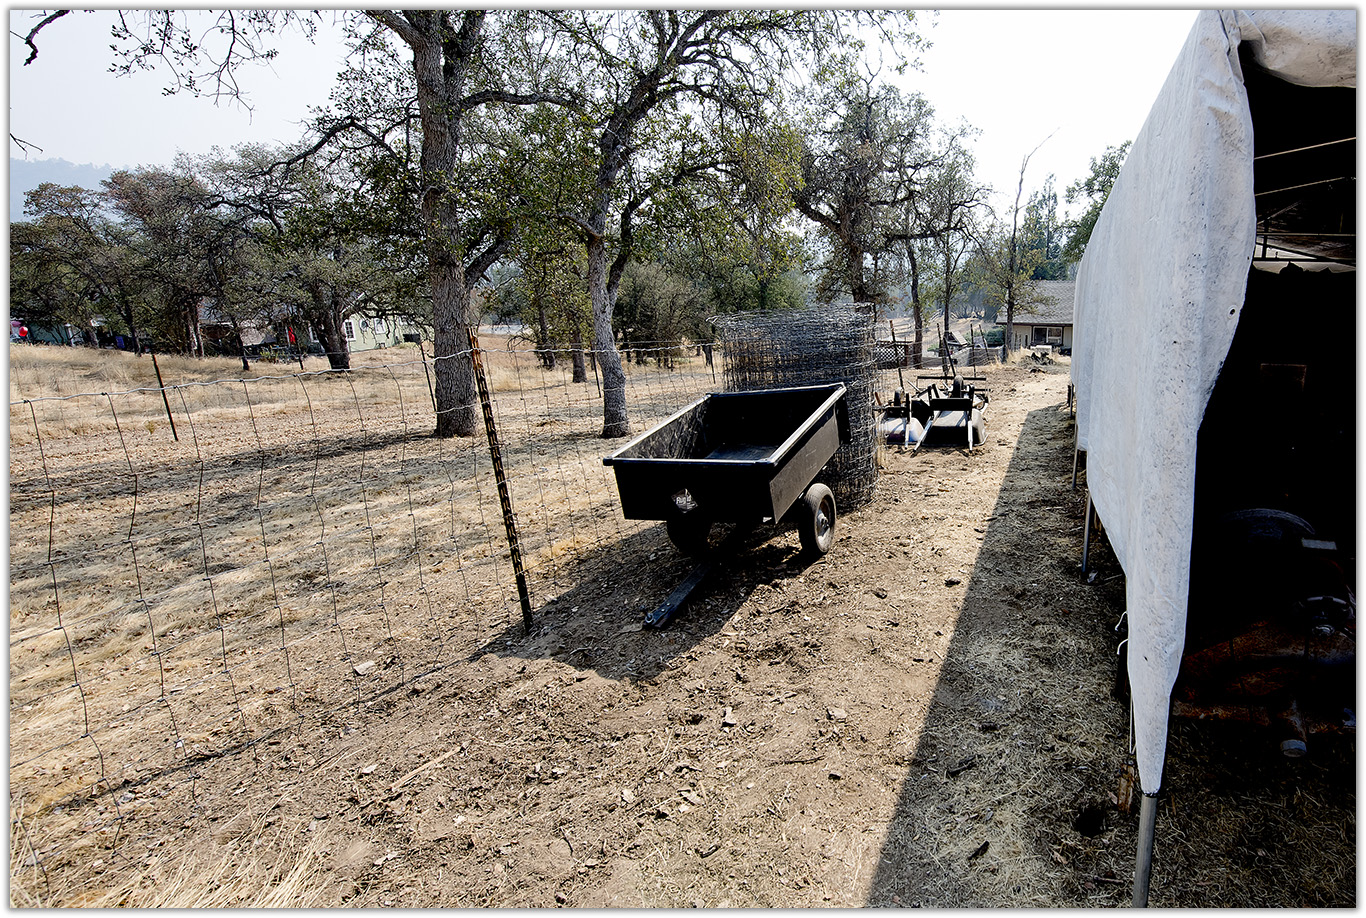
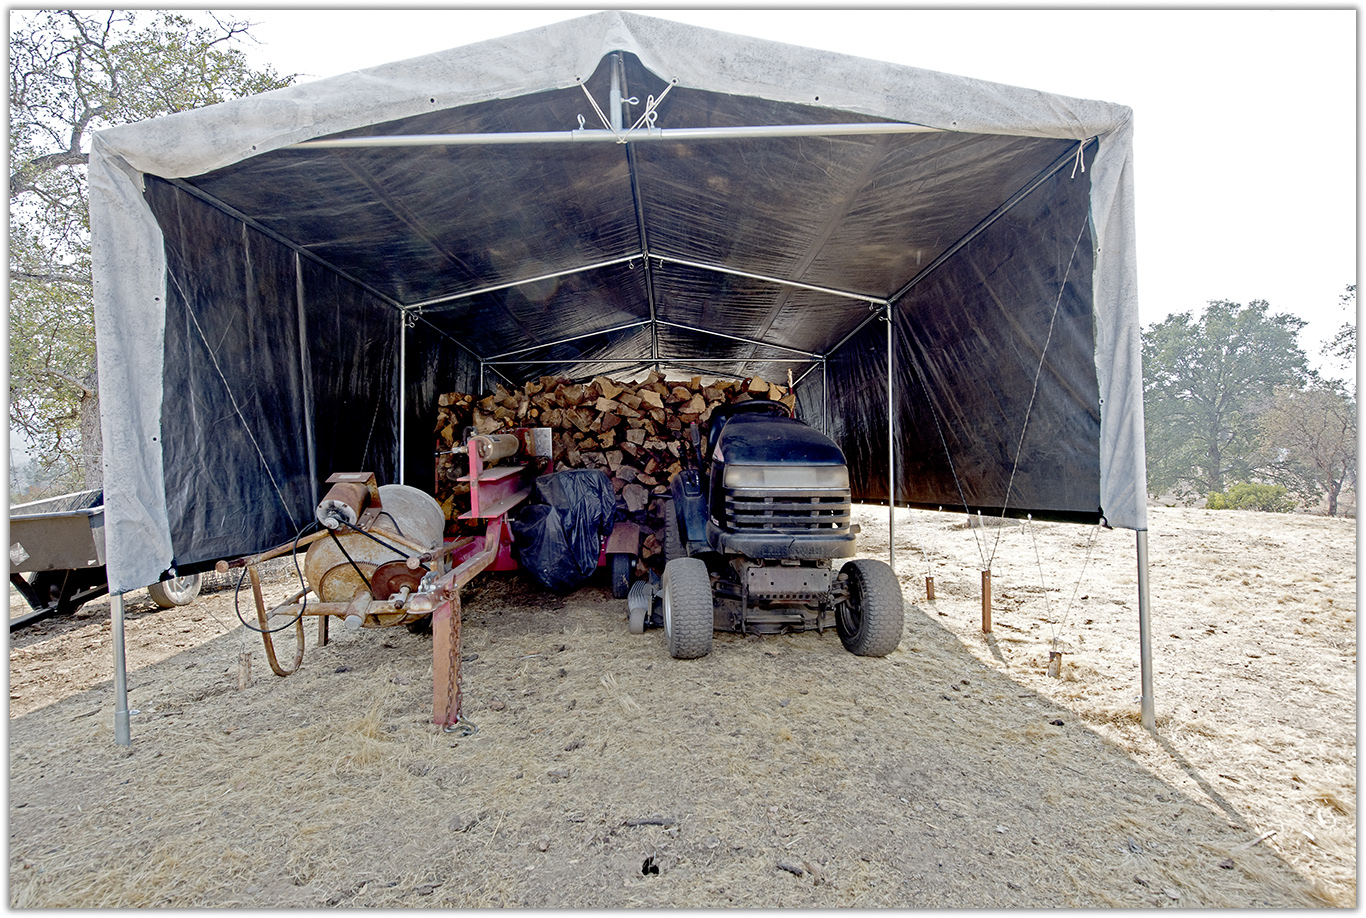
Over the summer of 2020, after my brother's untimely death, I had to use my two firewood sheds for storage. With the rainy season approaching, I needed a dry place for firewood. And I have a lot of it! So I built a canopy in the yard to protect it. This documents the build.

 
Photo Details
This photo sequence contains 15 frames. Each landscape frame is a finite 1366 pixels wide but height was left to its own based on the crop. I based the picture size on an email program's display window asuming that the picture would not be automatically resized to fit. This technique kept the file size down, the largest being 975k which keeps the web page loading time down. All photos were taken with a Nikon D810 or a Samsung Galaxy S7.

Download Photo Project


2020-09-FirewoodCanopy.zip - 12046661 bytes.


Firewood Canopy
and Garage

Keeping my firewood dry is an issue. In 2013 I built two firewood sheds holding a cord each. Although highly
effective, I always ran out of wood in early Spring. With the untimely death of my brother this summer, I used
the two (empty) sheds to store much of his belongings. The rainy season of Winter is approaching so I needed
to solve this problem. My large pile of firewood was always exposed to the elements and every year, this extra
wood was soaked when I needed it.


I moved the wood away from the doggie run fence and began planning and building. The web site www.tarps.com
will sell you the corner pieces, then you buy the 10' x 1" EMT conduit pipes and cut them to size.


Keeping the project out of my financial resereves, I cut more firewood waiting for another paycheck.


That includes splitting. I separate soft wood from hard wood.


Here's the first half of the canopy built. I have more wood to move there.


Here, all the firewood has been moved. More oak needs to be cut. 3+ cords of soft wood (mostly pine) has been
placed. Notice the fence stakes, they'll hold the sides of the wood stack. To enhance that, I tied wire to the stakes
for extra support. I might add a couple more rows of wire next year. All the wood is placed on corrugated metal
roof panels to inhibit ground moisture from soaking into the wood.


The final canopy parts are ready to install. Notice how the ground isn't level. If I only had a tractor...


The canopy frame is built. Many more steps to take including leveling the frame, securing it to the ground,
the tarp cover, and filling it with more oak.


Dragging logs, cutting, splitting, and stacking was time consuming.


Now for the tarp!
Notoriously, tarps, even the UV Protected models, don't last very long. I want more time out of mine.
My neighbor and I are doing the same thing together:
Painting on a layer of Henry's Elastomeric Roof Sealant.
Before:


OK, mine needs another coat. Cheryl and I proportionately split the cost.
After:


Tarp placement wasn't too difficult.


Tarp is in place.
The canopy frame is tied down with stakes and wire.
The canopy tarp is tied down with stakes and rope.


The mower trailer and other attachments, rolls of fence wire, wheelbarrows
are now neatly placed beside the firewood canopy.


The north side was purposely left open for use as a garage.
It houses my cement mixer, wood splitter, and riding mower.
The canopy tie-downs are visible here.