Firewood Sheds

About the Photo Sequence
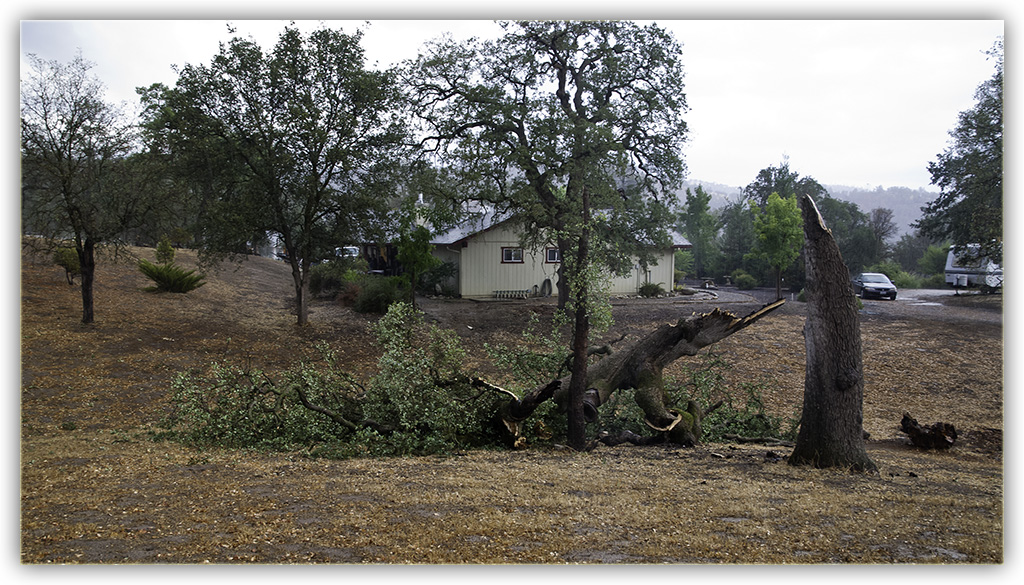
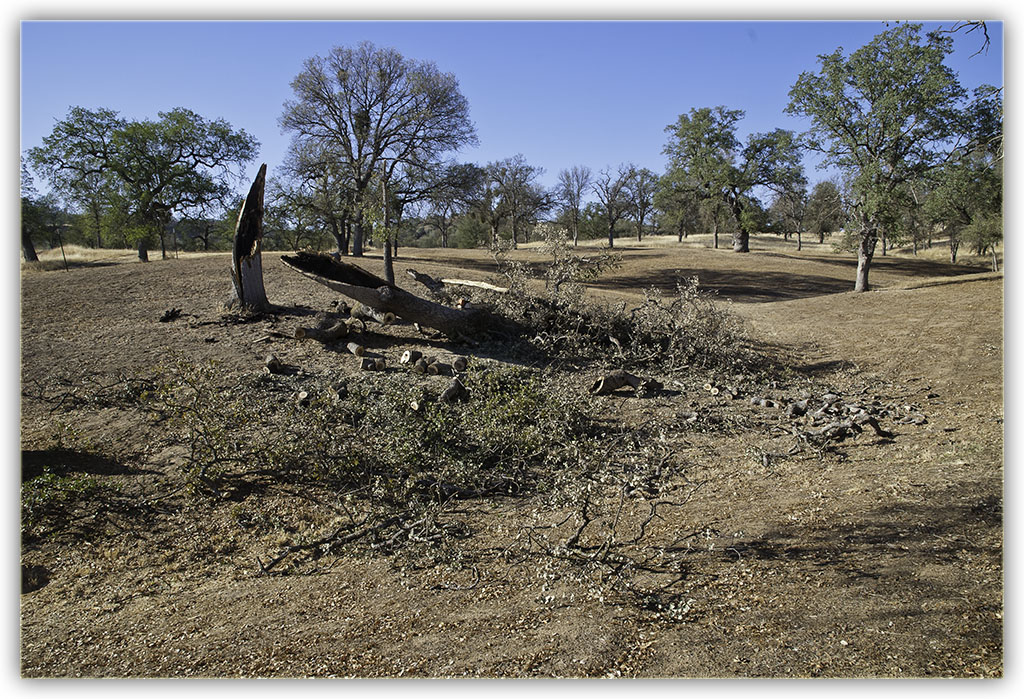
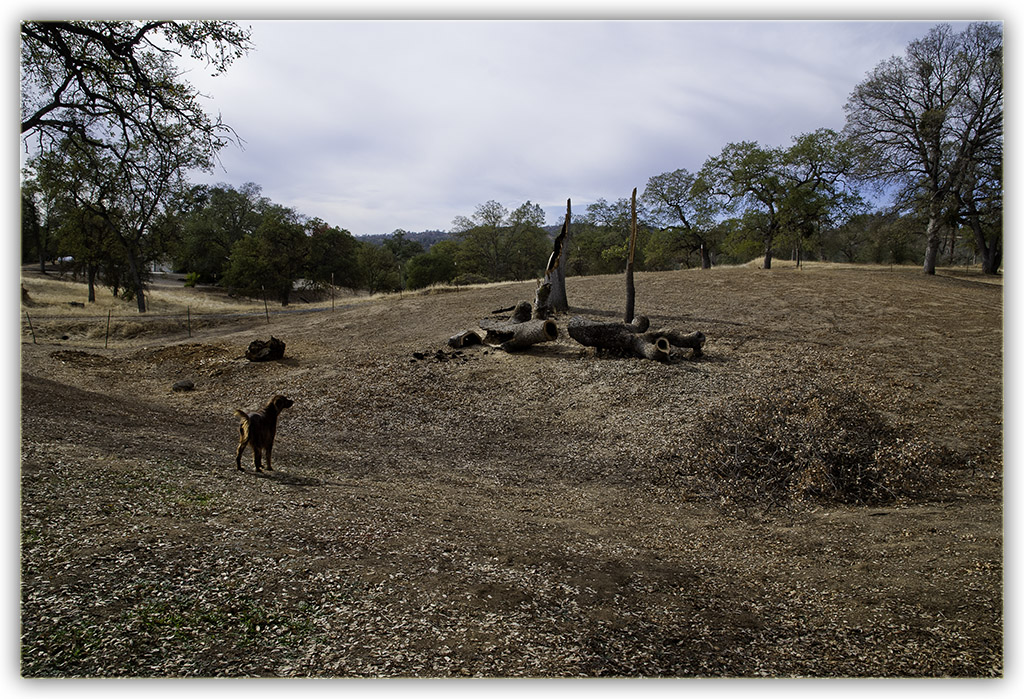
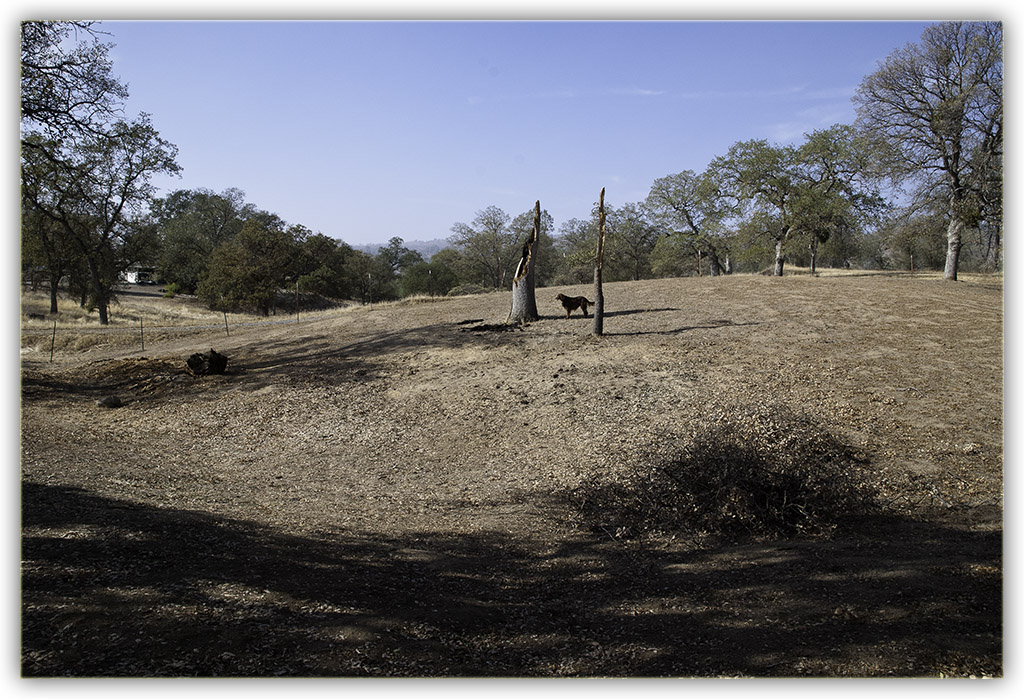
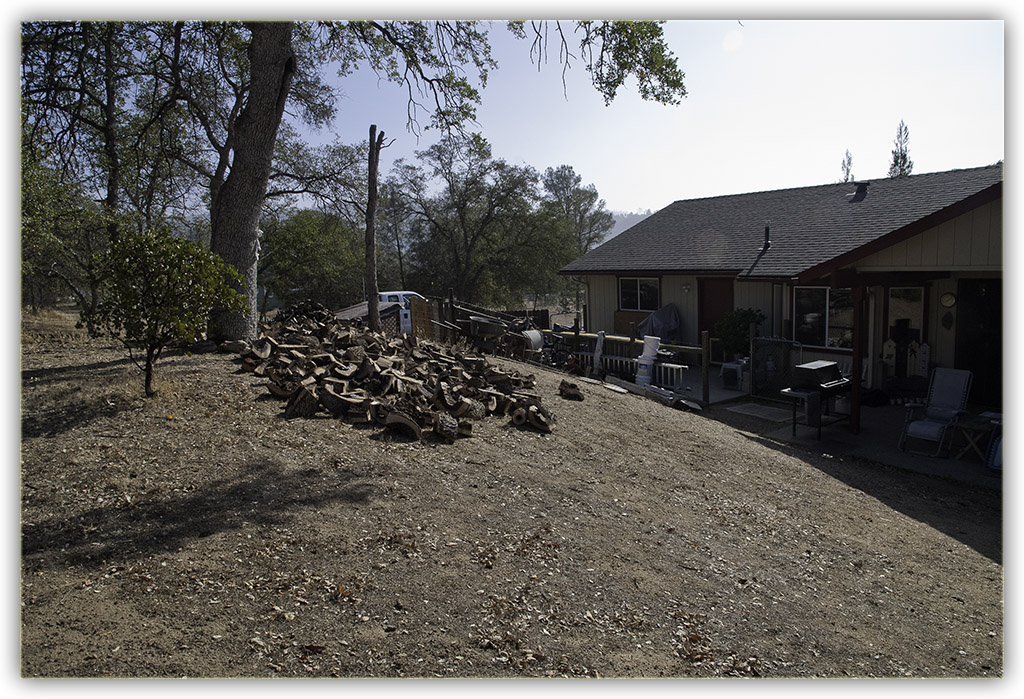
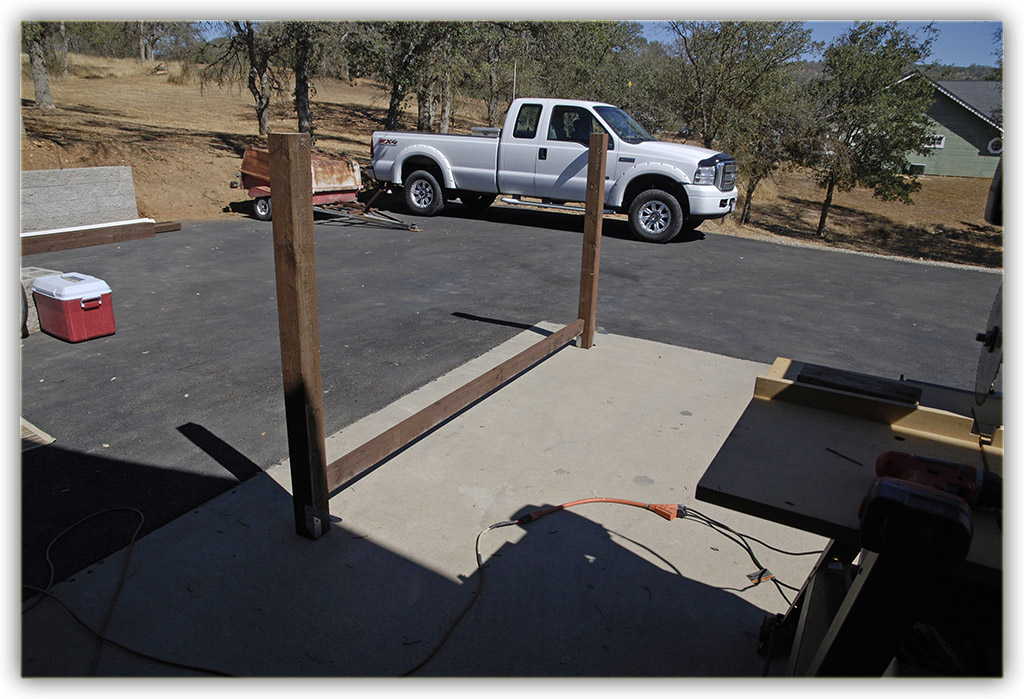
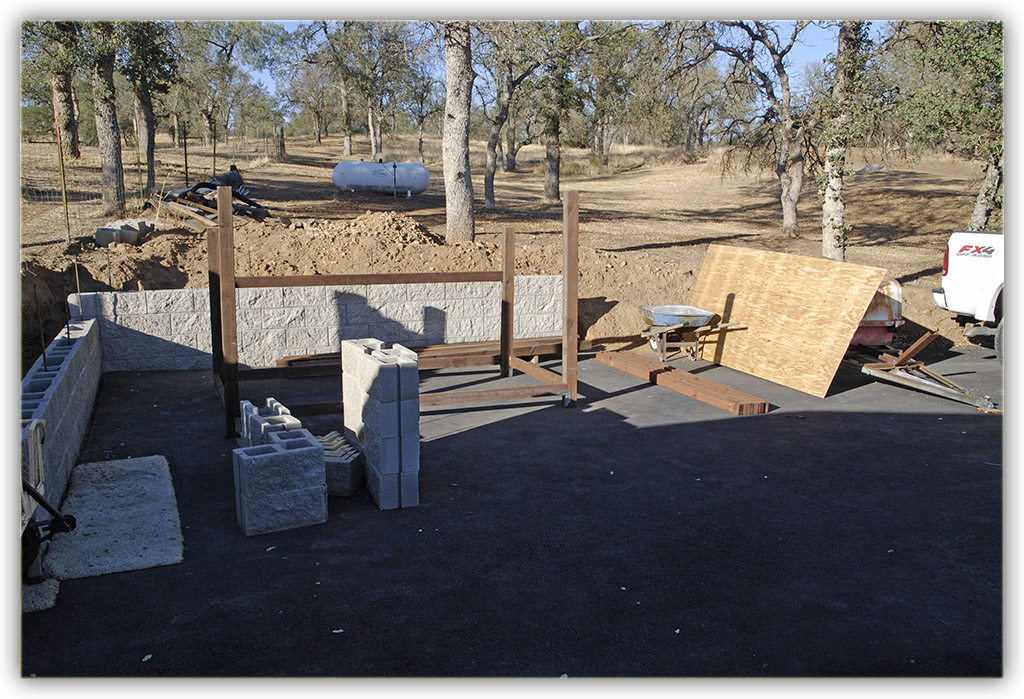
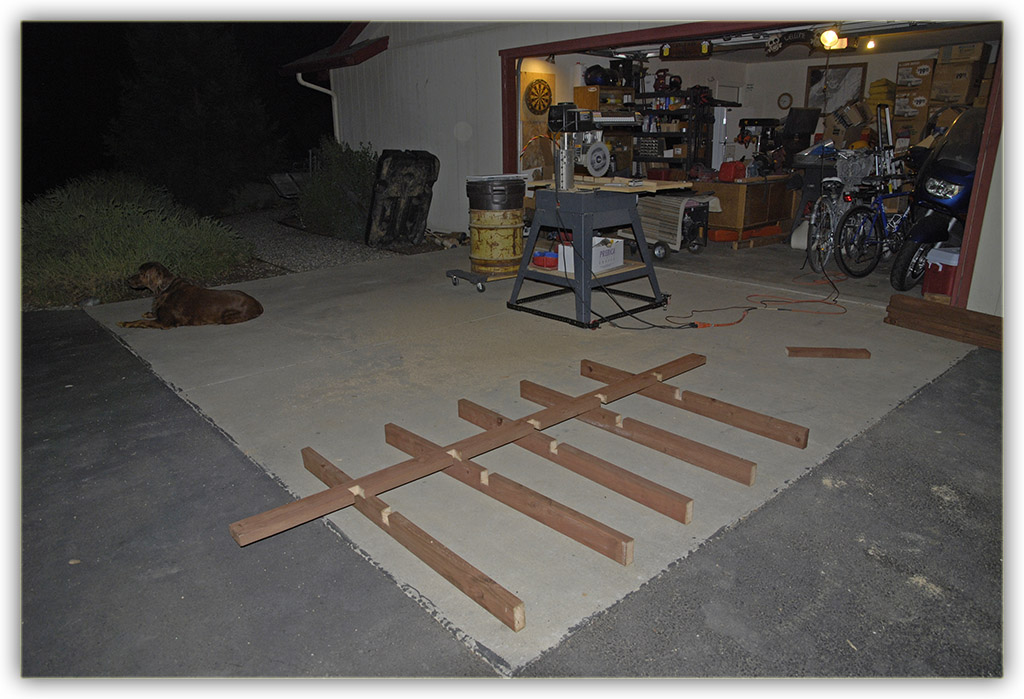
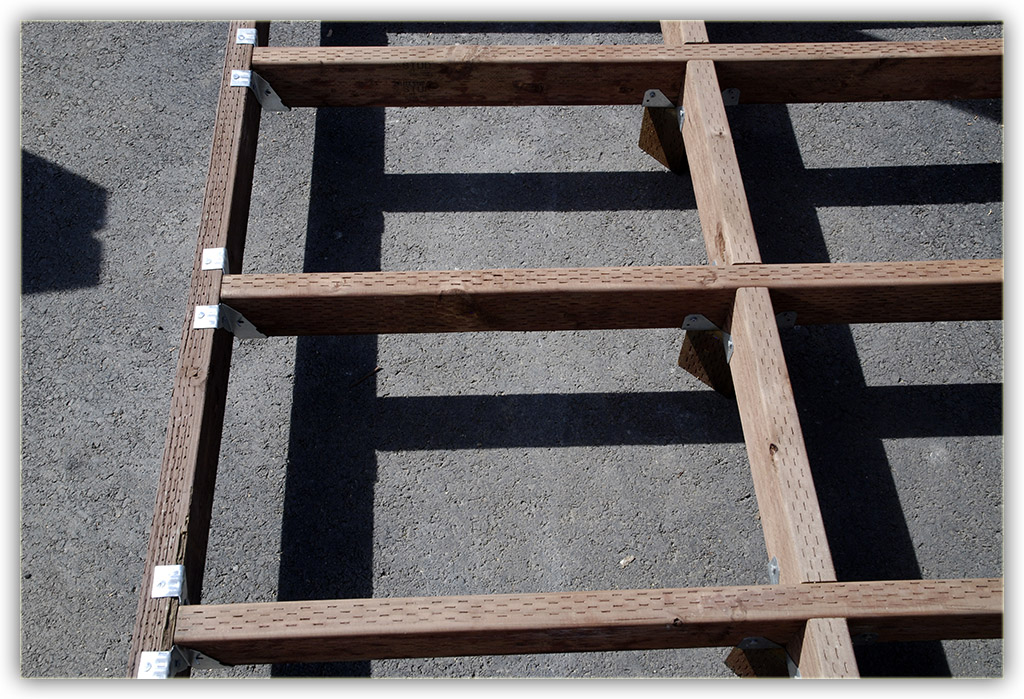
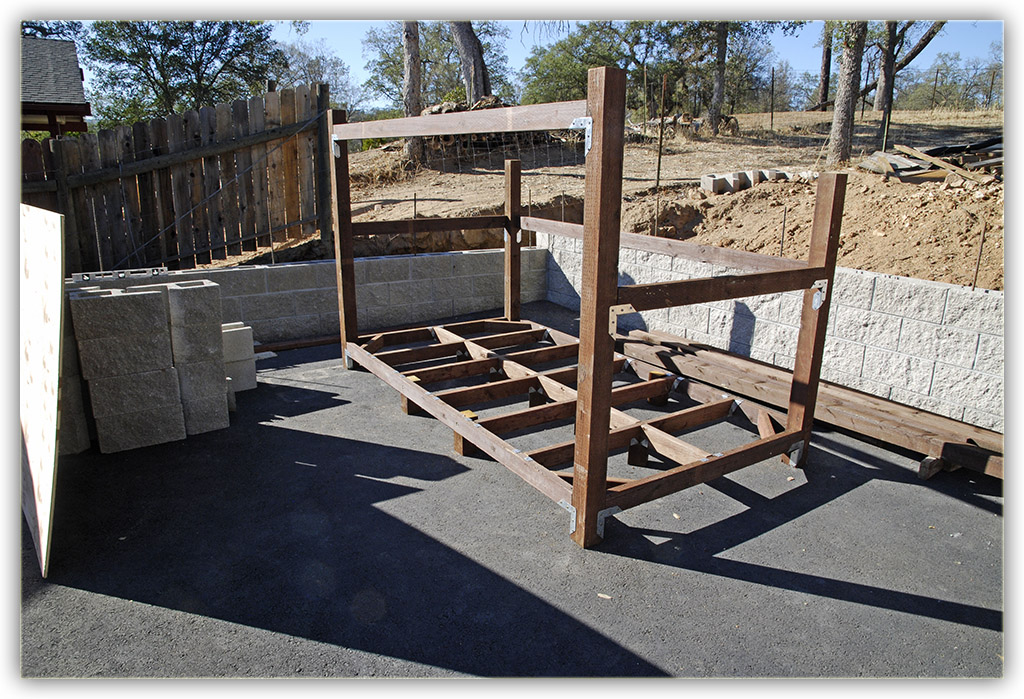
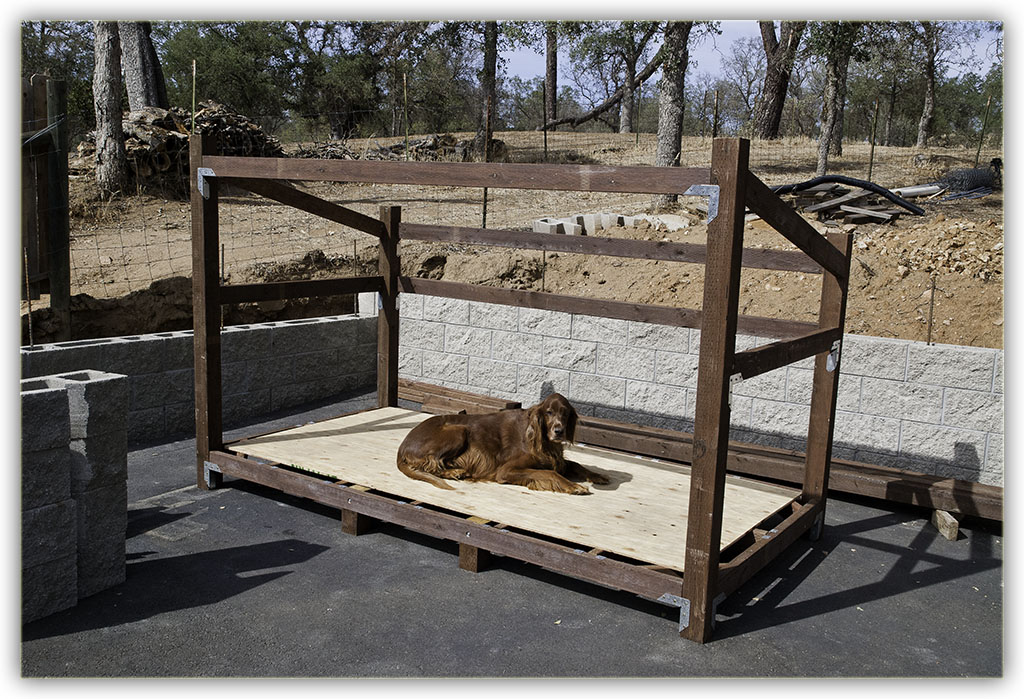
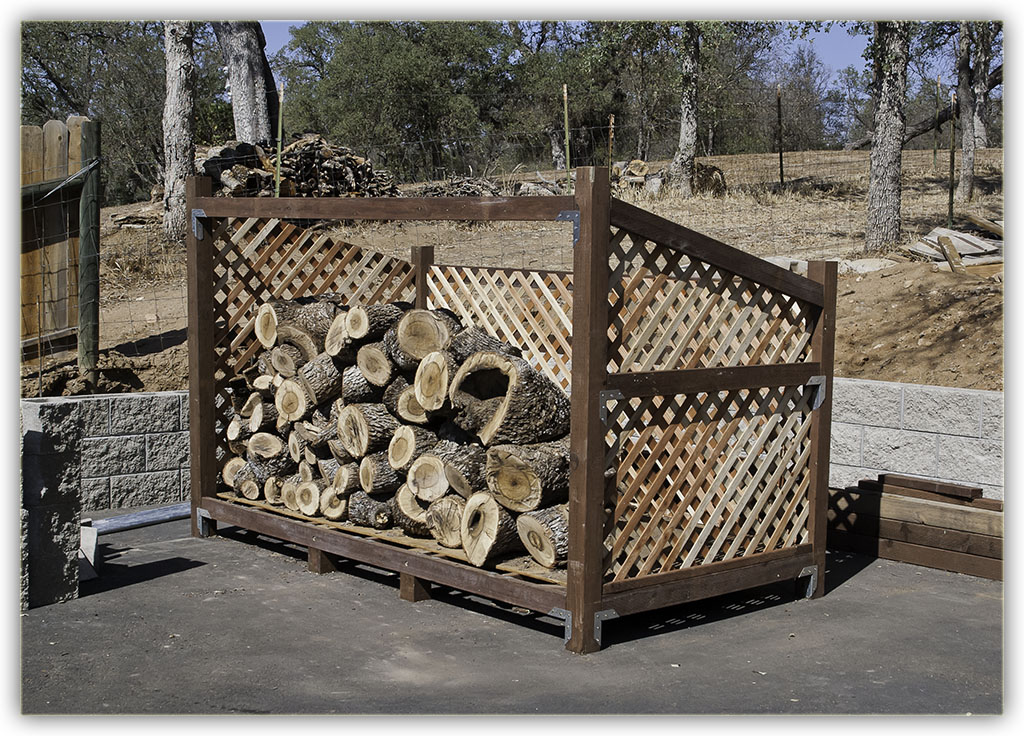
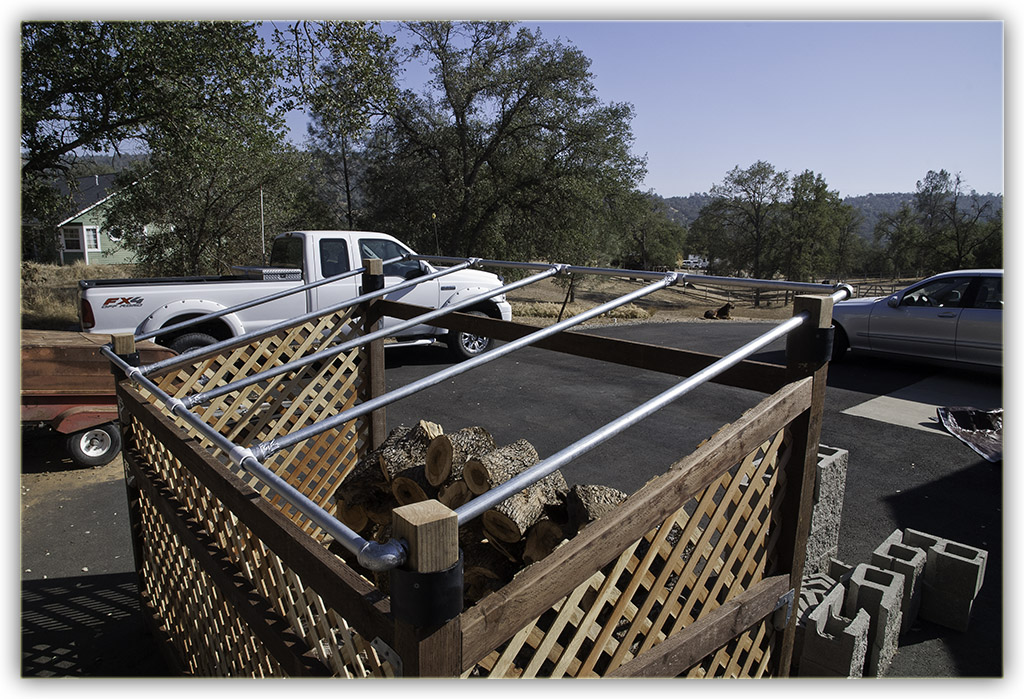
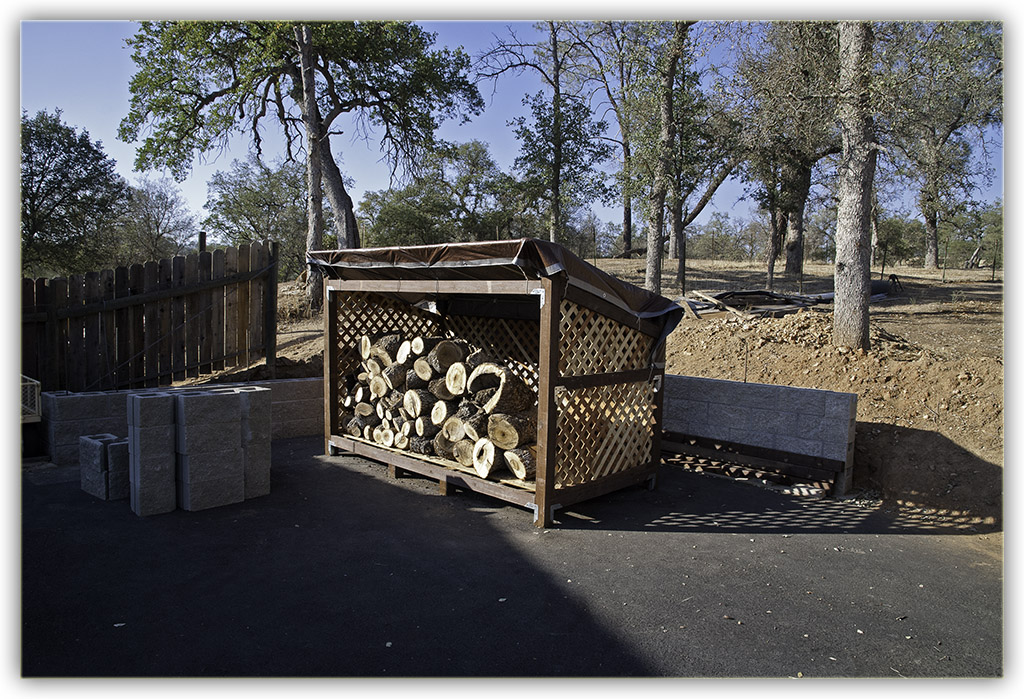
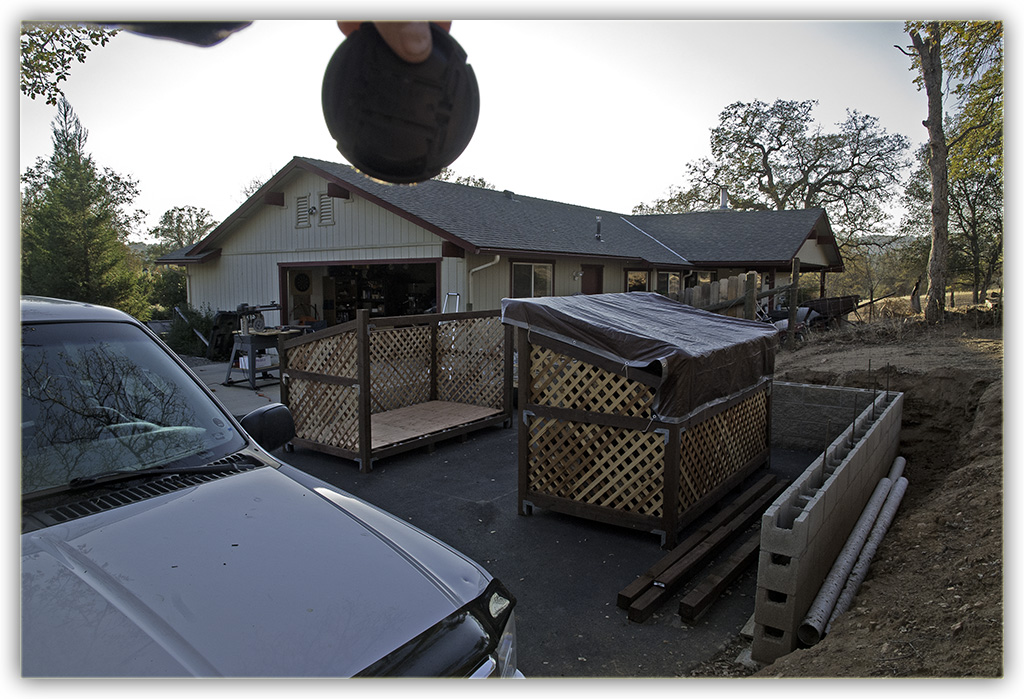
When the weather took down one of my oak trees, I was forced to chop it up for firewood. It became quite obvious I had no descent place to keep it. By descent, I mean off the ground and under a roof. I was forced to quickly build a couple of firewood sheds. My style is overkill. If its not fit for a castle, I don't want it. Besides, building these sheds is fun!

 
Photo Details
This photo sequence contains 16 frames. Each frame is a finite 1024 pixels wide but height was left to its own based on the crop. I based the picture size on an email program's display window asuming that the picture would not be automatically resized to fit. This technique kept the file size down, the largest being just less than 400k making it easy to send and receive through email. The file names are also numbered so they'll display in numerical order. All photos were taken with a Nikon D80.

Download Photo Project


FirewoodSheds.zip - 5140805 bytes.


Firewood Sheds

With a few other projects incomplete, a summer thunderstorm hit.
And it hit hard!
A large oak tree in the side yard already had a large crack.
The violent winds broke the tree and down it came.


Chopping it up with the chain saw was time consuming.


But eventually I cut it all up.


It became apparent that I need a descent firewood shed to keep all this wood
off the ground and out of the rain.


OK, here we go!
The shed will be 4' x 4' x 8', a standard cord.
It'll be built to be dismantled and reassembled without tools.
Then two people can take it apart and move it without hiring someone with a fork lift.
Here's the front, the first two posts connected at the bottom.


The four corner posts are up.
The main frame, when done, will be light enough for two people to carry.
Time to work on the removable floor.


I cut lap joints in the floor 2 x 4's.


To support the weight of the wood, I bracketed 4 x 4's to each lap joint.


The main frame has hangers mounted to hold the 2 x 4 flooring boards.
But none of the 2 x 4's are attached. They're just sitting in the hangers.
That way the floor support can be lifted out and carried away.


With the corner boards attached to the main frame,
the actual plywood floor is supported at the corners.
Notice the supports near the center of the lower front board.
There's two more in the back.


Athena says it's ready for siding.


Maybe I put the firewood into it a bit early. Oh well.
I put lattice panels on the inside. This allows for airflow.
It also makes it look pretty damn good!


In order to make the roof removable, I mounted short 4 x 4's inside 4" PVC couplings
and placed them on top of the corner posts. Later, the roof material will hold it down.
I drilled holes in the 4 x 4's and placed 1" EMT conduit in a rectangle shape.
Before sealing the corners, I placed six 1" PVC T's to hold the cross bars in place.
This will keep the roof material from sagging.


I used a tarp as a roof, a consideration for the weight.
Maybe some day I'll change that.


Both of them are constructed identically.
My riding mower will be "garaged" between the sheds once the gap is roofed.