Outside Shower Concrete

About the Photo Sequence
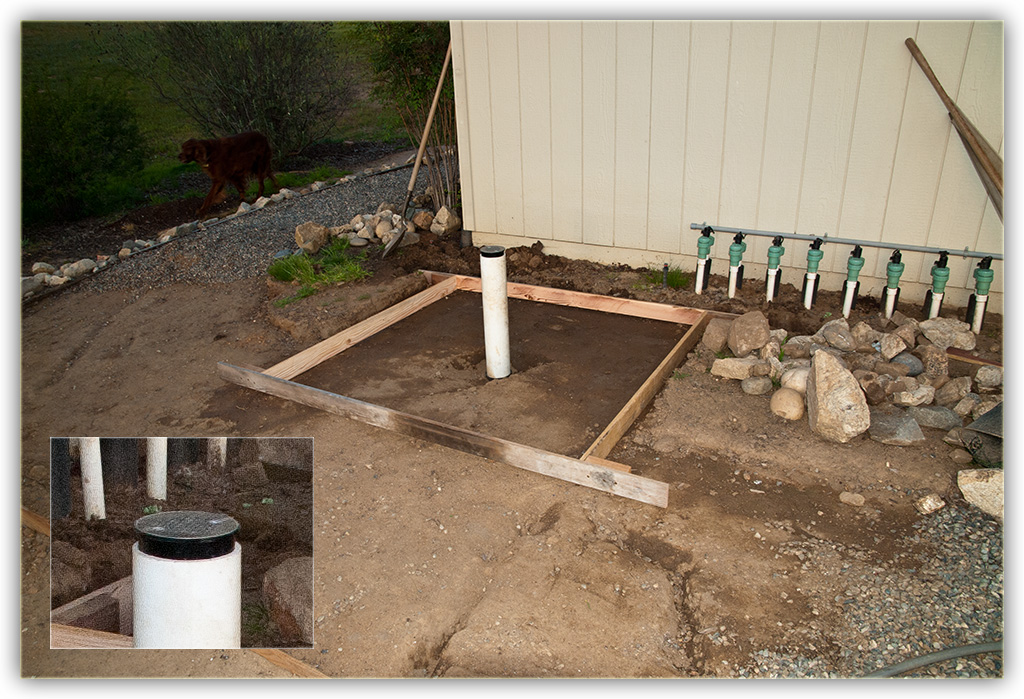
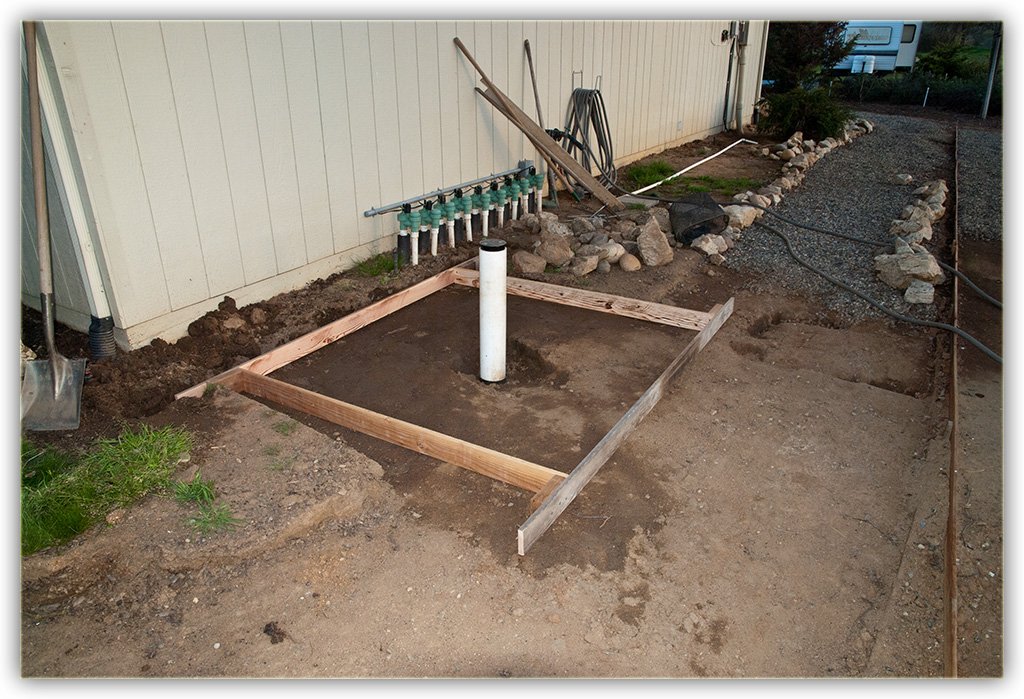
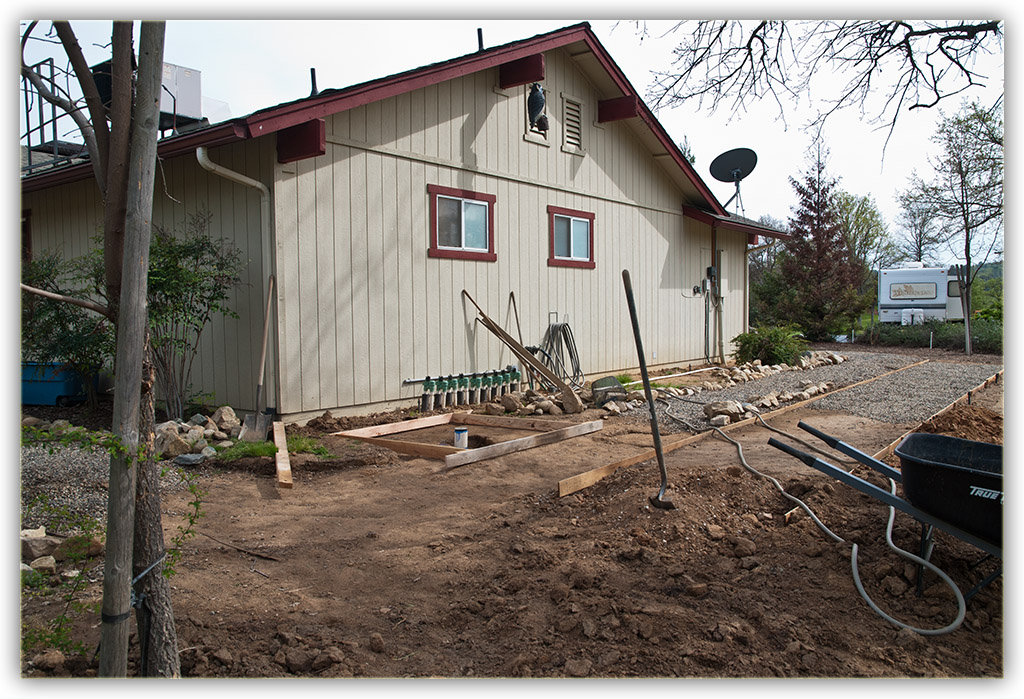
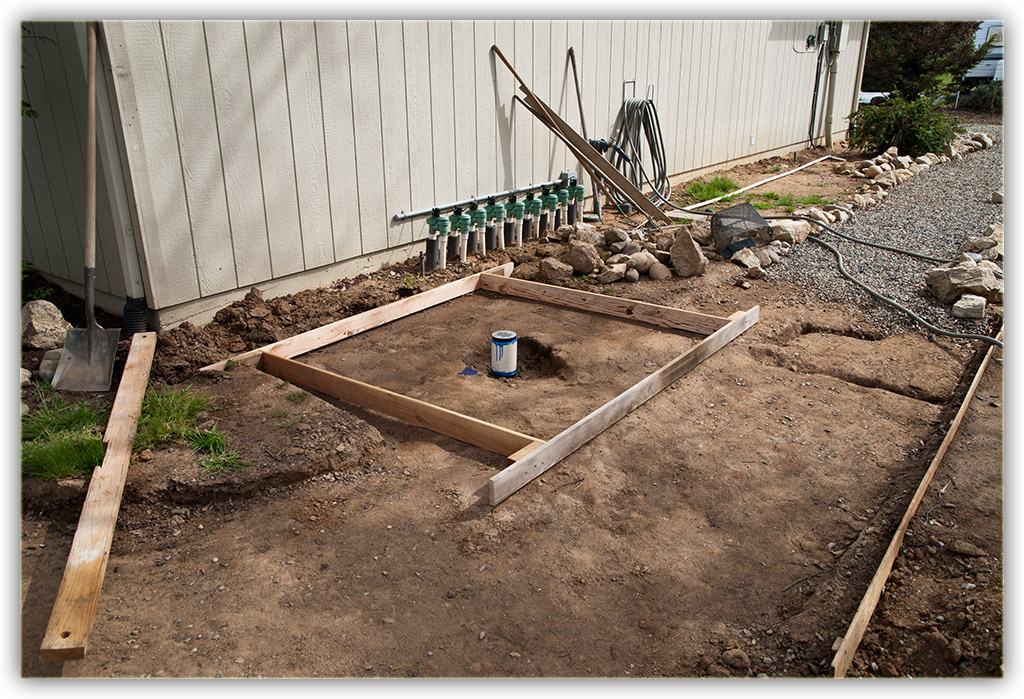
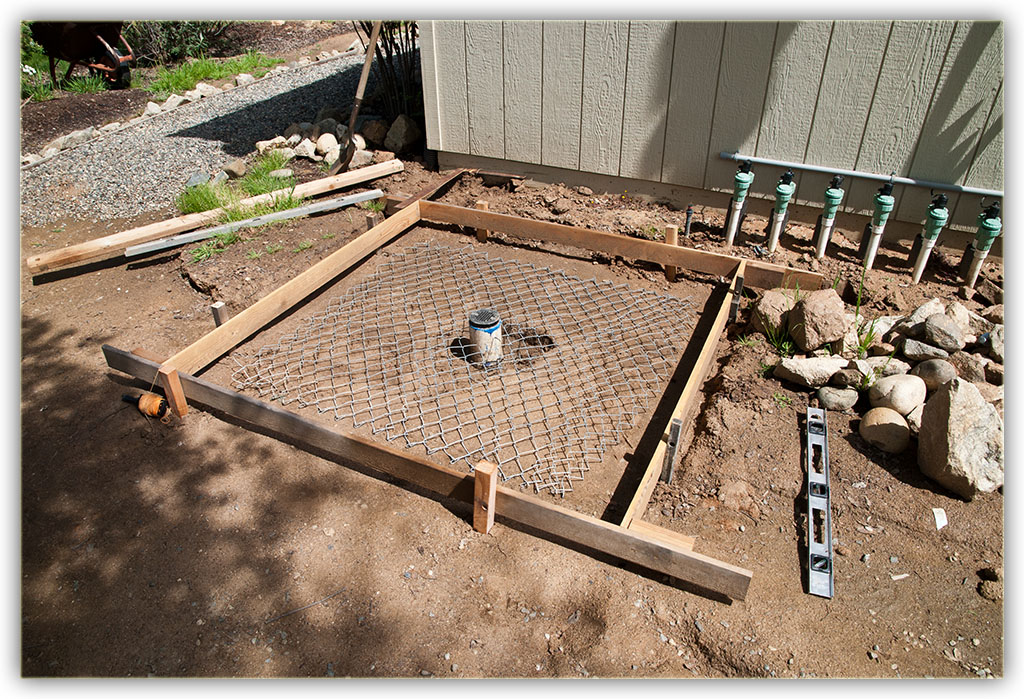
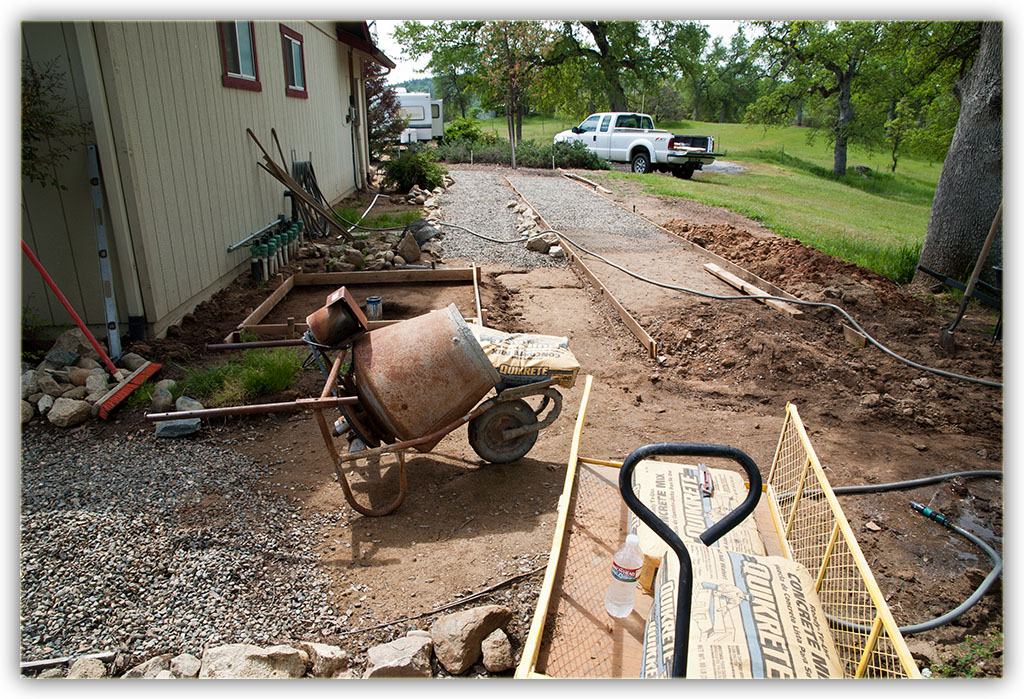
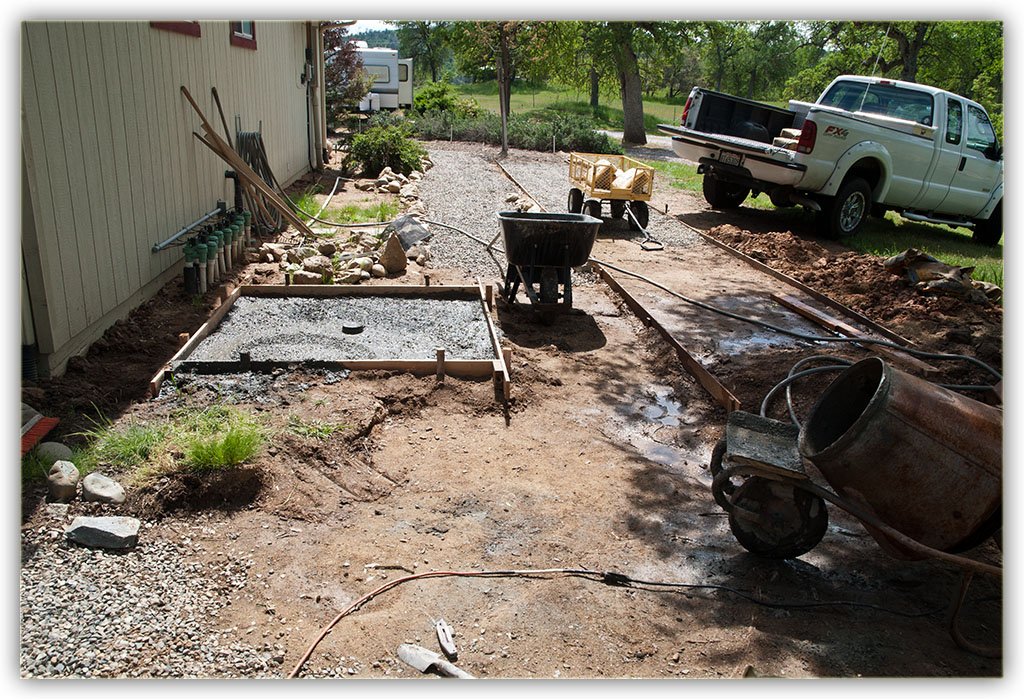
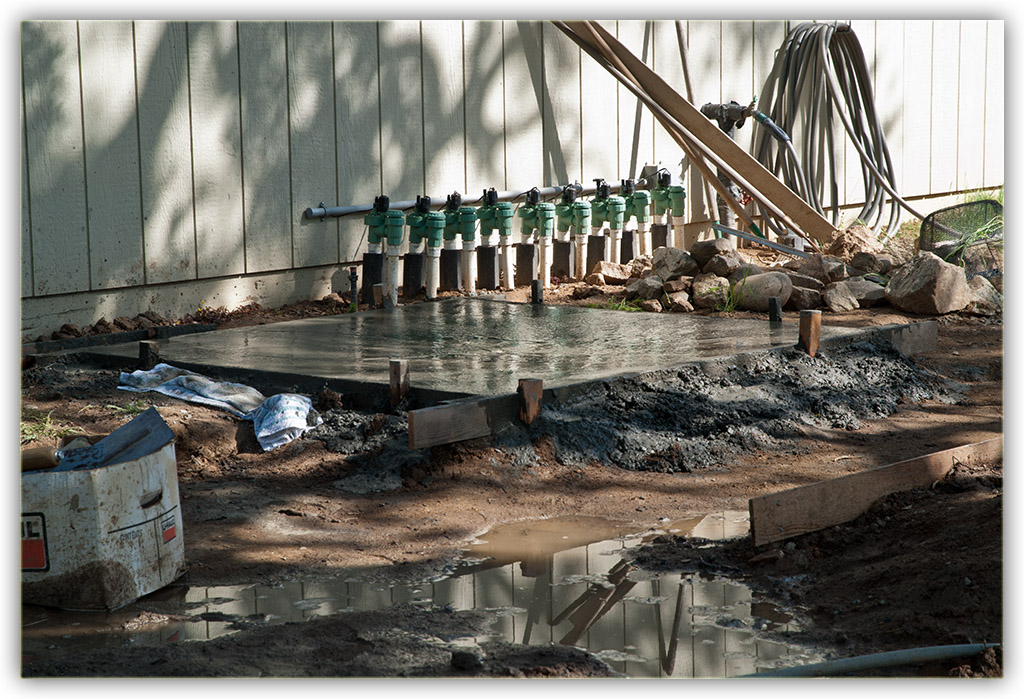
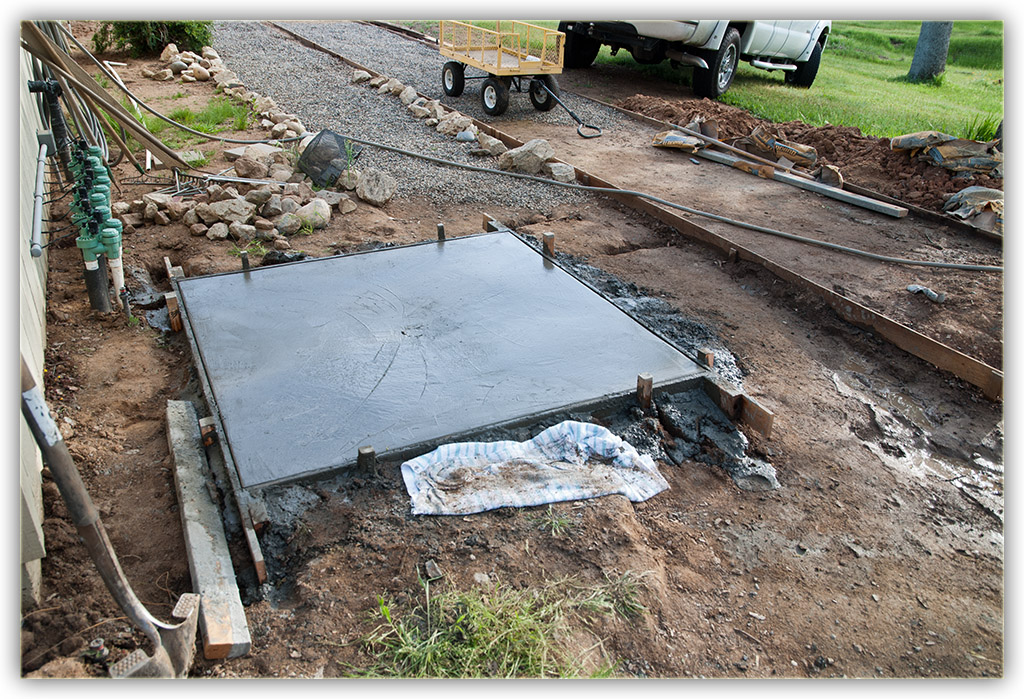
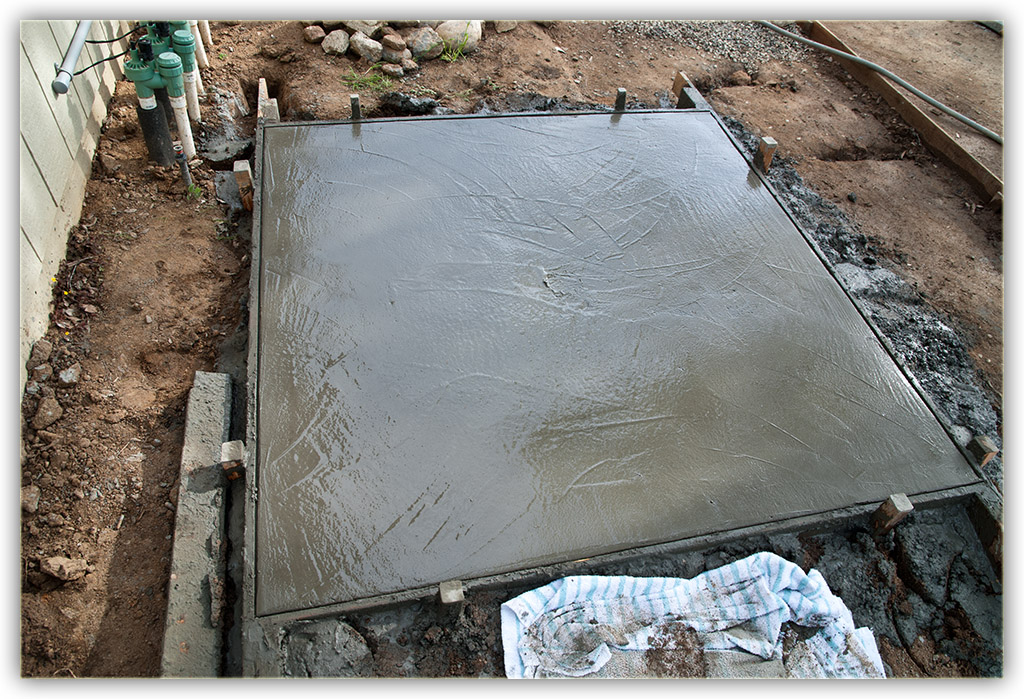
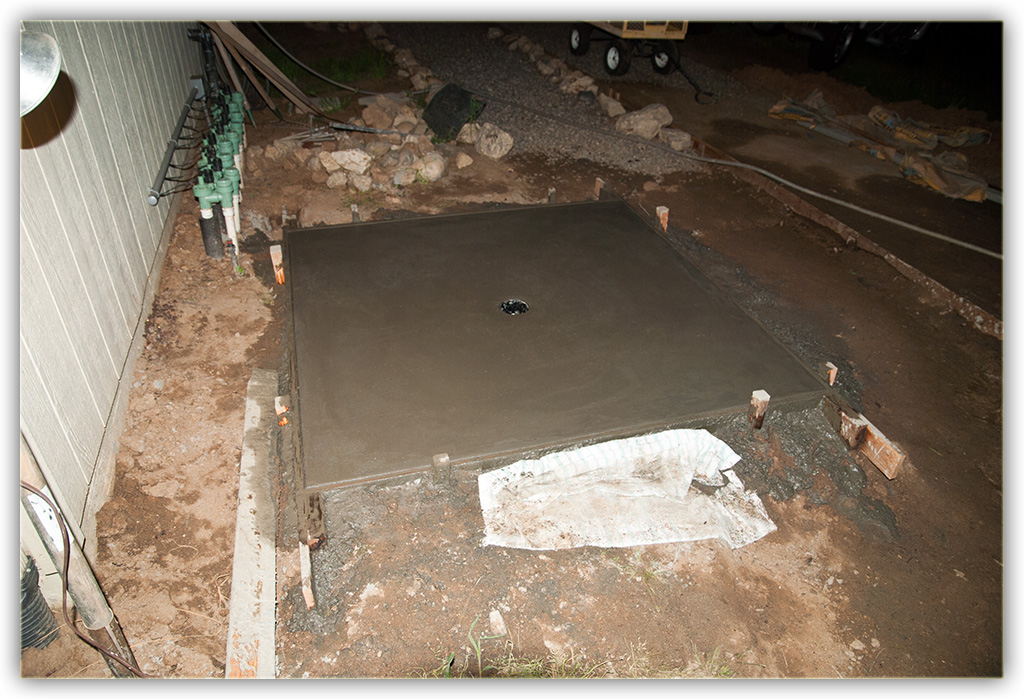
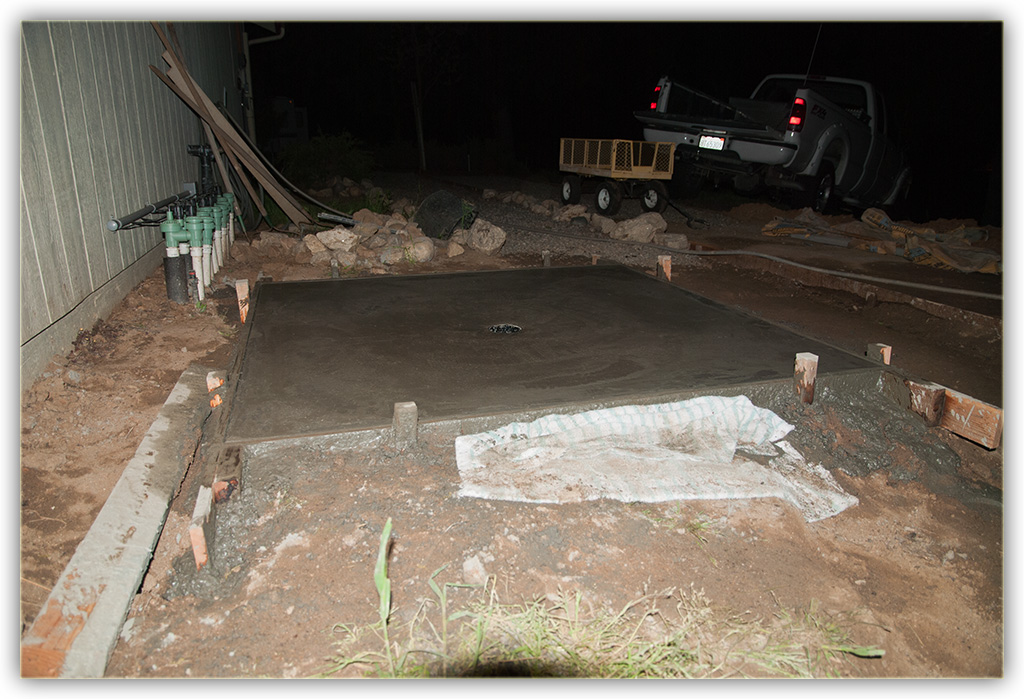
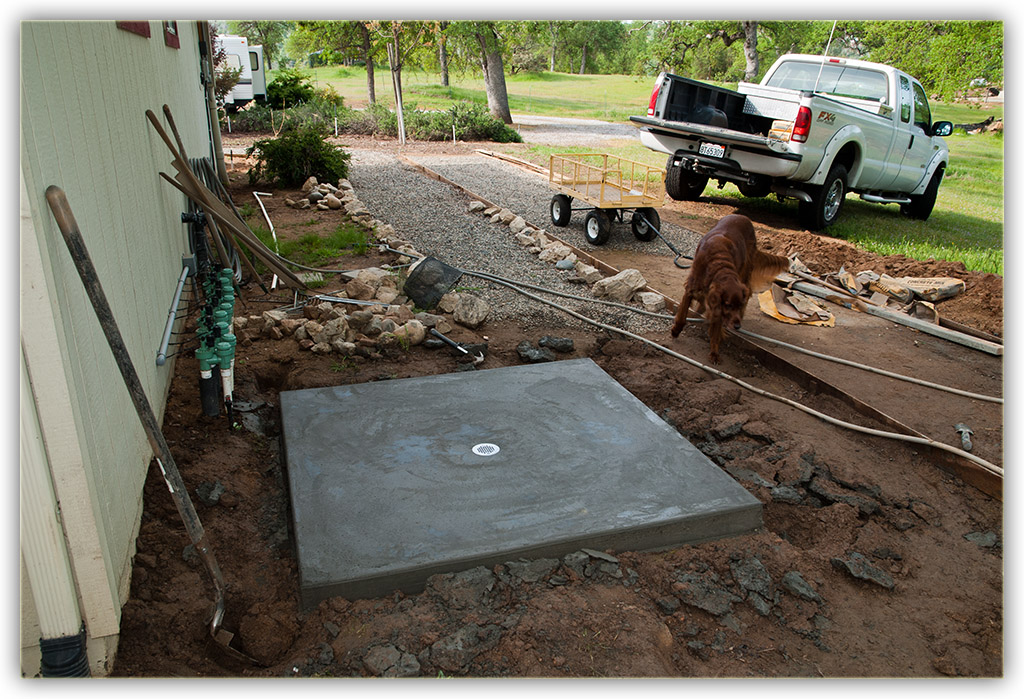
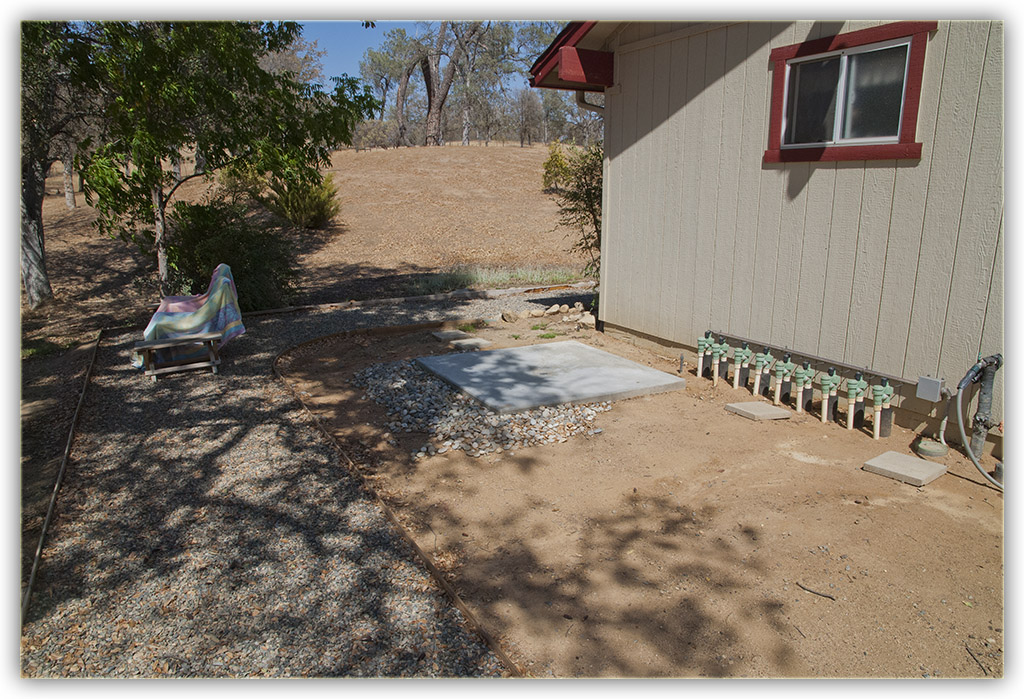
Ever take a hot shower out in the open? If not, you haven't lived!! In March, 2013, I started the building of my outside shower in the west side yard. Mostly, I need a place to rinse off after muddy work, a place to wash the dog, and also a nice place to rinse off before climbing into the hot tub. If friends want to use the spa, I'll insist they rinse off first. With this shower, a new level of convenience and uniqueness will be born. The visual blocking shrubs is a future project. Climb one mountain at a time.


Photo Details
This photo sequence contains 13 frames. Each frame is a finite 1024 pixels wide but height was left to its own based on the crop. I based the picture size on an email program's display window asuming that the picture would not be automatically resized to fit. This technique kept the file size down, the largest being just less than 400k making it easy to send and receive through email. The file names are also numbered so they'll display in numerical order. All photos were taken with a Nikon D80.

Download Photo Project


OutsideShowerConcreteFloor.zip - 4464374 bytes.


Outside Shower Concrete

I didn't have enough 5 foot 2x4's, so I took the two I had and cut them
in half the long way. Saved me a $25.00 trip to the hardware store in Fresno.


The extender pipe here is obviously too tall but at this time
I'm not ready for the precise cut.


All measurements made, considering the concrete pad's edge
to be higher than the drain cap, I cut the extender pipe
and glued it and the drain cover in place.


I used a piece of galvanized chain link fence as reinforcement
rather than rebar. Don't laugh, it works quite well!
Raising the frame about 2" above the drain wasn't too difficult
but centering it took some time. I'm a perfectionist.


Pouring the concrete wasn't a new thing but
handling the 80 pound bags took its toll on my back.


Initially, the concrete covered the drain completely.


The screed action started normal and level, then placing a shorter 2x4 with one end
at the drain, I rotated it around the edges like the sweep on a radar scope. This
contoured the slope of the pad to the drain.


With the edges done, I let it sit and cure.


Finally I pull the tape off the drain cover and start the final surfacing.


Next morning, I remove the frame and occasionally hose the job to
slow the curing and drying. The finished pad performs perfectly!
In the future, I'll build an open structure, mount water controls
and the shower head.


Here it is completed, with the rock path moved, and a few pounds of river rock.