RV and Yard Electric

About the Photo Sequence
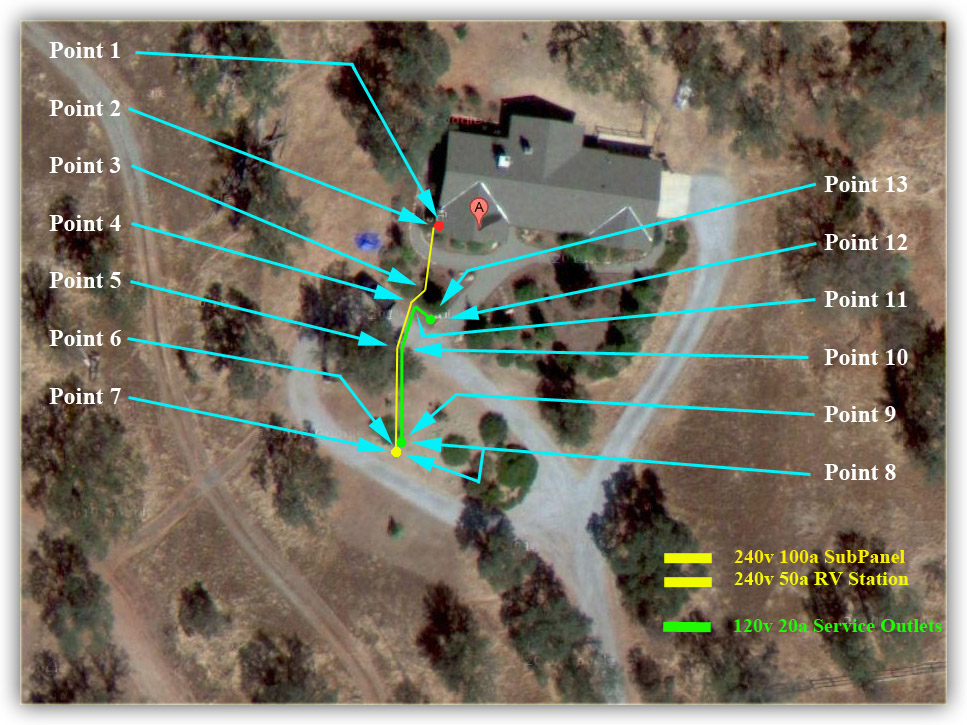
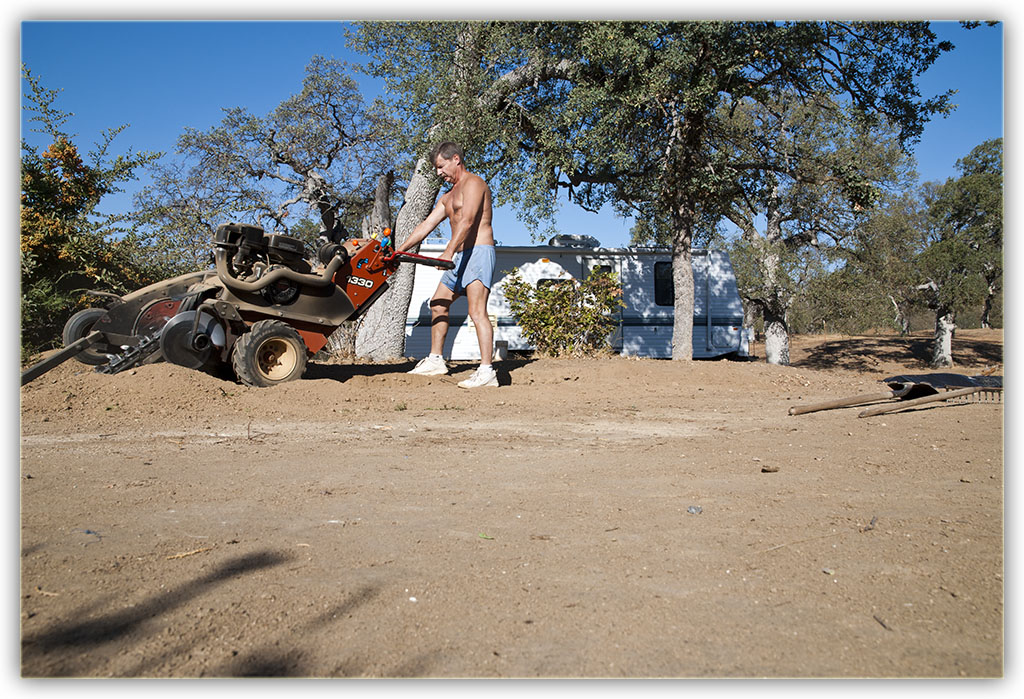
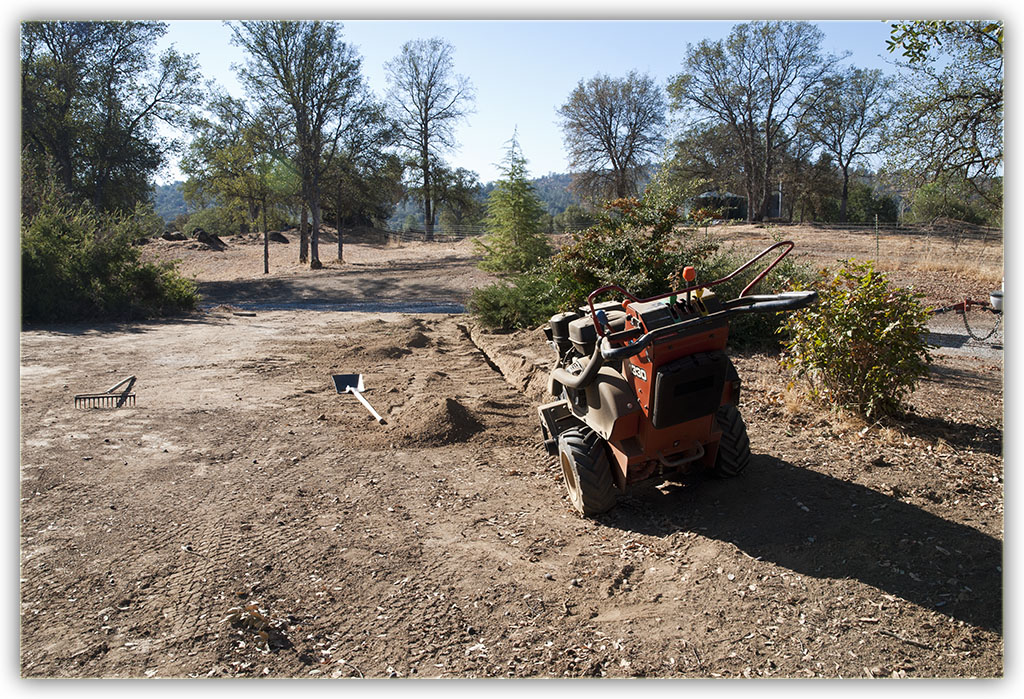
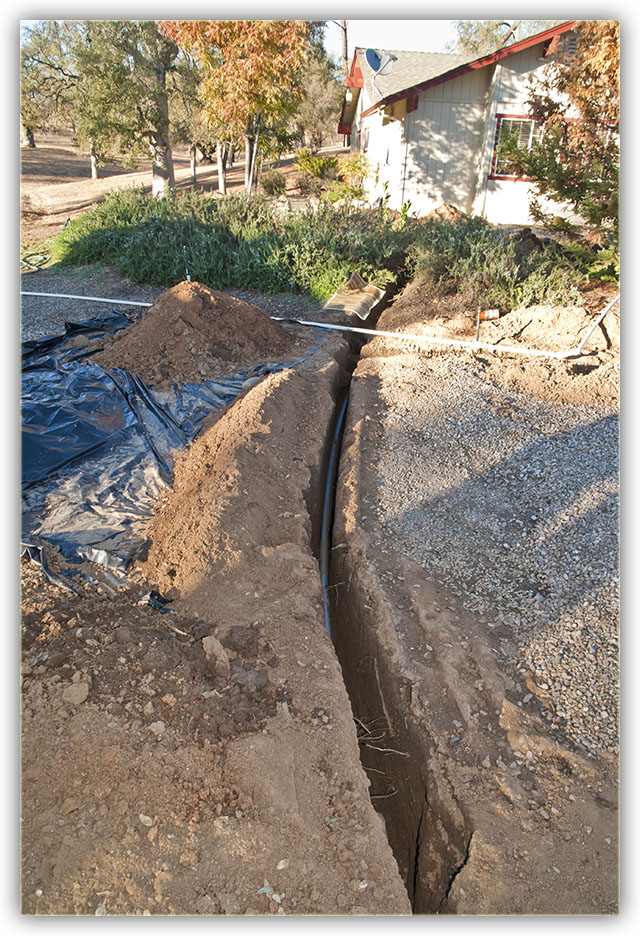
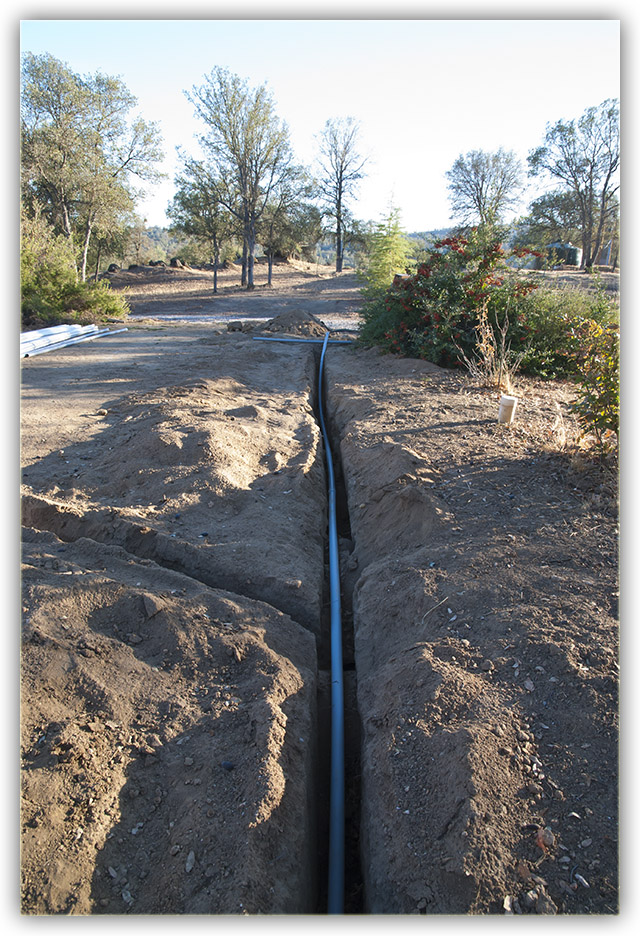
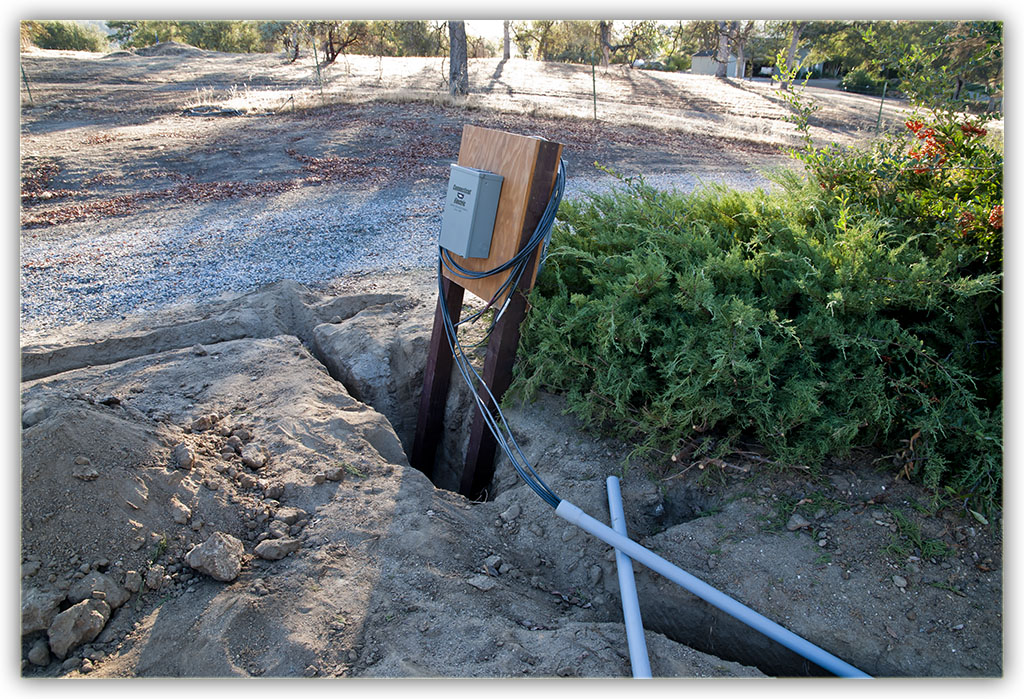
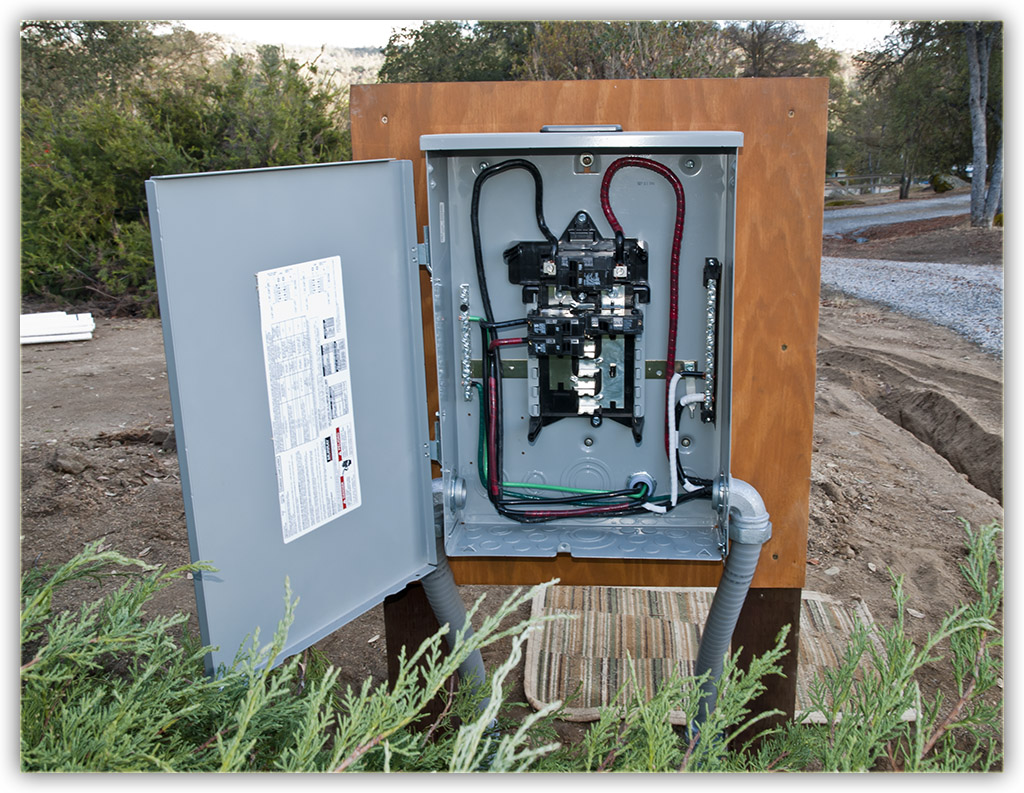
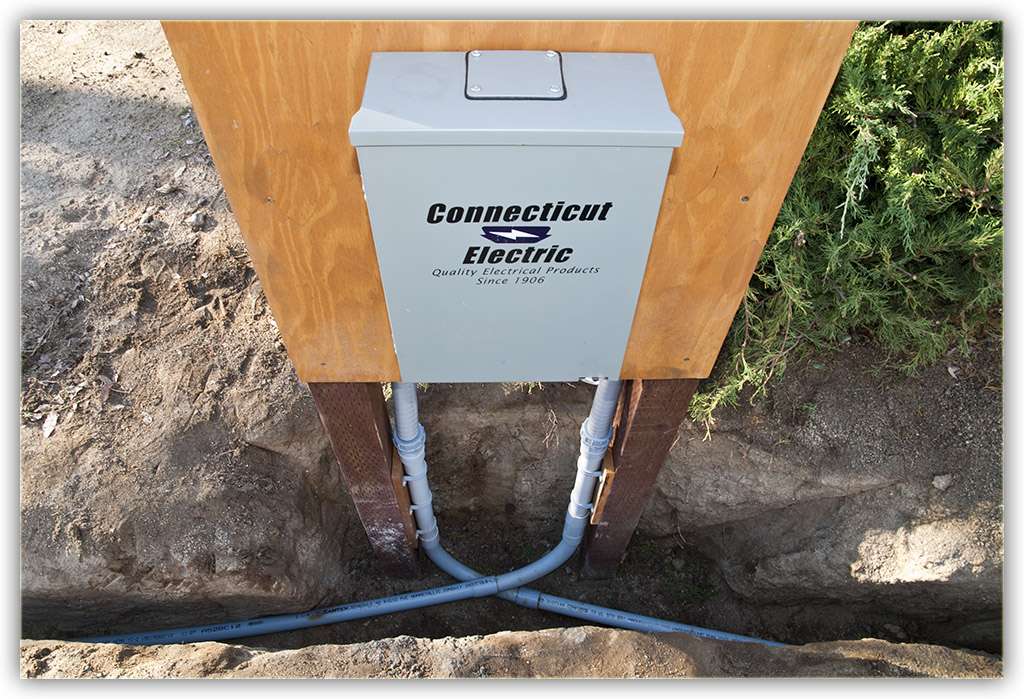
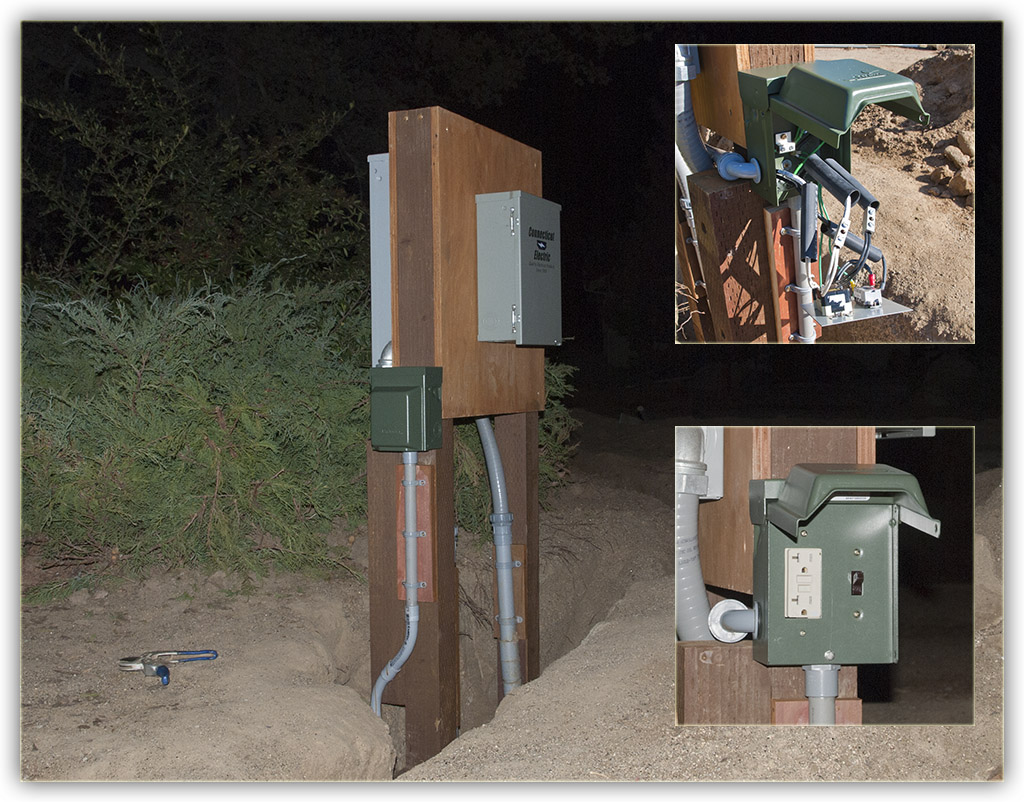
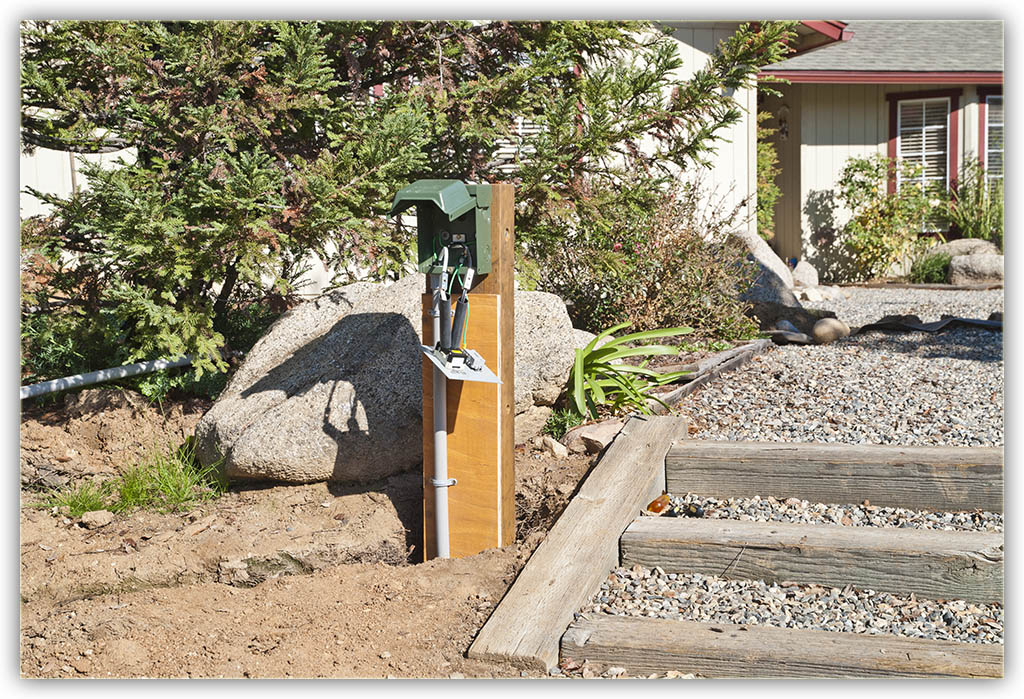
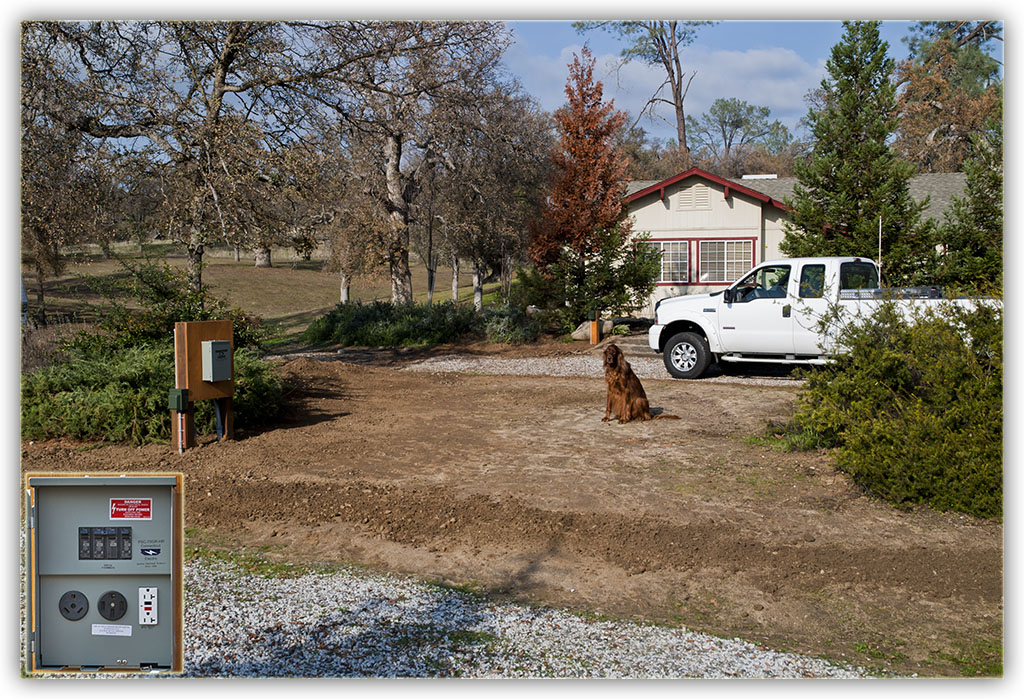
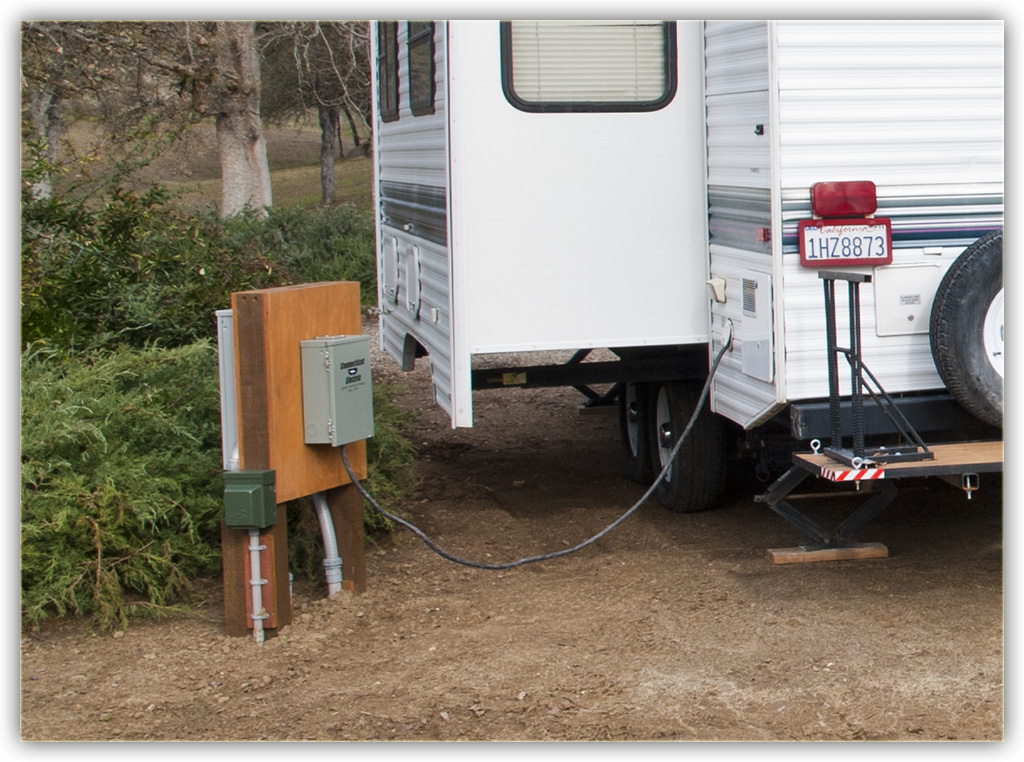
In the middle of the sprinkler system overhaul, with all the ditches opened up, I decided to switch gears and start another project: Outside Electrical Panels. I needed a full 240v 50a RV panel, and a 120v 20a yard tool circuit. Some day, I'll build a garage, so I also put a 240v 100a panel behind the RV panel and now I'm ready. In the few short months I've had it it has already proven to be quite a convenience. My friends with RVs can now park and visit and have full electrical and water hookups. Some day, the sewer line will be installed.

 
Photo Details
This photo sequence contains 13 frames. Each frame is a finite 1024 pixels wide but height was left to its own based on the crop. I based the picture size on an email program's display window asuming that the picture would not be automatically resized to fit. This technique kept the file size down, the largest being just less than 400k making it easy to send and receive through email. The file names are also numbered so they'll display in numerical order. All photos were taken with a Nikon D80.

Download Photo Project


YardElectric.zip - 4153883 bytes.


RV and Yard Electric

In the middle of my sprinkler system overhaul, with all the trenches I dug,
I decided the time was now to create the RV electrical connection,
or I'd be digging the same trenches a second time.
So with the sprinkler piping barely half done,
I had to switch gears and start the Yard Electrical Project.

The yellow line represents 2 gauge wire to the 100 amp subpanel.
The green line represents 6 gauge wire for yard electrical outlets.
These wires are oversized so I don't loose voltage over the long distances,
for now and for future projects.


The Ditch Witch was not difficult to operate until I tried to dig through decomposed granite.


Here's where I want the panels.
The 100 amp subpanel will be on one side, and the 50 amp RV panel on the other.
Its my intent to mount it perpendicular to the driveway, where the back of the RV
will be located when parked. The 100 amp panel will also power my
future shop and gazebo some day when I decide to build them.


Rather than install those small angle pipes between the 10 foot pipes, I just bent them
around the turns. Saved me a few bucks, and made it easier to feed the wire through it.


I had to dig the trenches at least 18" deep. I had sand from the Ditch Witch
grinding on the decomposed granite which I used to fill any uneven gaps
in the smooth trench bottom. I had to do this by hand!


Here's the electrical panels.
240v 100a Subpanel on one side, 240v 50a RV Panel on the other.
They're already connected together on the inside.
The 2 gauge wires still need to be routed and connected to the sub panel.


With the pipes connected and the wires routed into the box, it was simple
to hook them in place. 2 gauge wires are all black so color tape designates
their purpose and connection. To meet code, the ground wire can be 2 gauges smaller
than the main power wires, and must return to the originating main circuit box.


Here you can see the posts have been concreted in place. One pipe contains
the main 2 gauge wires, the other pipe is empty, but leads out to where a
future work shop will be located.


This was a bit challenging. Due to the distance of wire necessary, I used 6 gauge wire
to carry 120v 20a to the yard outlets. Why? Voltage is lost with smaller wire
when carried over long distances. I connected the 6 gauge wire to another connector,
then came out of that connector with two 10 gauge wires that connected to the outlet.
That way, the connection to the outlet would not act like a fuse, effectively nullifying
the gain of using 6 gauge wire. Notice the huge shrink tubing necessary for those connectors.


Same thing here, but at this time, the wires terminate at this outlet. The inbound conduit
is on the left side, leaving room for an exit conduit on the right. Some day,
I'll pull another permit and place another outlet 60 feet down the driveway.
The 6 gauge wire will make this happen without any noticable voltage drop.


As you can see, it has Athena's approval!


My RV takes 120v 30a.
Some larger RVs take 240v 50a.
I'm prepared for both!
That's the luxury of living on acreage in the country.